Build a Great Nest.js Blog: Upload Image
Daniel Hayes
Full-Stack Engineer · Leapcell

In the previous tutorial, we implemented a comment reply feature for our blog.
Now that the comment section is quite complete, it makes the articles themselves seem a bit plain—after all, they only support plain text.
In the upcoming tutorials, we will enrich the articles by enabling image insertion.
The principle behind inserting an image is as follows:
- The user selects an image and uploads it to the backend.
- The backend stores the image somewhere and returns a URL to access the image resource.
- The frontend inserts the image URL into the article content.
- The article content is finally rendered as a webpage, and the image is displayed by fetching the data from the corresponding image URL.
Step 1: Prepare S3-Compatible Object Storage
First, we need a place to store the uploaded images. Storing images directly on the server's hard drive is one method, but in modern applications, it is more recommended to use an object storage service (like AWS S3) because it is easier to maintain and more cost-effective.
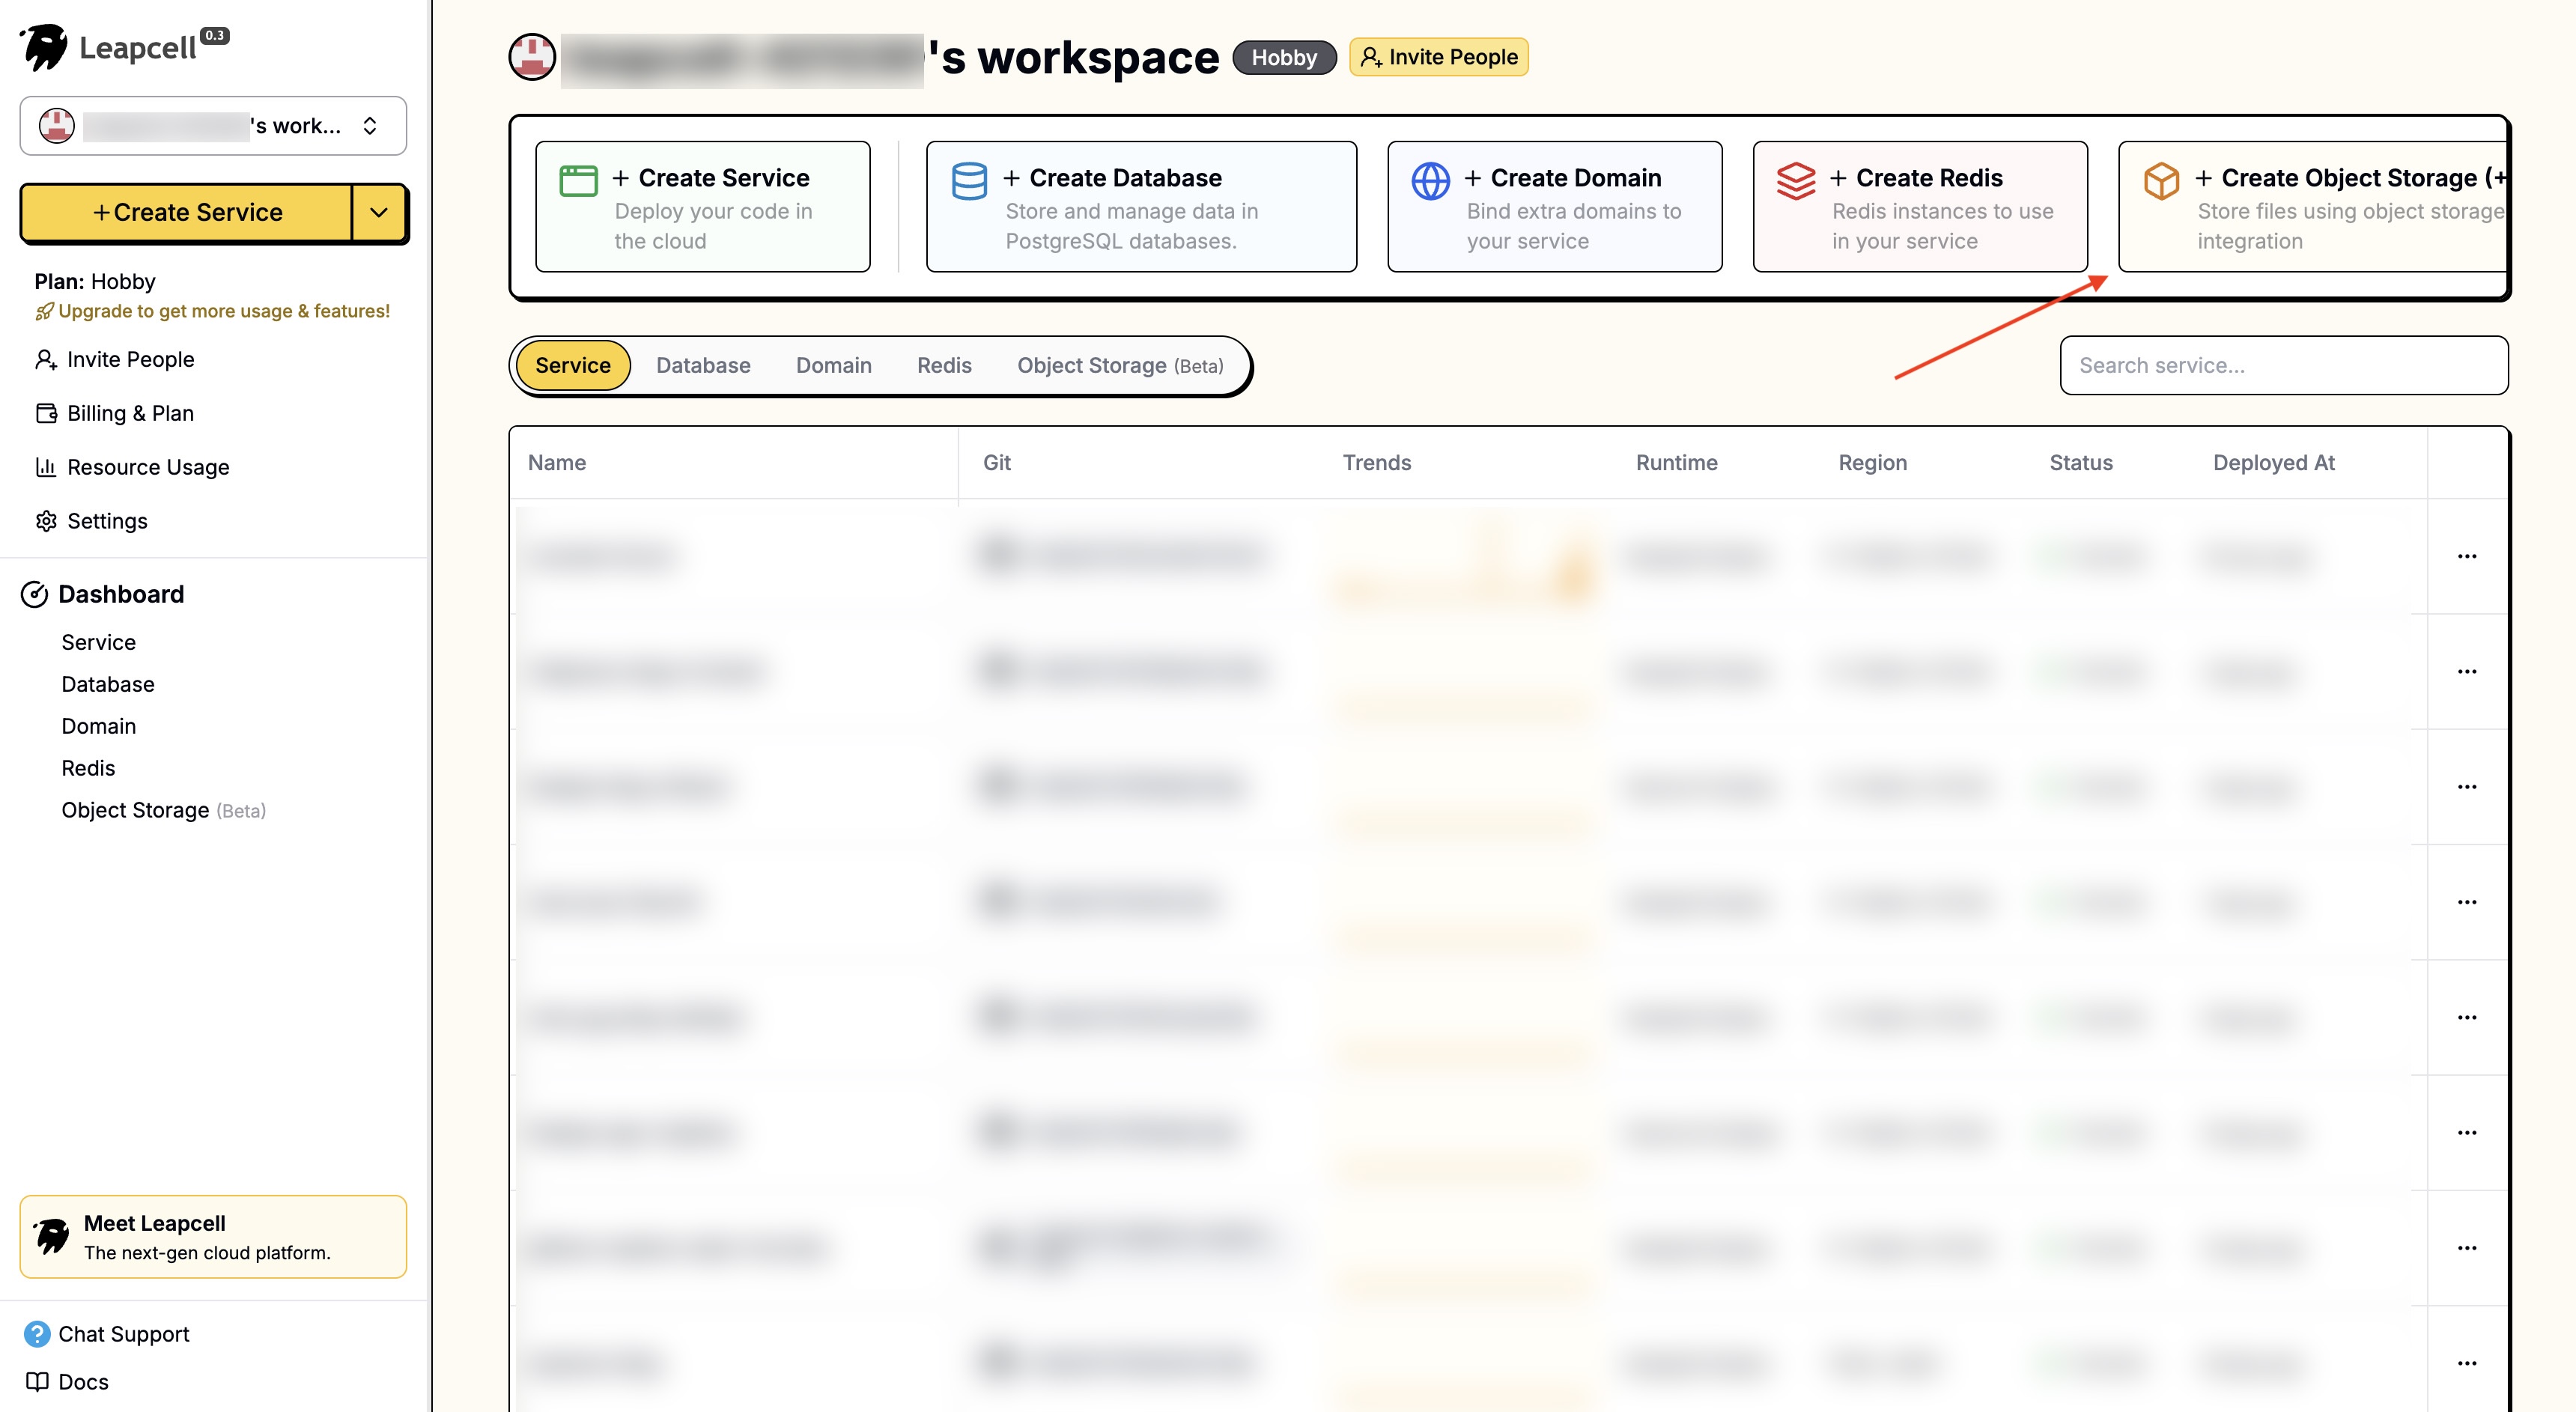
For convenience, we will continue to use Leapcell, which not only provides a database and backend hosting but also offers an S3-compatible Object Storage service.

Log in to the Leapcell main interface and click "Create Object Storage".
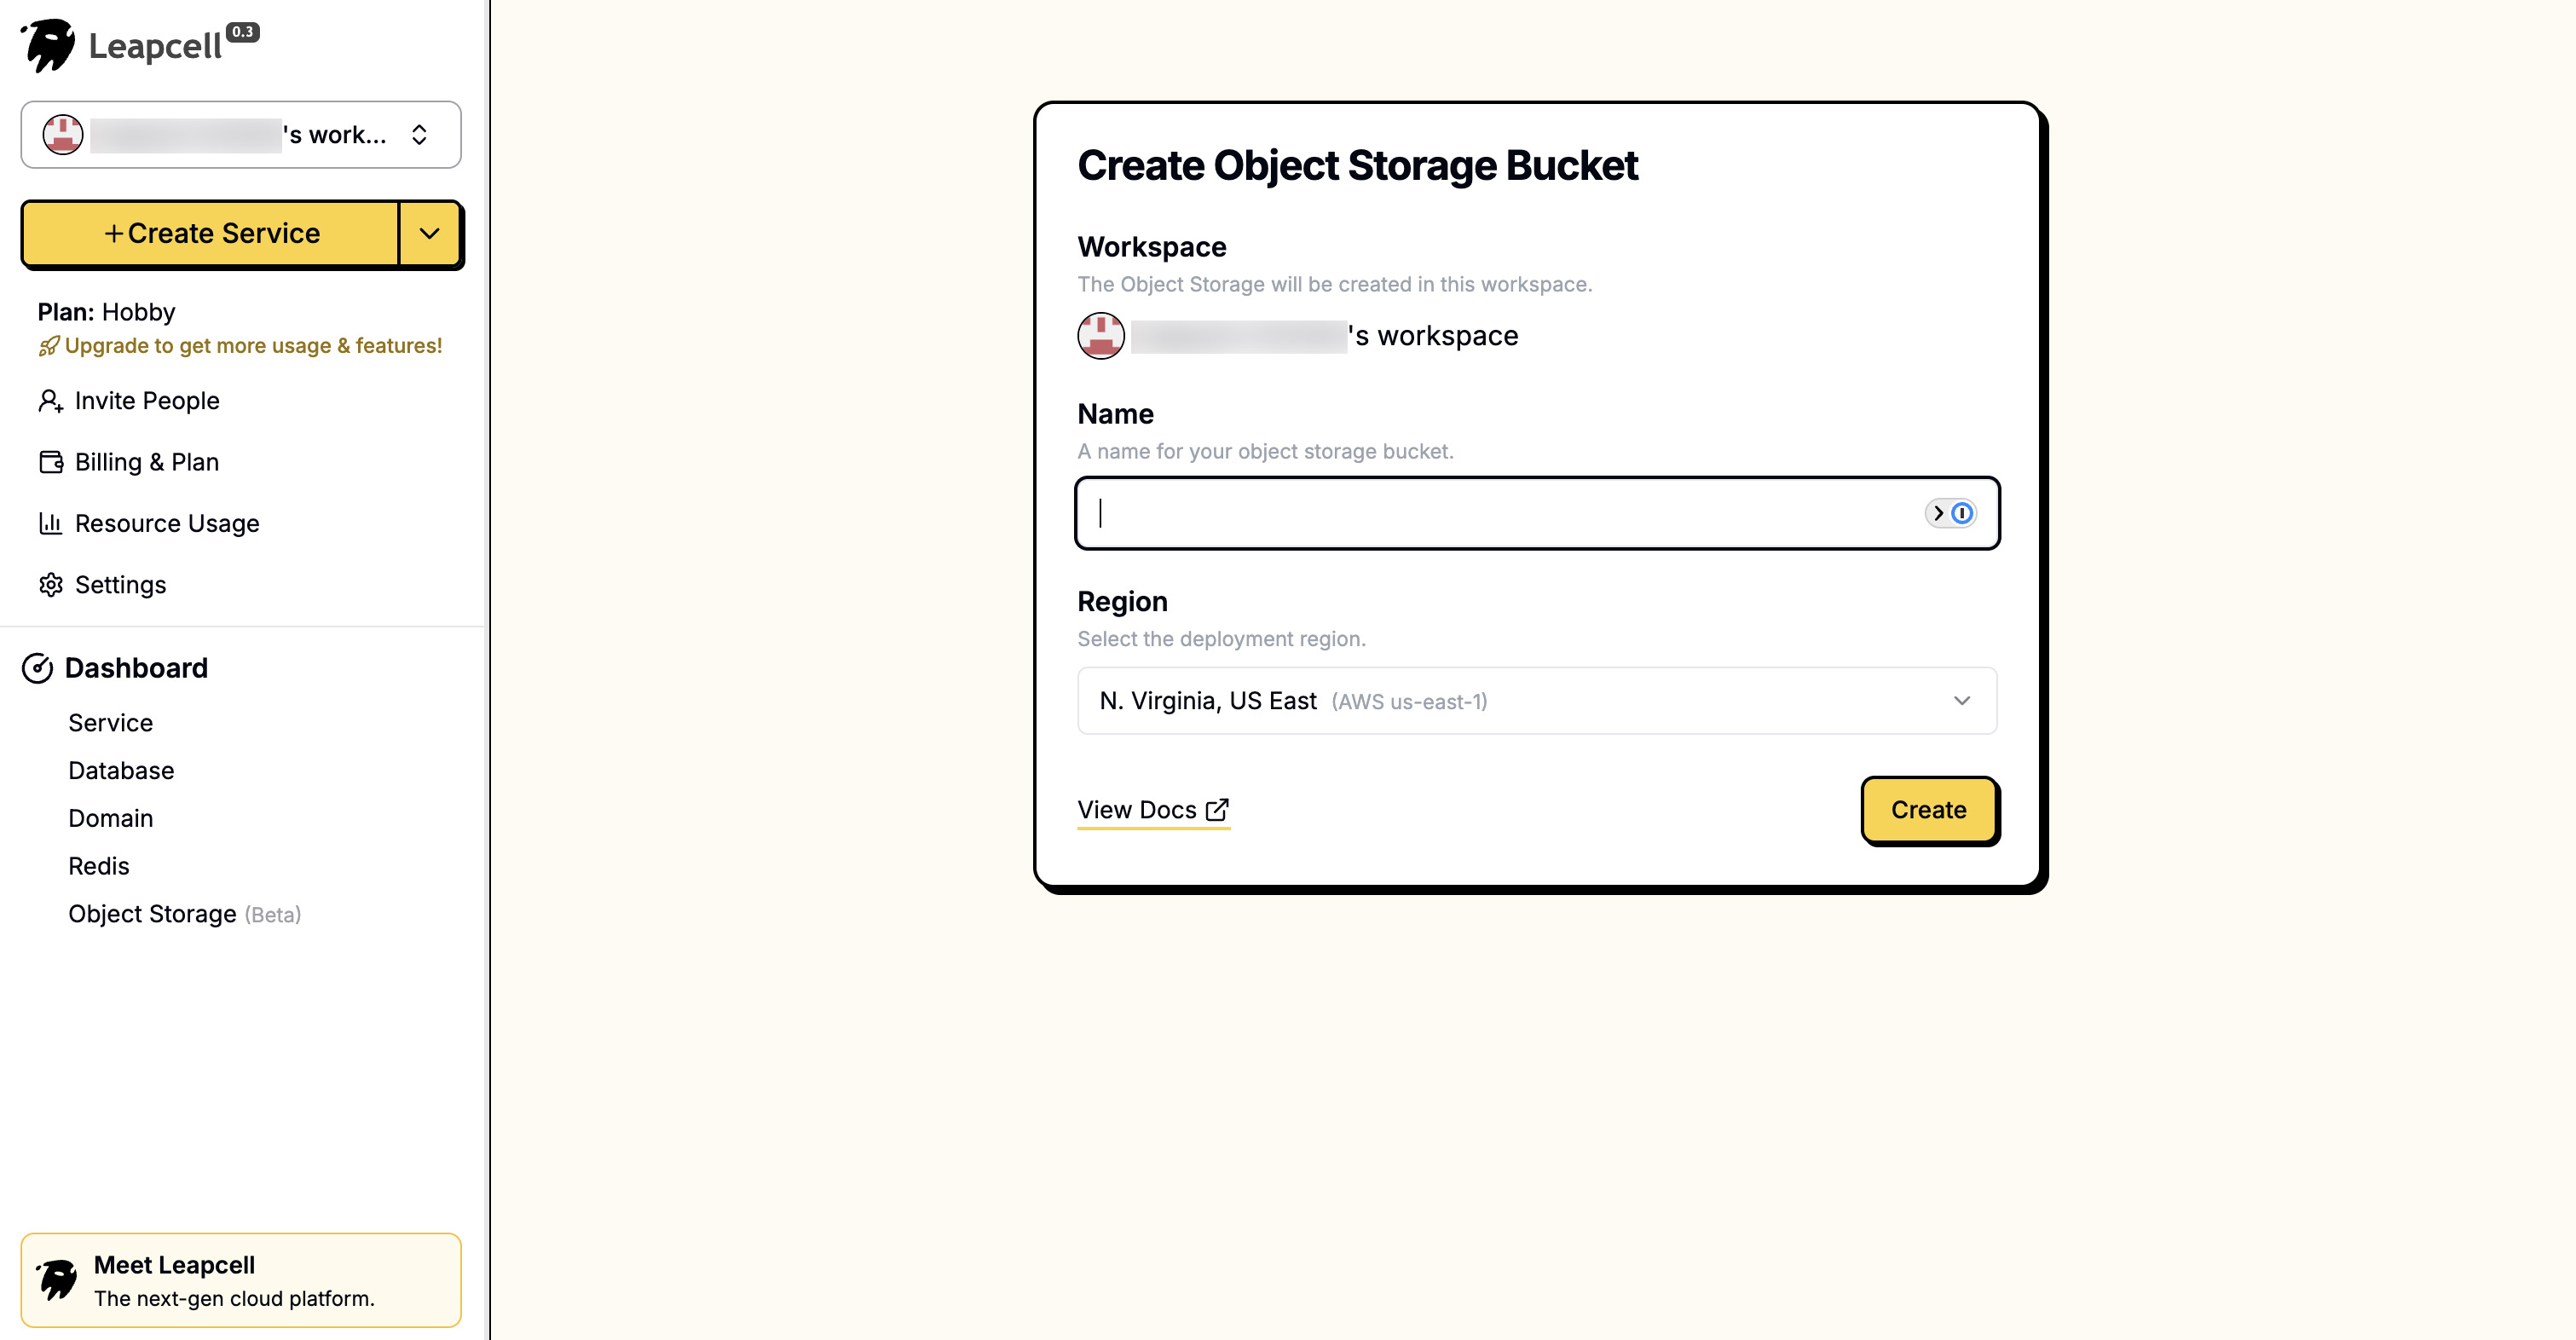
You can create an Object Storage by simply filling in a name.
On the Object Storage details page, you can see connection parameters like Endpoint, Access Key ID, and Secret Access Key. We will use these in our backend configuration later.
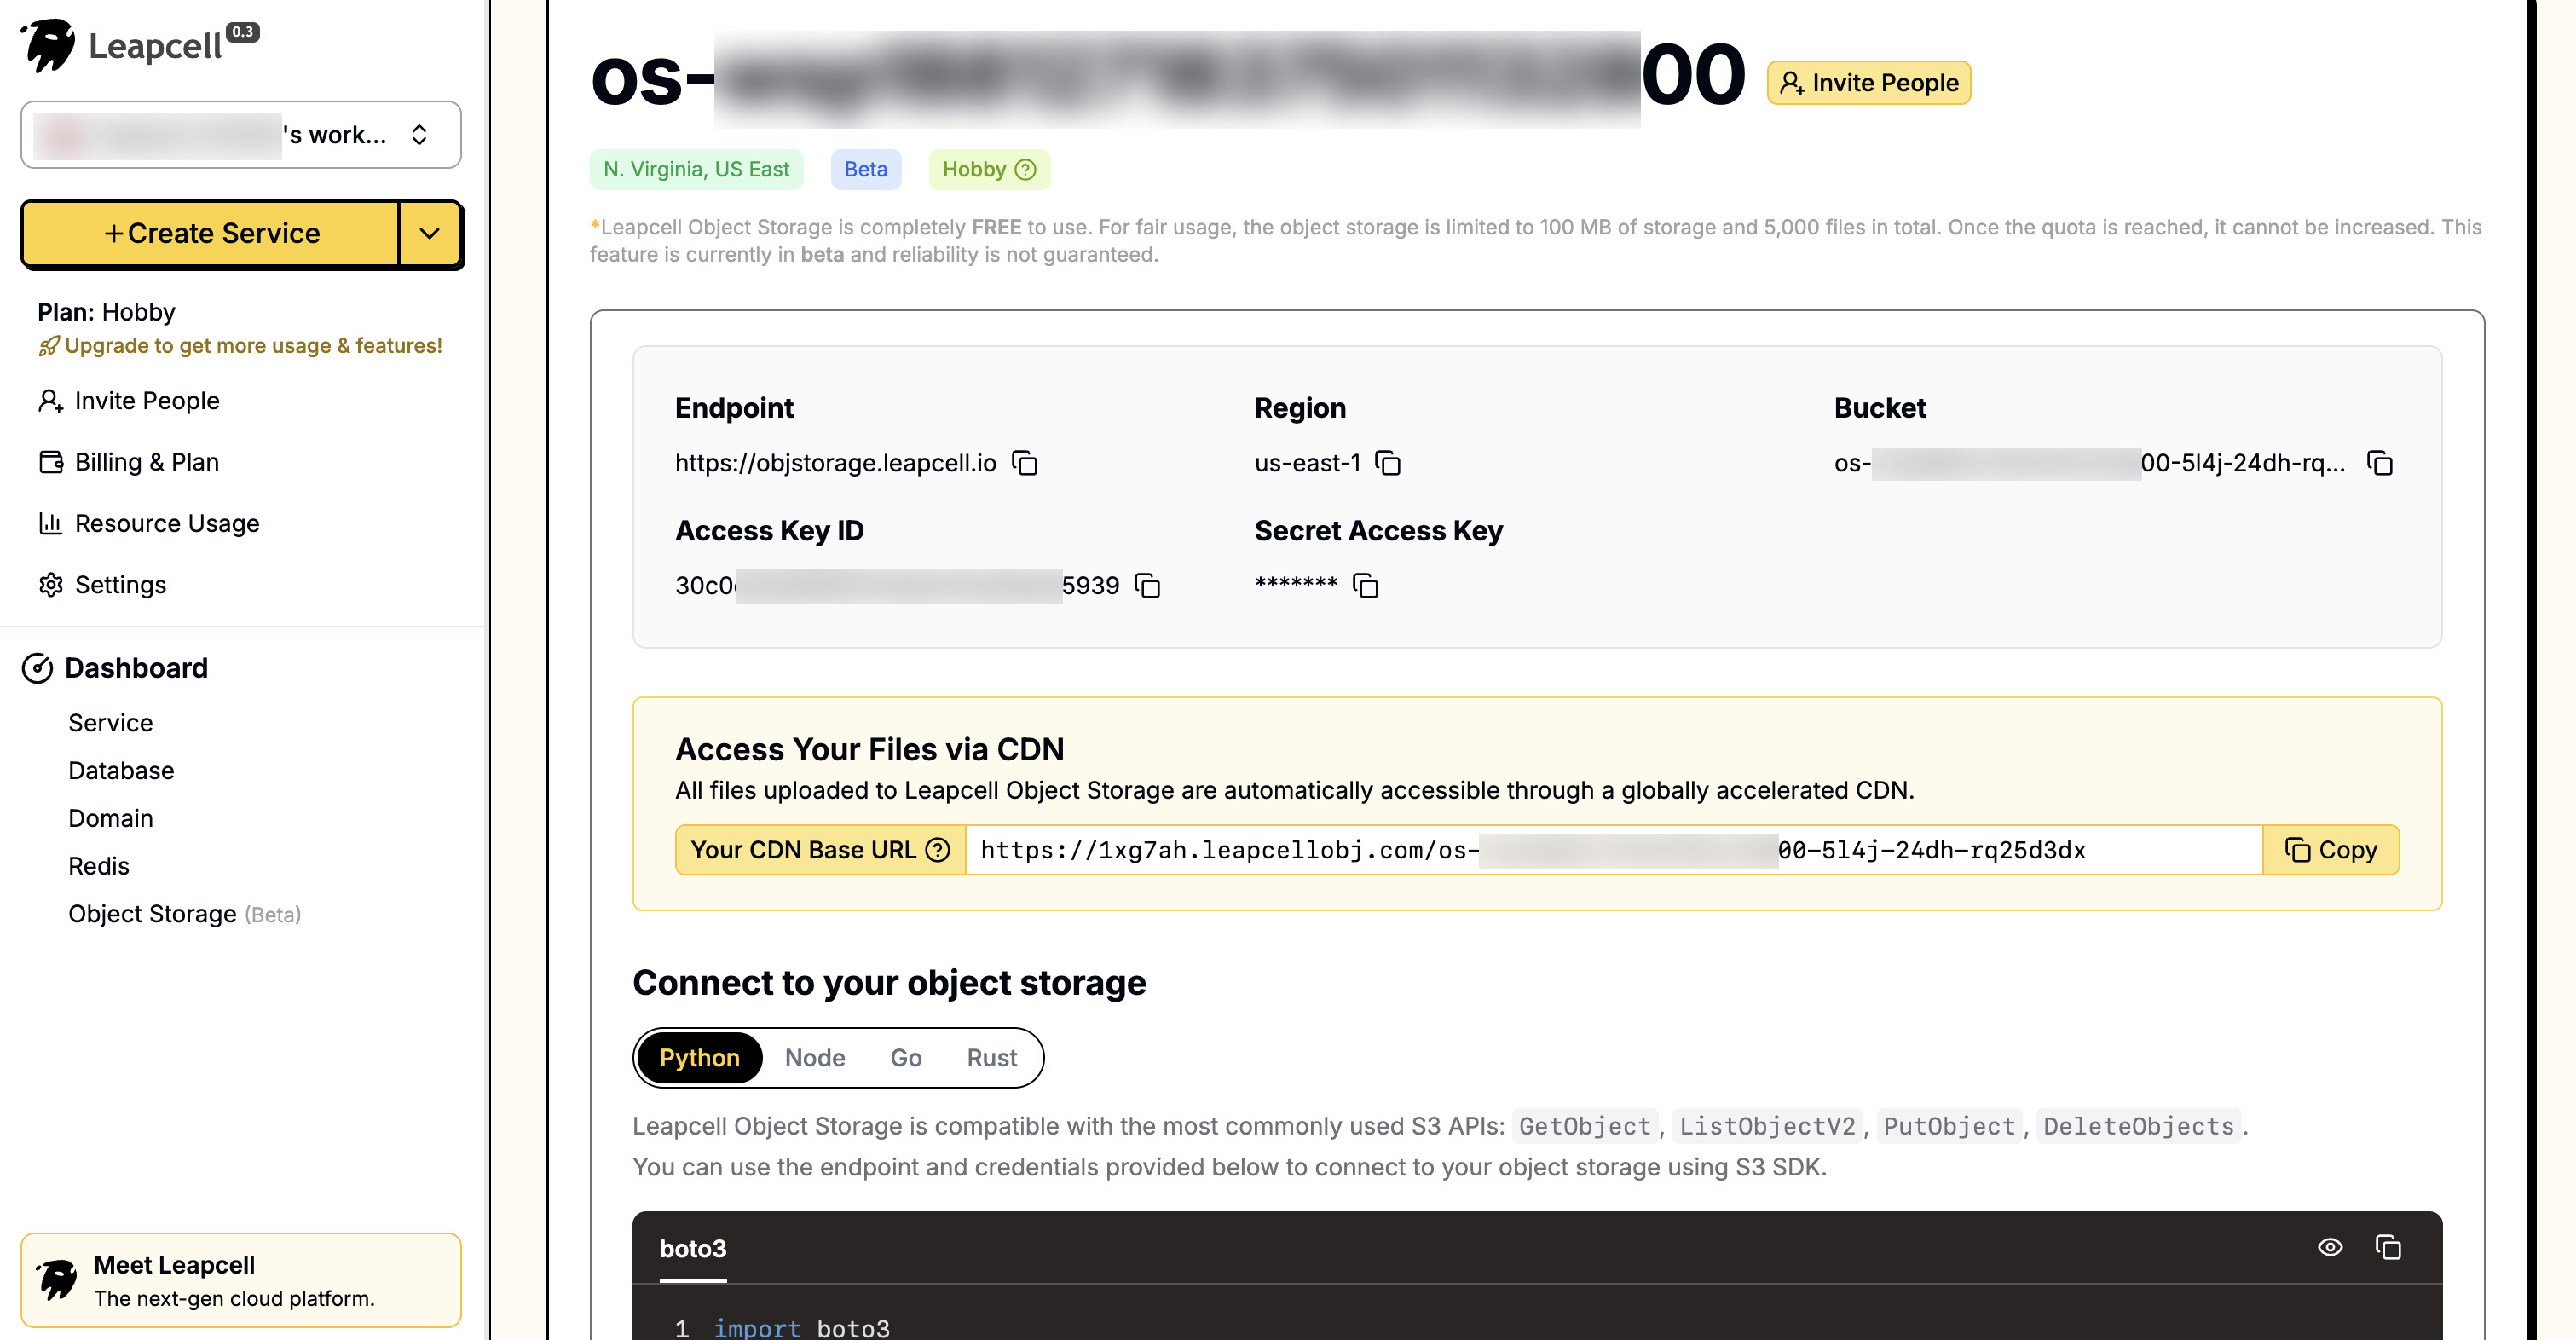
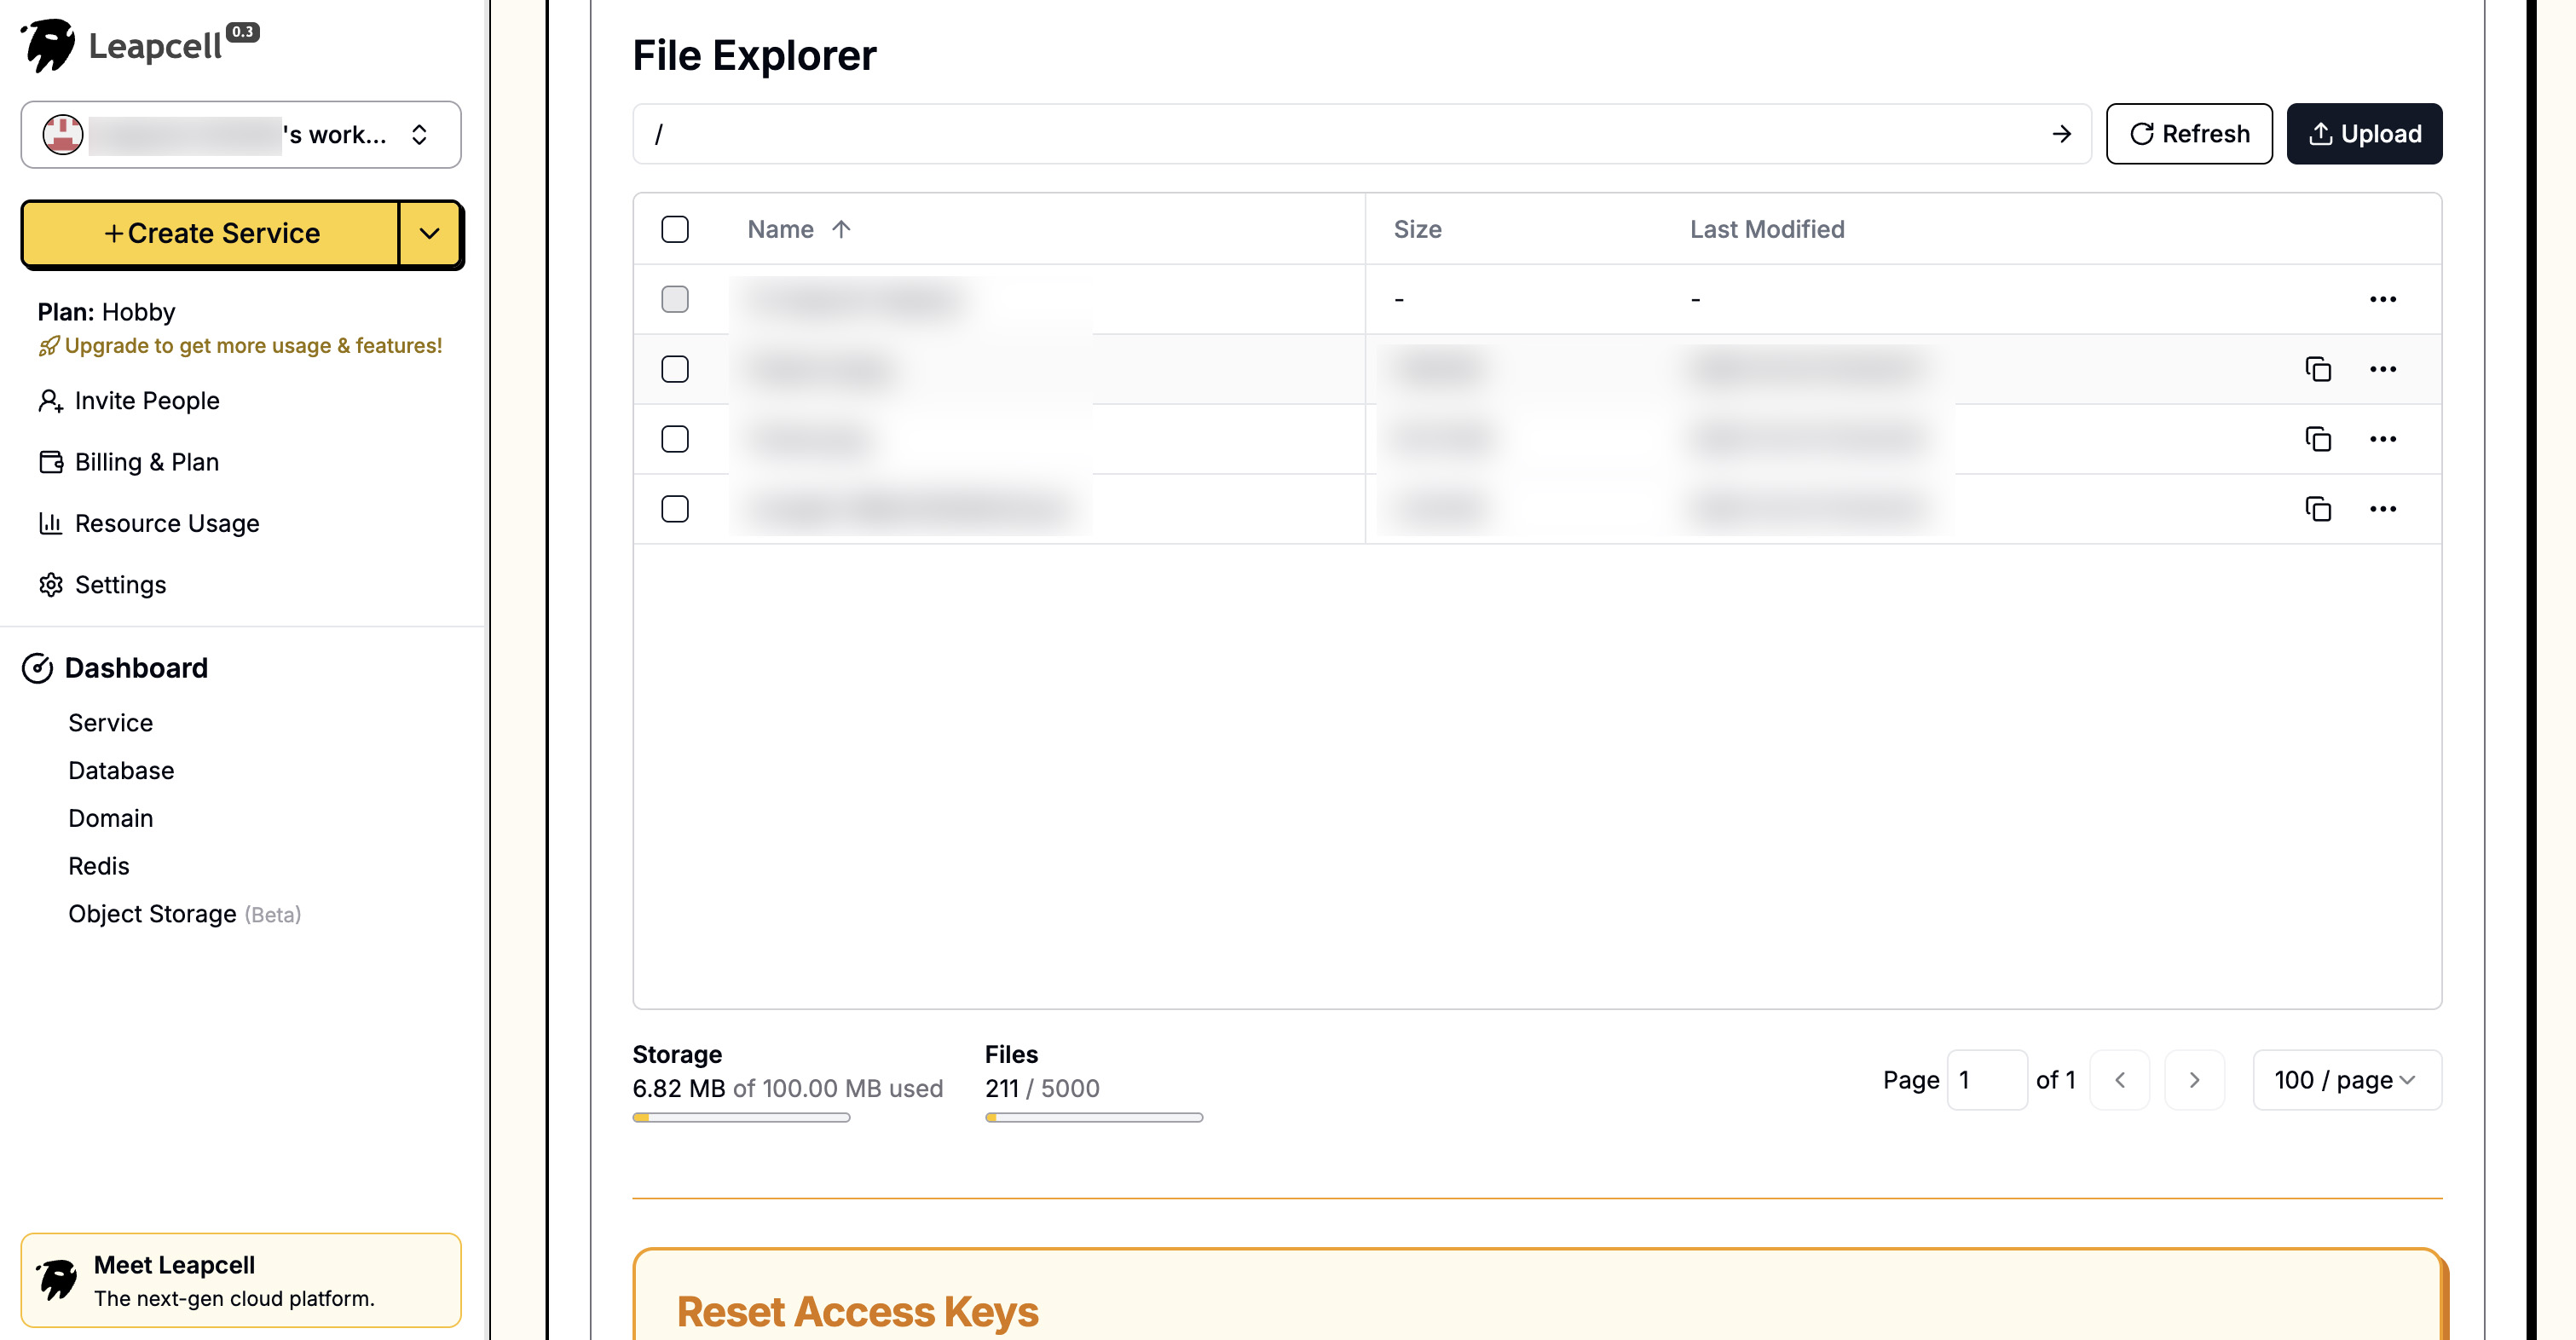
The interface also provides a very convenient UI for uploading and managing files directly in the browser.
Step 2: Implement the Image Upload API on the Backend
Next, let's build the Nest.js backend to handle file uploads.
Install Dependencies
We need aws-sdk (the new version is @aws-sdk/client-s3) to upload files to an S3-compatible object storage service. Additionally, we'll use Nest.js's built-in Multer to handle multipart/form-data requests.
npm install @aws-sdk/client-s3
npm install -D @types/multer
Create the Uploads Module
Create a new module for the file upload functionality.
nest generate module uploads
nest generate controller uploads
nest generate service uploads
Write uploads.service.ts
This service is responsible for the core logic of communicating with S3.
// src/uploads/uploads.service.ts
import { Injectable } from '@nestjs/common';
import { S3Client, PutObjectCommand } from '@aws-sdk/client-s3';
import crypto from 'crypto';

const S3_ENDPOINT = 'https://objstorage.leapcell.io';
const S3_ACCESS_KEY_ID = 'YOUR_ACCESS_KEY_ID';
const S3_SECRET_ACCESS_KEY = 'YOUR_SECRET_ACCESS_KEY';
const S3_BUCKET_NAME = 'my-nest-blog-images';
const S3_PUBLIC_URL = 'https://example.leapcellobj.com/my-nest-blog-images';

@Injectable()
export class UploadsService {
  private readonly s3: S3Client;

  constructor() {
    this.s3 = new S3Client({
      endpoint: S3_ENDPOINT,
      region: 'us-east-1', // For S3 compatible storage, region is often a formality
      credentials: {
        accessKeyId: S3_ACCESS_KEY_ID,
        secretAccessKey: S3_SECRET_ACCESS_KEY,
      },
    });
  }

  async uploadFile(file: Express.Multer.File): Promise<string> {
    const uniqueFileName = `${crypto.randomUUID()}-${file.originalname}`;

    const command = new PutObjectCommand({
      Bucket: S3_BUCKET_NAME,
      Key: uniqueFileName,
      Body: file.buffer,
      ContentType: file.mimetype,
      ACL: 'public-read', // Set the file to be publicly readable
    });

    try {
      await this.s3.send(command);
      // Return the public URL of the file
      return `${S3_PUBLIC_URL}/${uniqueFileName}`;
    } catch (error) {
      console.error('Error uploading to S3:', error);
      throw new Error('File upload failed.');
    }
  }
}
To simplify the implementation, the S3 connection parameters are written directly in the code.
In a real project, it is recommended to read them from environment variables. You can use the @nestjs/config module to achieve this.
Write uploads.controller.ts
This controller is responsible for defining the API route and uses FileInterceptor to receive the uploaded file.
// src/uploads/uploads.controller.ts
import { Controller, Post, UploadedFile, UseGuards, UseInterceptors } from '@nestjs/common';
import { FileInterceptor } from '@nestjs/platform-express';
import { UploadsService } from './uploads.service';
import { AuthenticatedGuard } from '../auth/authenticated.guard';

@Controller('uploads')
export class UploadsController {
  constructor(private readonly uploadsService: UploadsService) {}

  @UseGuards(AuthenticatedGuard) // Only logged-in users can upload
  @Post('image')
  @UseInterceptors(FileInterceptor('file')) // 'file' is the name of the file field in the form
  async uploadImage(@UploadedFile() file: Express.Multer.File) {
    const url = await this.uploadsService.uploadFile(file);
    return { url };
  }
}
Finally, import UploadsModule into app.module.ts so that the application can recognize this new module.
Step 3: Frontend Integration with the FilePicker API
Now that the backend is ready, let's modify the frontend page new-post.ejs to add the upload functionality.
There are two ways to handle uploads: the latest FilePicker API, and the traditional <input type="file">.
Traditional method: <input type="file"> has excellent compatibility and is supported by all browsers. However, its API is somewhat outdated, unintuitive, and provides a poor user experience.
Modern method: The File System Access API is easier to use, more powerful, and can provide a better user experience. However, its compatibility is not as good as the traditional method, and it must be run in a secure context (HTTPS).
Considering our blog is a modern project, we will use the FilePicker API to implement file uploads.
Update new-post.ejs
In views/new-post.ejs, add an "Upload Image" button next to the <textarea>.
<%- include('_header', { title: 'New Post' }) %> <form action="/posts" method="POST" class="post-form"> <div class="form-group"> <label for="title">Title</label> <input type="text" id="title" name="title" required /> </div> <div class="form-group"> <label for="content">Content</label> <div class="toolbar"> <button type="button" id="upload-image-btn">Upload Image</button> </div> <textarea id="content" name="content" rows="10" required></textarea> </div> <button type="submit">Submit</button> </form> <script> document.addEventListener('DOMContentLoaded', () => { const uploadBtn = document.getElementById('upload-image-btn'); const contentTextarea = document.getElementById('content'); uploadBtn.addEventListener('click', async () => { try { const [fileHandle] = await window.showOpenFilePicker({ types: [ { description: 'Images', accept: { 'image/*': ['.png', '.jpeg', '.jpg', '.gif', '.webp'] }, }, ], }); const file = await fileHandle.getFile(); uploadFile(file); } catch (error) { // An AbortError is thrown when the user cancels file selection, we ignore it if (error.name !== 'AbortError') { console.error('FilePicker Error:', error); } } }); function uploadFile(file) { if (!file) return; const formData = new FormData(); formData.append('file', file); // Display a simple loading indicator uploadBtn.disabled = true; uploadBtn.innerText = 'Uploading...'; fetch('/uploads/image', { method: 'POST', body: formData, // Note: Do not manually set the Content-Type header when using FormData }) .then((response) => response.json()) .then((data) => { if (data.url) { // Insert the returned image URL into the textarea const markdownImage = ``; insertAtCursor(contentTextarea, markdownImage); } else { alert('Upload failed. Please try again.'); } }) .catch((error) => { console.error('Upload Error:', error); alert('An error occurred during upload.'); }) .finally(() => { uploadBtn.disabled = false; uploadBtn.innerText = 'Upload Image'; }); } // Helper function to insert text at the cursor position function insertAtCursor(myField, myValue) { if (myField.selectionStart || myField.selectionStart === 0) { var startPos = myField.selectionStart; var endPos = myField.selectionEnd; myField.value = myField.value.substring(0, startPos) + myValue + myField.value.substring(endPos, myField.value.length); myField.selectionStart = startPos + myValue.length; myField.selectionEnd = startPos + myValue.length; } else { myField.value += myValue; } } }); </script> <%- include('_footer') %>
Step 4: Render Articles Containing Images
We have successfully inserted the image's Markdown link into the article, but it still renders as a string of text. This is because we need to convert the Markdown format to HTML on the article detail page, post.ejs.
Install a Markdown Parsing Library
We will use the marked library to perform the parsing on the backend.
npm install marked
Parse Markdown in the Controller
Modify the findOne method in src/posts/posts.controller.ts. Before passing the post data to the template, parse its content using marked.
// src/posts/posts.controller.ts
import { Controller, Get, Render, Param, Request } from '@nestjs/common';
import { PostsService } from './posts.service';
import { CommentsService } from '../comments/comments.service';
import { marked } from 'marked'; // import marked

@Controller('posts')
export class PostsController {
  constructor(private readonly postsService: PostsService, private readonly commentsService: CommentsService) {}

  // ... other methods

  @Get(':id')
  @Render('post')
  async post(@Param('id') id: string, @Request() req) {
    const post = await this.postsService.findOne(id);
    const comments = await this.commentsService.findByPostId(id);

    // Parse Markdown content
    if (post) {
      post.content = marked.parse(post.content) as string;
    }

    return { post, user: req.session.user, comments };
  }
}
Update the post.ejs View
Finally, modify views/post.ejs to ensure it correctly renders the parsed HTML.
For example, previously we used <%- post.content.replace(/\n/g, '<br />') %> to handle line breaks. Now, since the content is already HTML, we can output it directly.
<%- include('_header', { title: post.title }) %> <article class="post-detail"> <h1><%= post.title %></h1> <small><%= new Date(post.createdAt).toLocaleDateString() %></small> <div class="post-content"><%- post.content %></div> </article> <a href="/" class="back-link">← Back to Home</a> <%- include('_footer') %>
Note that we use <%- instead of <%=. The former outputs the HTML directly, while the latter would escape it.
Run and Test
Restart your application:
npm run start:dev
Open your browser and go to: http://localhost:3000/
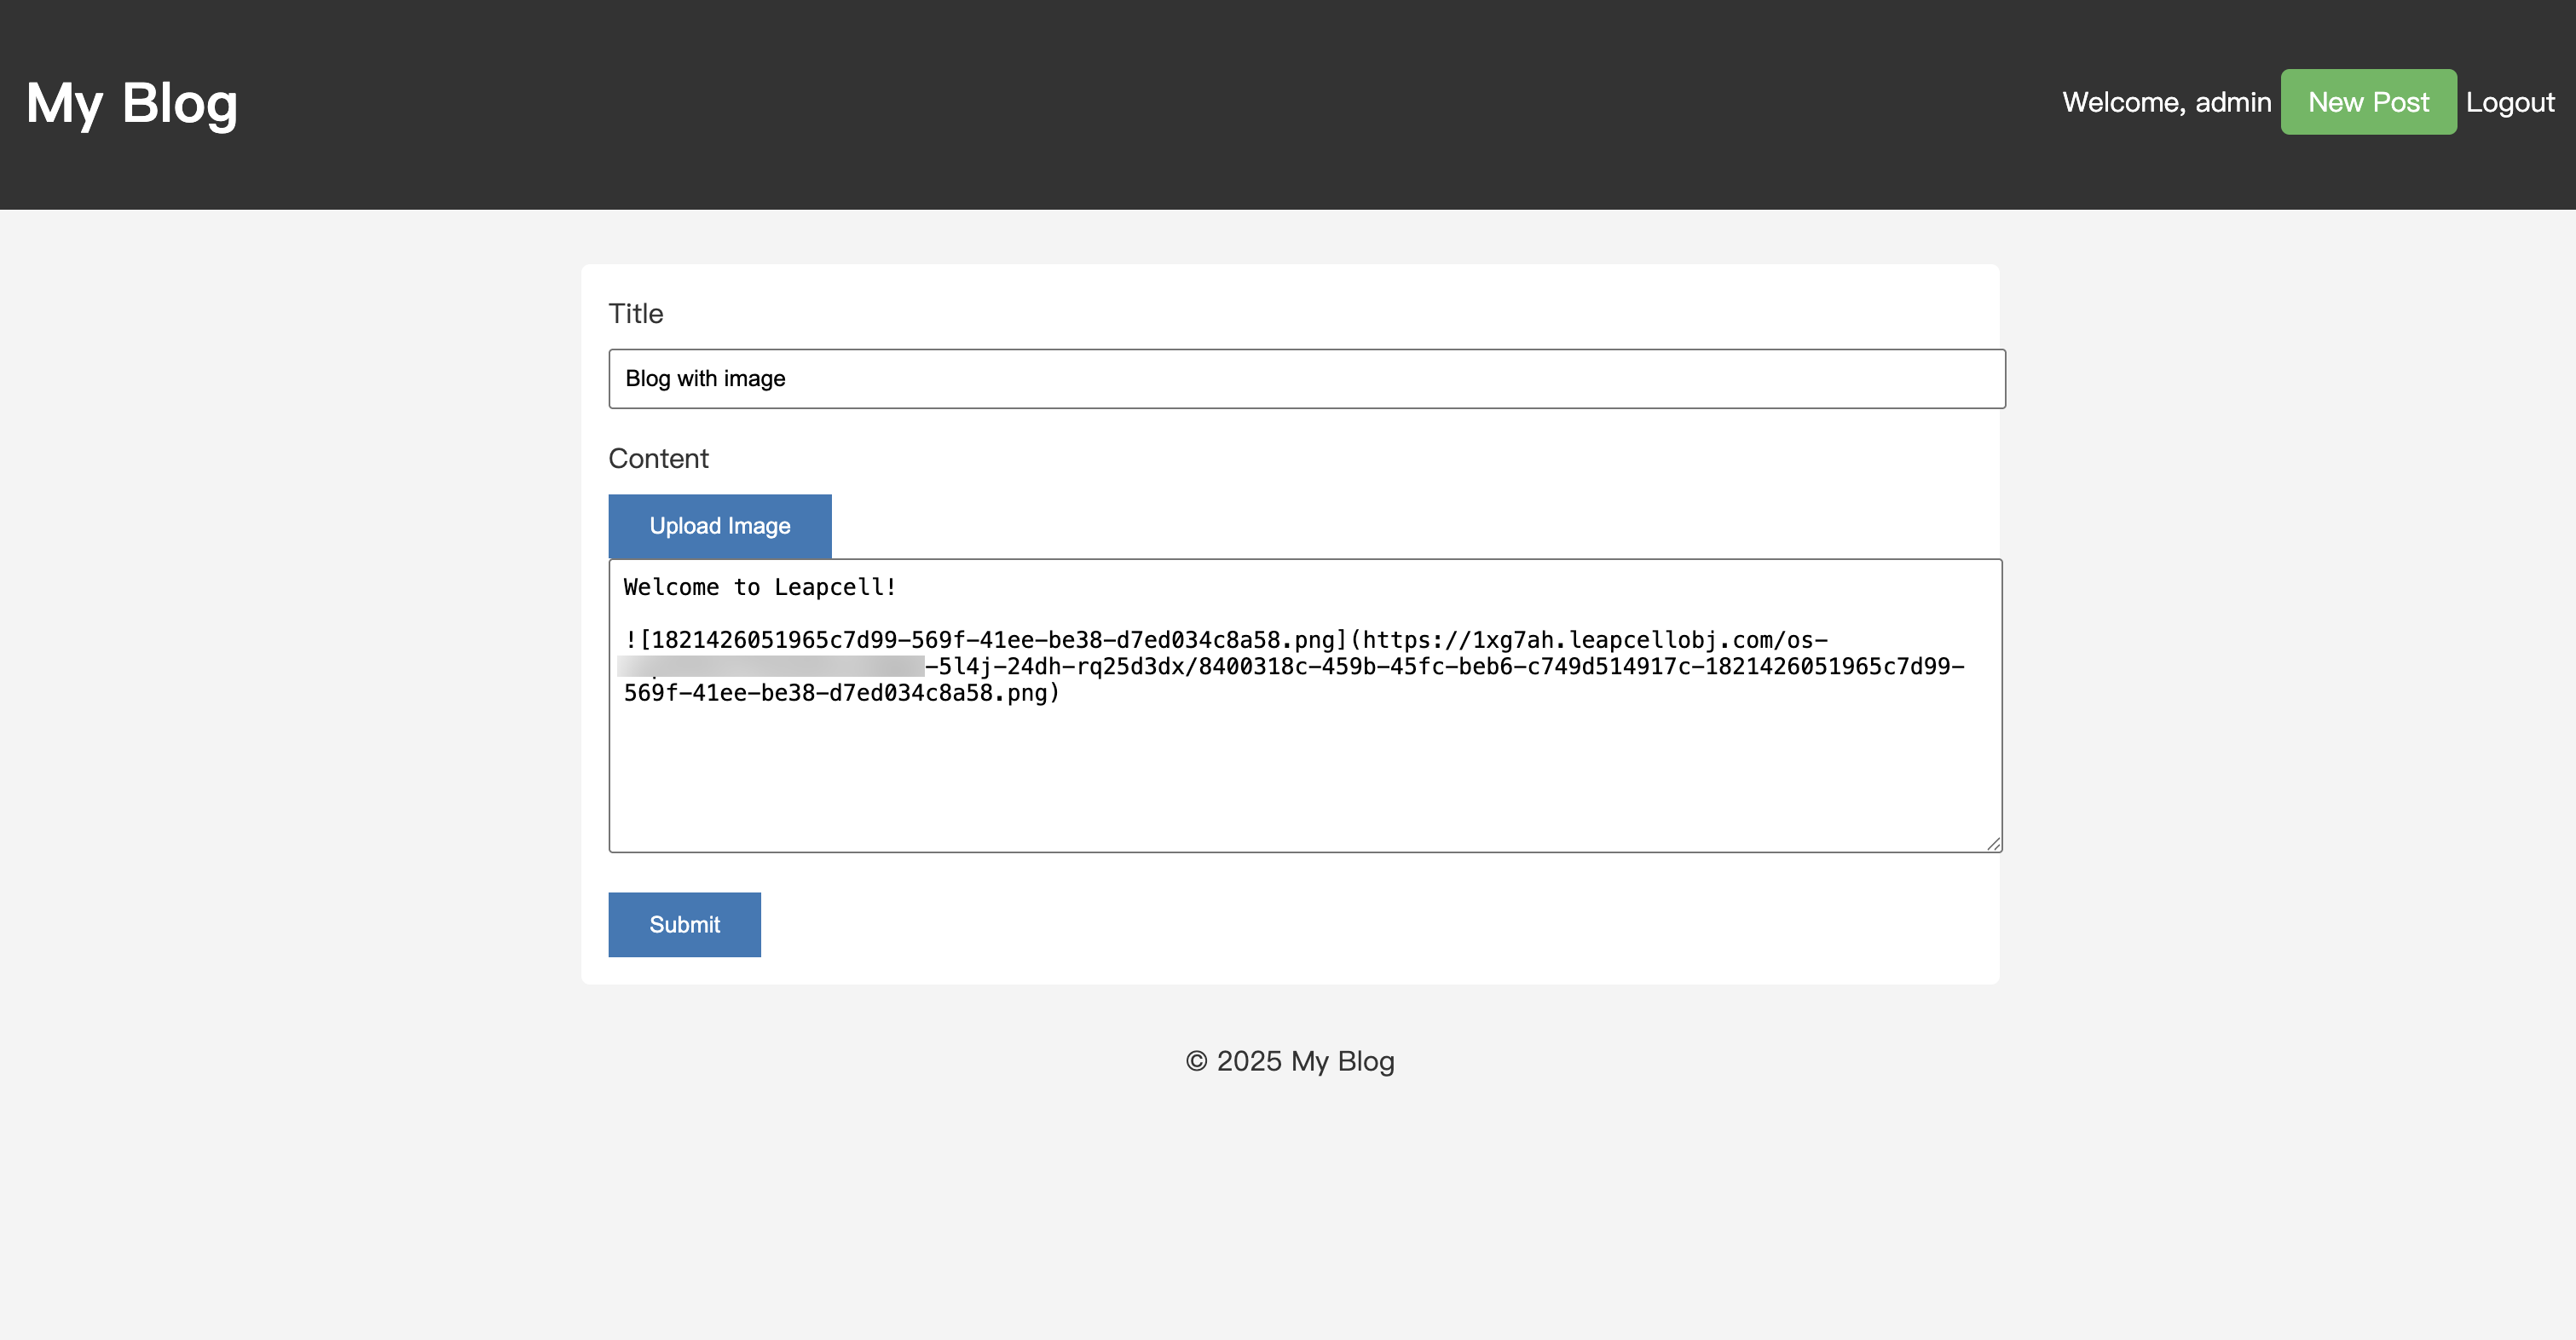
Navigate to the "New Post" page, and you will see the "Upload Image" button. Clicking it will allow you to select a file to upload.
Choose an image. After the upload is complete, the Markdown link for the image will be automatically inserted into the text box.
Publish the article and go to the article's detail page. You will see that the image is successfully rendered. And as an extra bonus, the article content now supports Markdown syntax!
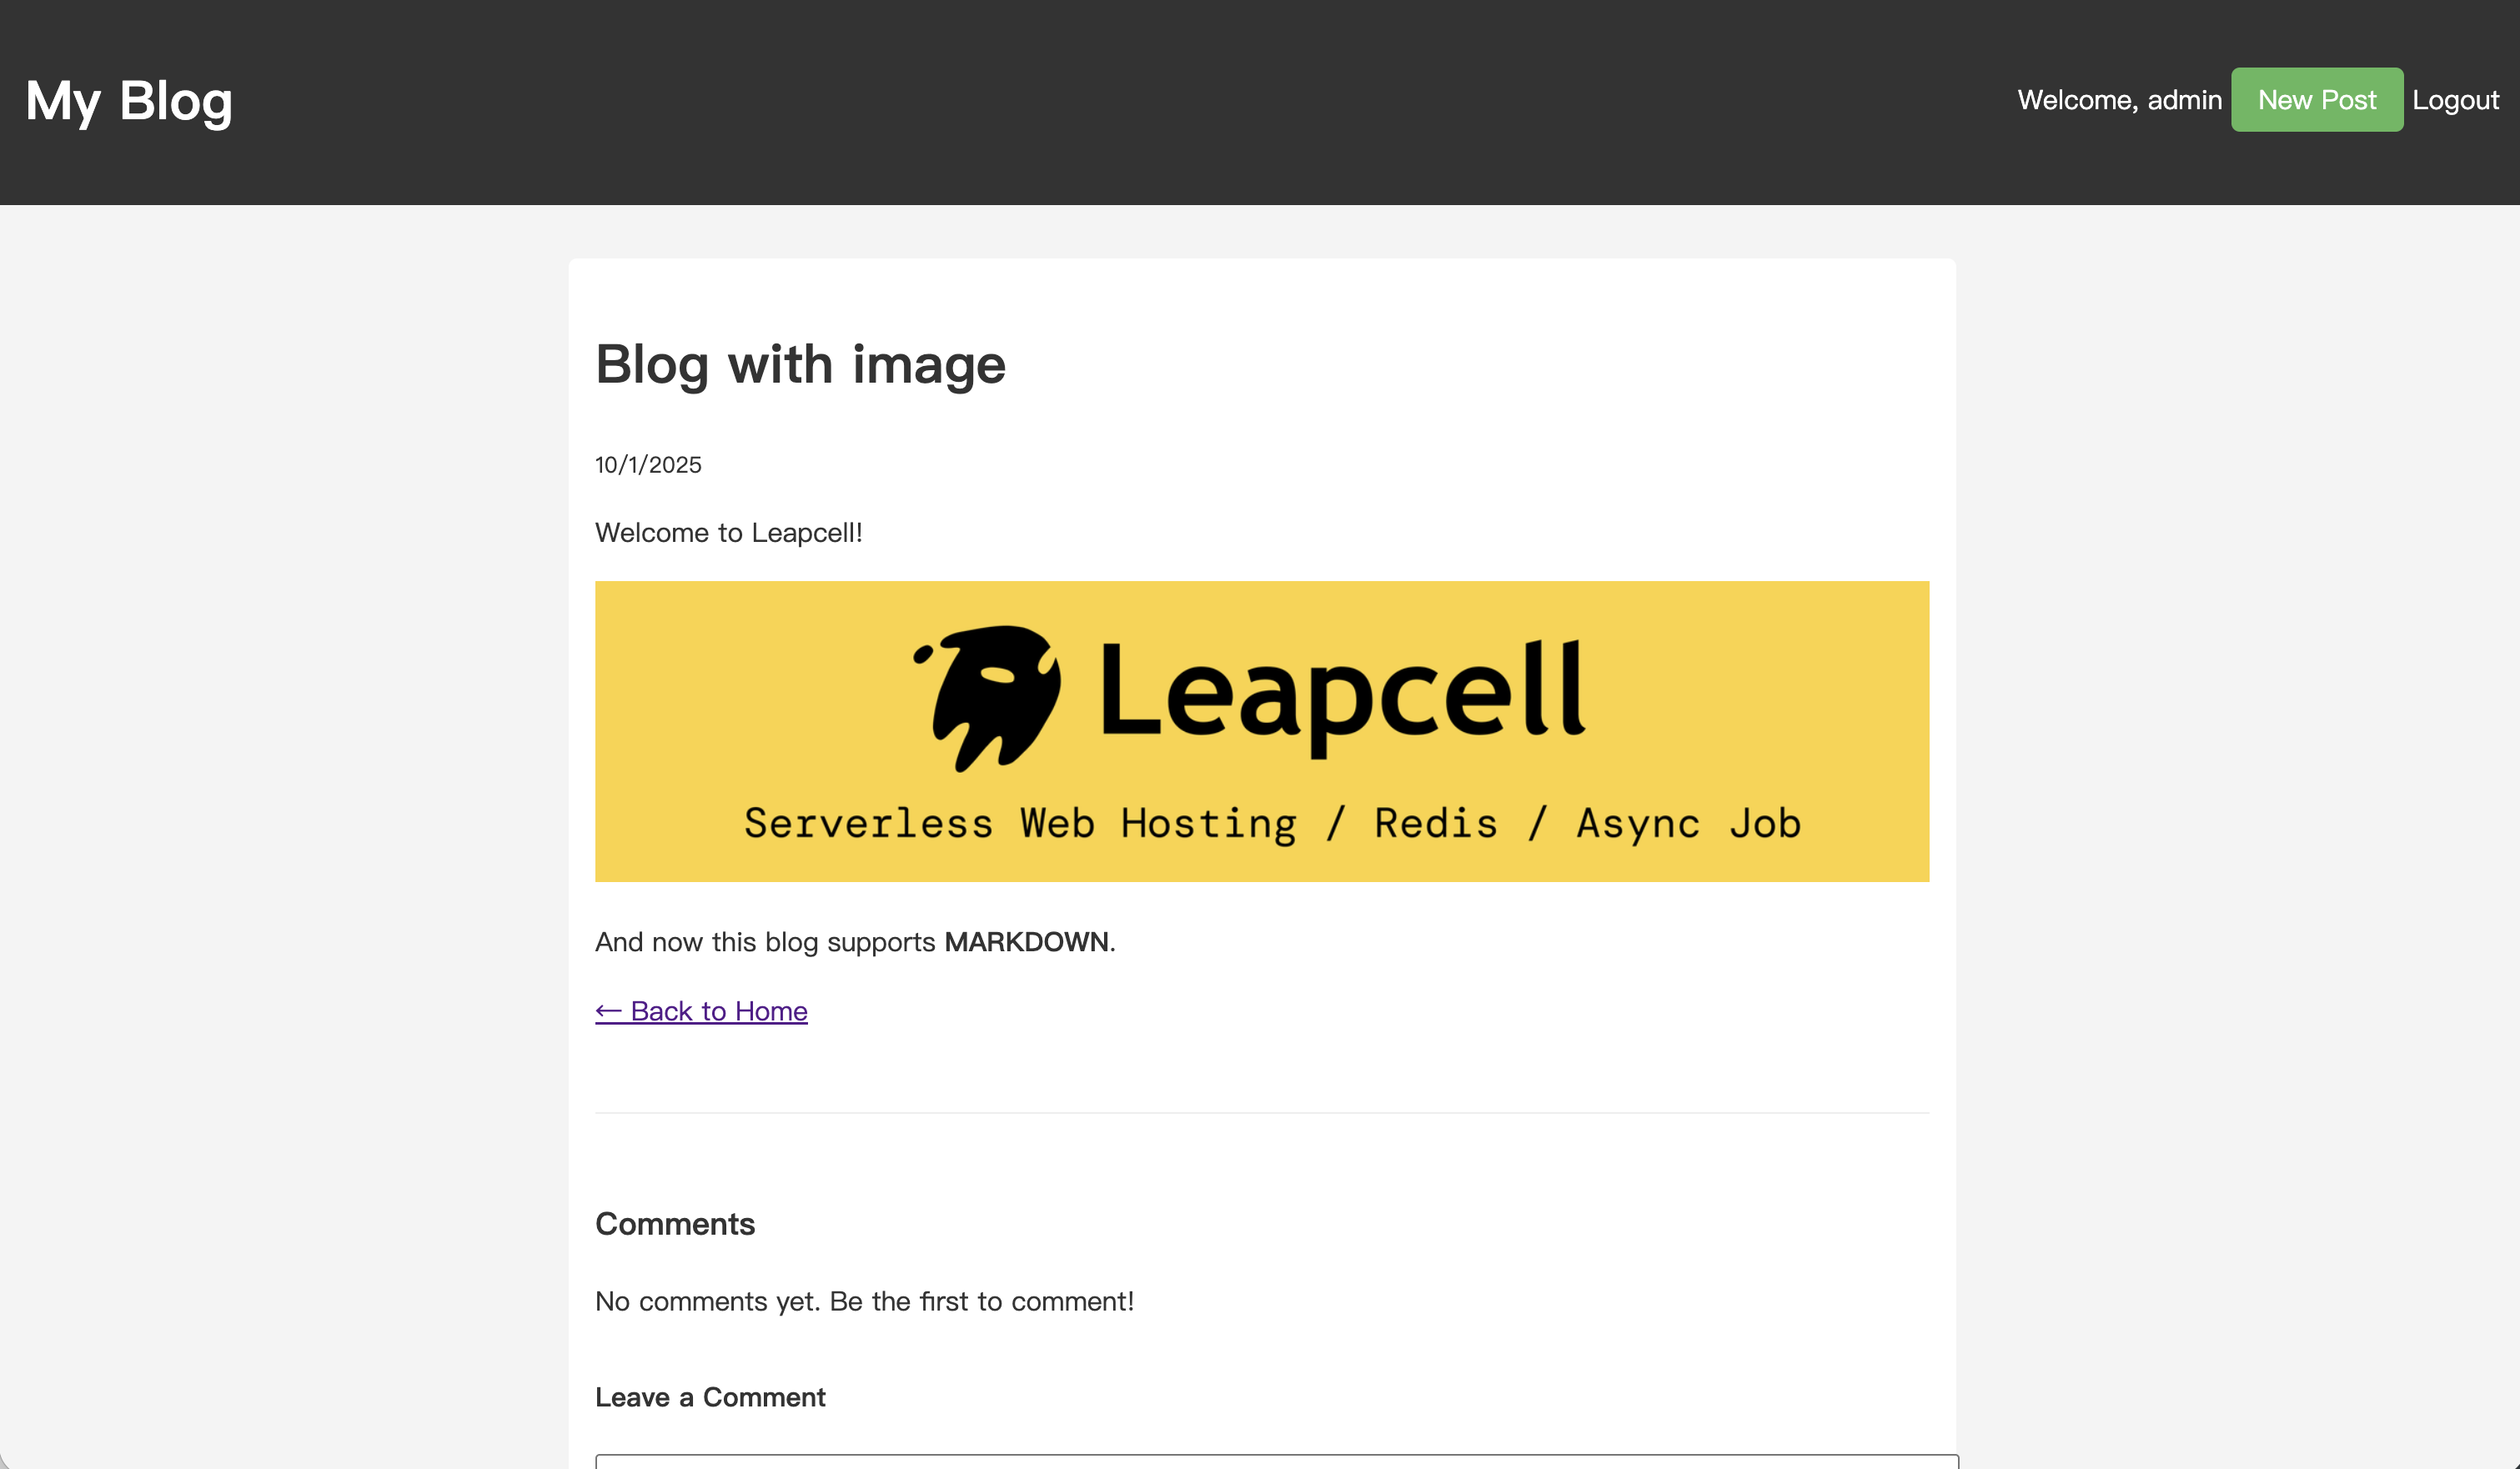
Congratulations, your blog now supports image uploads (and Markdown)! From now on, your blog posts are sure to be much more exciting.
Previous Tutorials: