Build a Great Nest.js Blog: Full-Text Search for Posts
Emily Parker
Product Engineer · Leapcell

In the previous tutorial, we added an image upload feature to our blog posts.
As time goes on, you can imagine that your blog now has quite a few articles. A new problem gradually emerges: How can readers quickly find the articles they want to read?
The answer, of course, is search.
In this tutorial, we will add a full-text search feature to the blog.
You might be thinking, can't I just use a SQL LIKE '%keyword%' query to implement search?
For simple scenarios, yes. But LIKE queries perform poorly when dealing with large blocks of text and cannot handle fuzzy searches (for example, searching for "creation" won't match "create").
Therefore, we will adopt a more efficient solution: utilizing PostgreSQL's built-in Full-Text Search (FTS) feature. It's not only fast but also supports stemming, ranking by relevance, and provides search capabilities far superior to LIKE.
Step 1: Database Search Infrastructure
To use PostgreSQL's FTS feature, we first need to make some modifications to the post table. The core idea is to create a special column specifically for storing optimized, high-speed searchable text data.
Core Concept: tsvector
We will add a new column of type tsvector to the post table. It will break down the title and content of the article into individual words and normalize them (for example, processing both "running" and "ran" into "run") for subsequent queries.
Modifying the Table Structure
Execute the following SQL statement in your PostgreSQL database to add the search_vector column to the post table.
ALTER TABLE "post" ADD COLUMN "search_vector" tsvector;
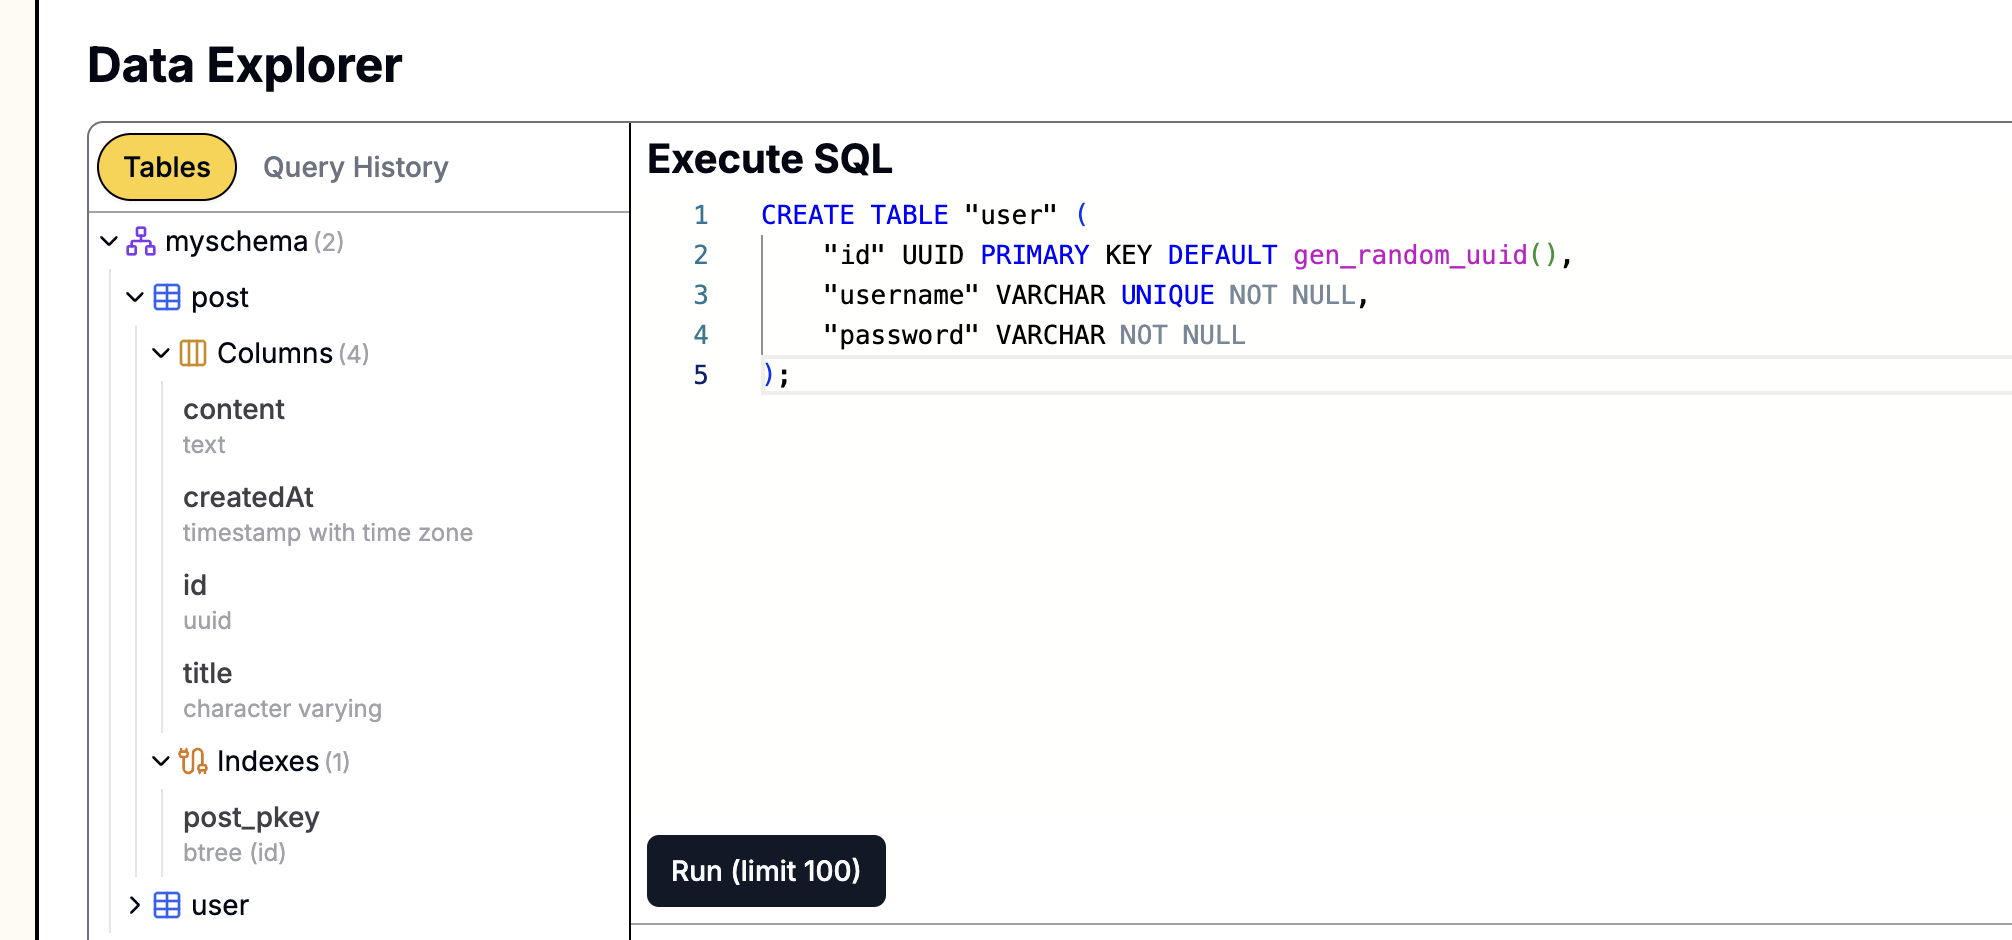
If your database was created on Leapcell,

you can easily execute SQL statements using the graphical interface. Just go to the Database management page on the website, paste the above statement into the SQL interface, and execute it.
Updating the Search Vector for Existing Posts
Updating the search vector (search_vector) for posts will make them searchable.
Since your blog already has some articles, you can simply execute the following SQL statement to generate search_vector data for them:
UPDATE "post" SET search_vector =
    setweight(to_tsvector('english', coalesce(title, '')), 'A') ||
    setweight(to_tsvector('english', coalesce(content, '')), 'B');
Automatic Updates Using a Trigger
No one wants to manually update the search_vector column every time an article is created or updated. The best way is to have the database do this work automatically. This can be achieved by creating a trigger.
First, create a function that, just like before, generates search_vector data for an article.
CREATE OR REPLACE FUNCTION update_post_search_vector()
RETURNS TRIGGER AS $$
BEGIN
    NEW.search_vector :=
        setweight(to_tsvector('english', coalesce(NEW.title, '')), 'A') ||
        setweight(to_tsvector('english', coalesce(NEW.content, '')), 'B');
    RETURN NEW;
END;
$$ LANGUAGE plpgsql;
The
setweightfunction allows you to assign different weights to text from different fields. Here, we set the weight of the title ('A') higher than the content ('B'), which means that in search results, articles with keywords in the title will be ranked higher.
Next, create a trigger that automatically calls the function created above every time a new article is inserted (INSERT) or updated (UPDATE).
CREATE TRIGGER post_search_vector_update
BEFORE INSERT OR UPDATE ON "post"
FOR EACH ROW EXECUTE FUNCTION update_post_search_vector();
Creating a Search Index
Finally, create a GIN (Generalized Inverted Index) on the search_vector column.
CREATE INDEX post_search_vector_idx ON "post" USING gin(search_vector);
Now, your database is search-ready. It will automatically maintain an efficient search index for every article.
Step 2: Building the Search Logic in Nest.js
With the database layer prepared, let's return to our Nest.js project to write the backend code for handling search requests.
Updating PostsService
Open src/posts/posts.service.ts and add a new search method.
// src/posts/posts.service.ts
import { Injectable } from '@nestjs/common';
import { InjectRepository } from '@nestjs/typeorm';
import { Repository } from 'typeorm';
import { Post } from './post.entity';

@Injectable()
export class PostsService {
  constructor(
    @InjectRepository(Post)
    private postsRepository: Repository<Post>
  ) {}

  // ... other methods remain unchanged

  async search(query: string): Promise<Post[]> {
    if (!query) {
      return [];
    }

    // Use QueryBuilder to construct a more complex query
    return this.postsRepository
      .createQueryBuilder('post')
      .select()
      .addSelect("ts_rank(post.search_vector, to_tsquery('english', :query))", 'rank')
      .where("post.search_vector @@ to_tsquery('english', :query)", { query: `${query.split(' ').join(' & ')}` })
      .orderBy('rank', 'DESC')
      .getMany();
  }
}
Code Explanation:
to_tsquery('english', :query): This function converts the user-input search string (e.g., "nestjs blog") into a special query type that can be matched against thetsvectorcolumn. We use&to connect multiple words, indicating that all words must be matched.@@operator: This is the "matches" operator for full-text search. The linewhere("post.search_vector @@ ...")is the core operation that performs the search.ts_rank(...): This function calculates a "relevance rank" based on how well the query terms match the blog post..orderBy('rank', 'DESC'): We sort by this rank in descending order to ensure the most relevant articles are displayed first.
Creating the Search Route
Next, add a new route in src/posts/posts.controller.ts to handle search requests.
// src/posts/posts.controller.ts
import { Controller, Get, Render, Param, Post, Body, Res, UseGuards, Request, Query } from '@nestjs/common';
// ... other imports

@Controller('posts')
export class PostsController {
  constructor(
    private readonly postsService: PostsService,
    private readonly commentsService: CommentsService,
  ) {}

  // ... other methods remain unchanged

  // New search route
  @Get('search')
  @Render('search-results')
  async search(@Query('q') query: string, @Request() req) {
    const posts = await this.postsService.search(query);
    return { posts, user: req.session.user, query };
  }

  // Since the controller matches routes from top to bottom, the :id route must be placed last
  @Get(':id')
  @Render('post')
  async post(@Param('id') id: string, @Request() req) {
    // ...
  }
}
Note that since the controller matches routes from top to bottom, we place the :id route last to avoid conflicts with the search route.
Step 3: Integrating the Search Functionality into the Frontend
The backend API is ready. Now let's add a search box and a search results page to the user interface.
Adding the Search Box
Open the views/_header.ejs file and add a search input form to the navigation bar.
<header>
  <h1><a href="/">My Blog</a></h1>

  <form action="/posts/search" method="GET" class="search-form">
    <input type="search" name="q" placeholder="Search posts..." />
    <button type="submit">Search</button>
  </form>

  <div class="user-actions">
    <% if (user) { %>
    <span>Welcome, <%= user.username %></span>
    <a href="/posts/new" class="new-post-btn">New Post</a>
    <a href="/auth/logout">Logout</a>
    <% } else { %>
    <a href="/auth/login">Login</a>
    <a href="/users/register">Register</a>
    <% } %>
  </div>
</header>
2. Creating the Search Results Page
Create a new file search-results.ejs in the views directory. This page will be used to display the search results.
<%- include('_header', { title: 'Search Results' }) %>

<div class="search-results-container">
  <h2>Search Results for: "<%= query %>"</h2>

  <% if (posts.length > 0) { %>
  <div class="post-list">
    <% posts.forEach(post => { %>
    <article class="post-item">
      <h2><a href="/posts/<%= post.id %>"><%= post.title %></a></h2>
      <p><%= post.content.substring(0, 150) %>...</p>
      <small><%= new Date(post.createdAt).toLocaleDateString() %></small>
    </article>
    <% }) %>
  </div>
  <% } else { %>
  <p>No posts found matching your search. Please try different keywords.</p>
  <% } %>
</div>

<%- include('_footer') %>
Running and Testing
Restart your application:
npm run start:dev
Open your browser and navigate to: http://localhost:3000/
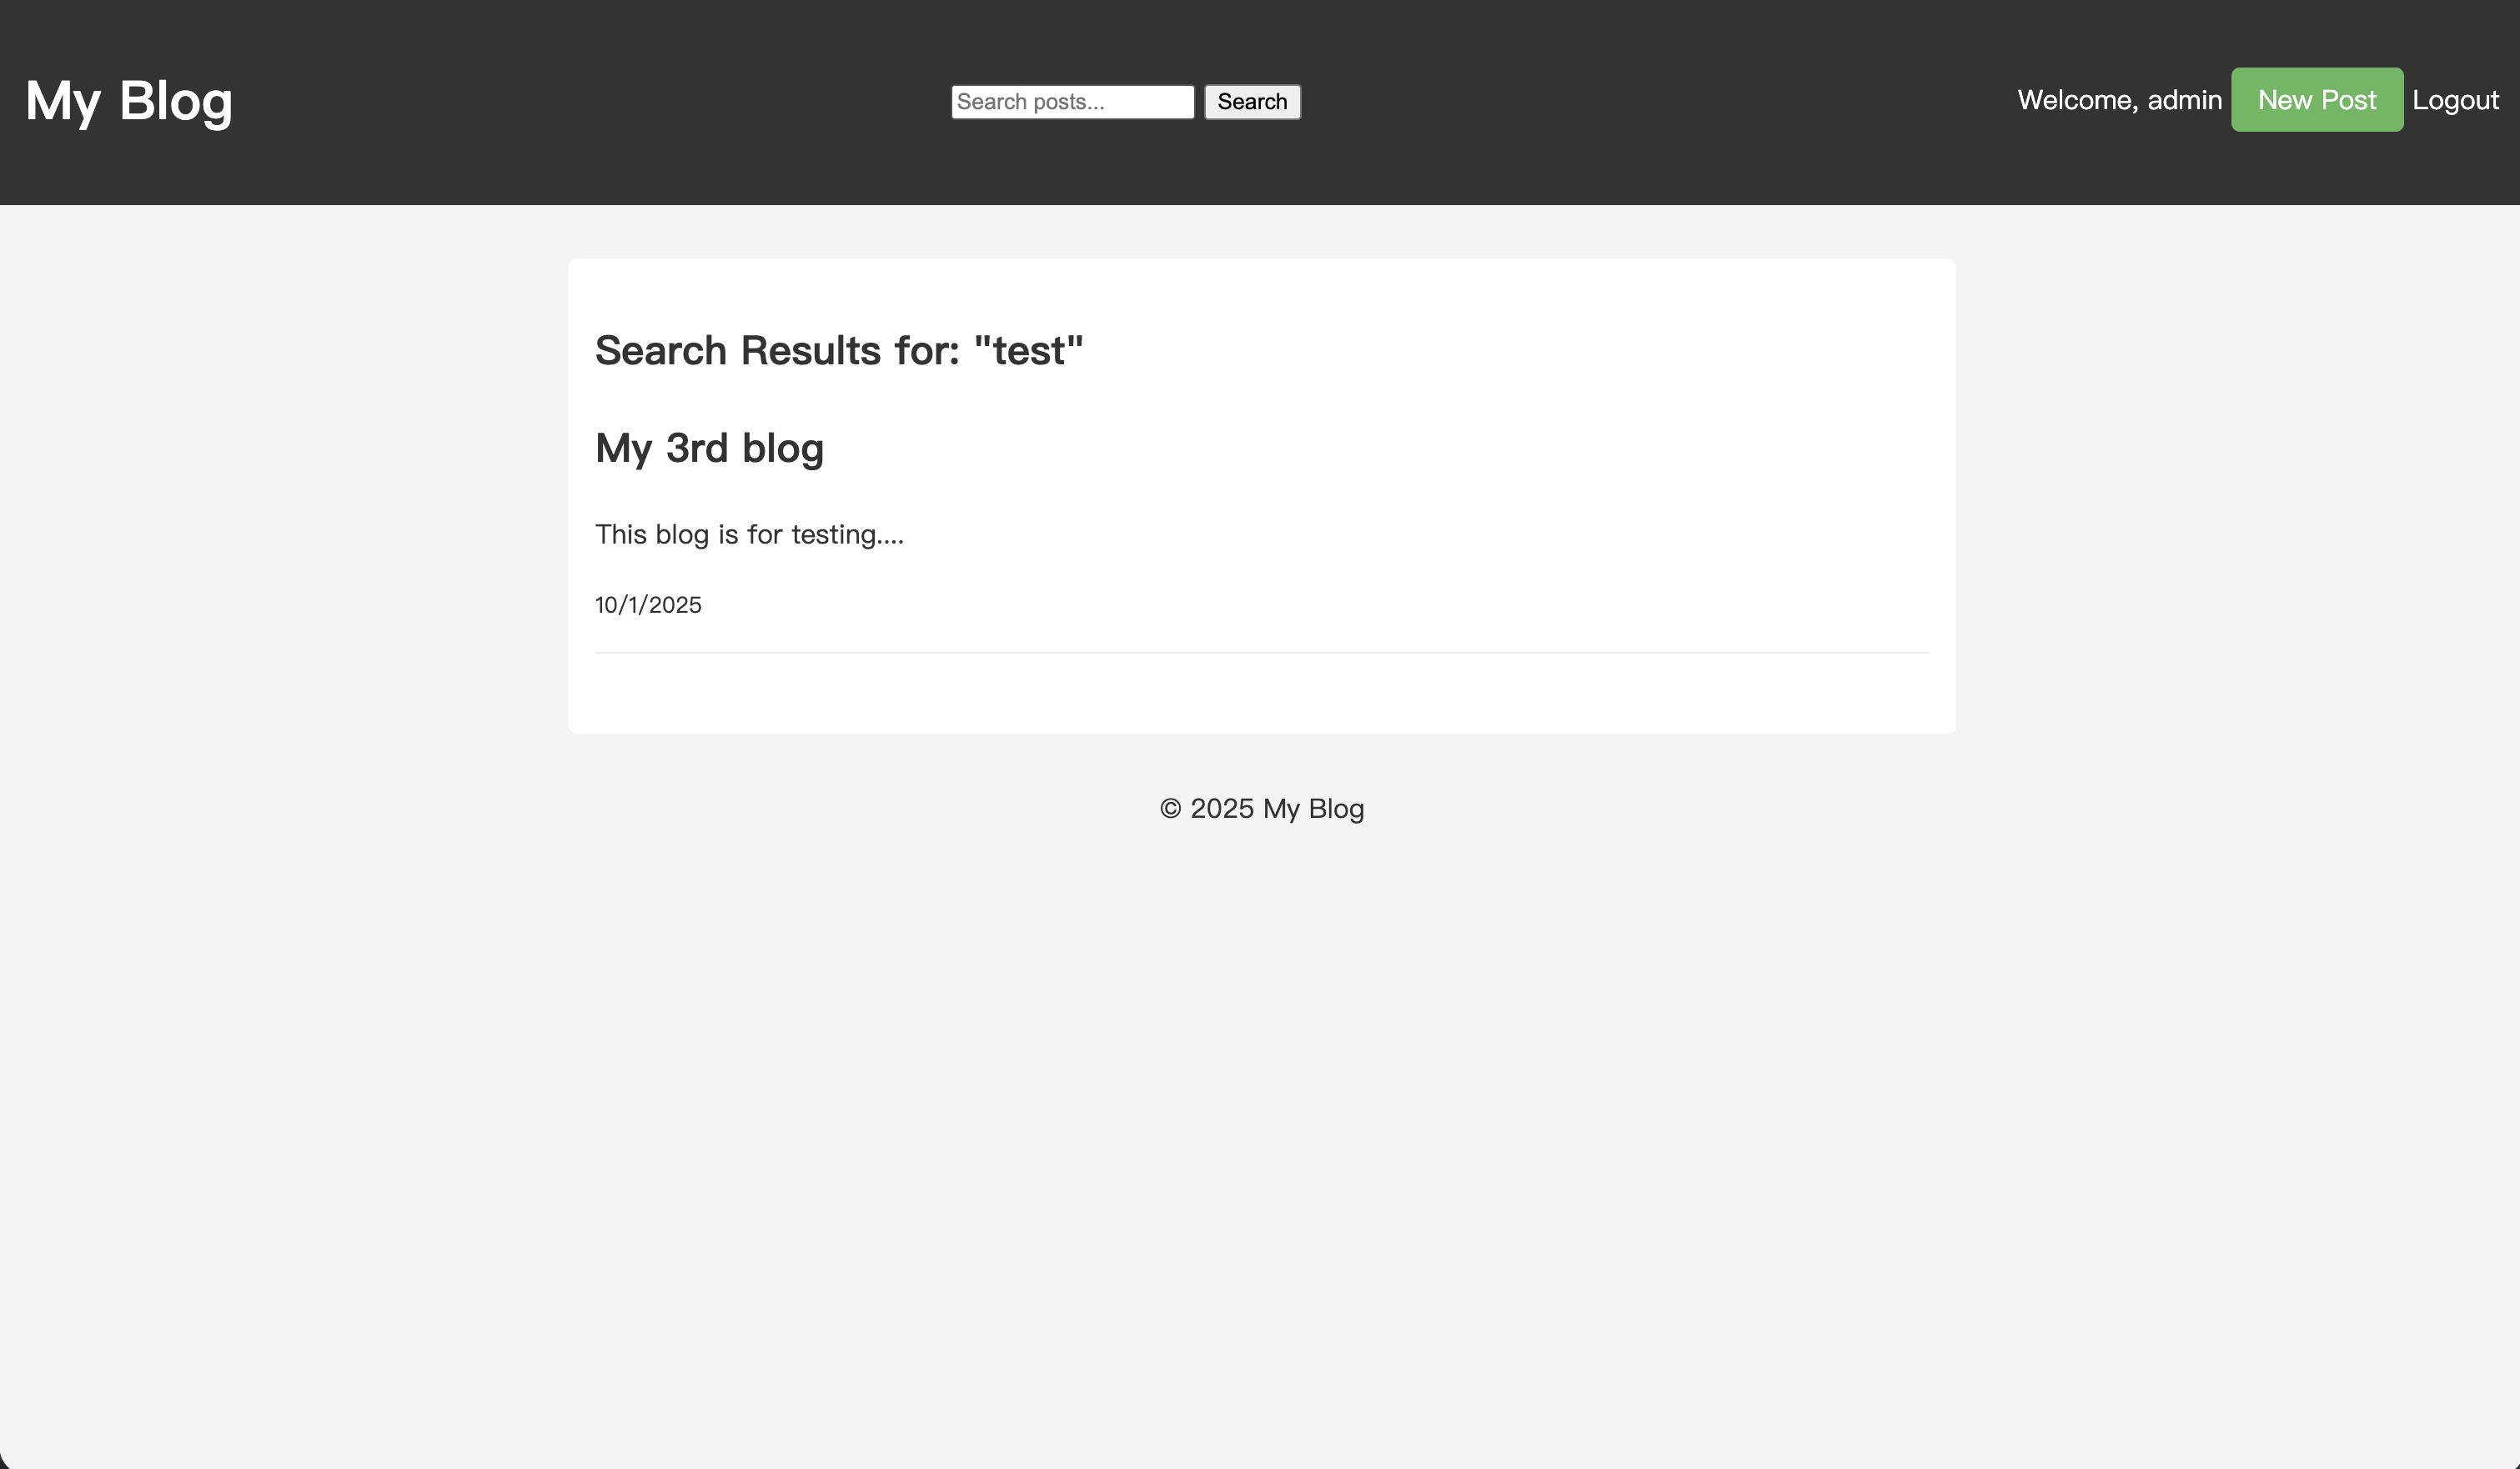
Let's write a new article with the keyword "testing".
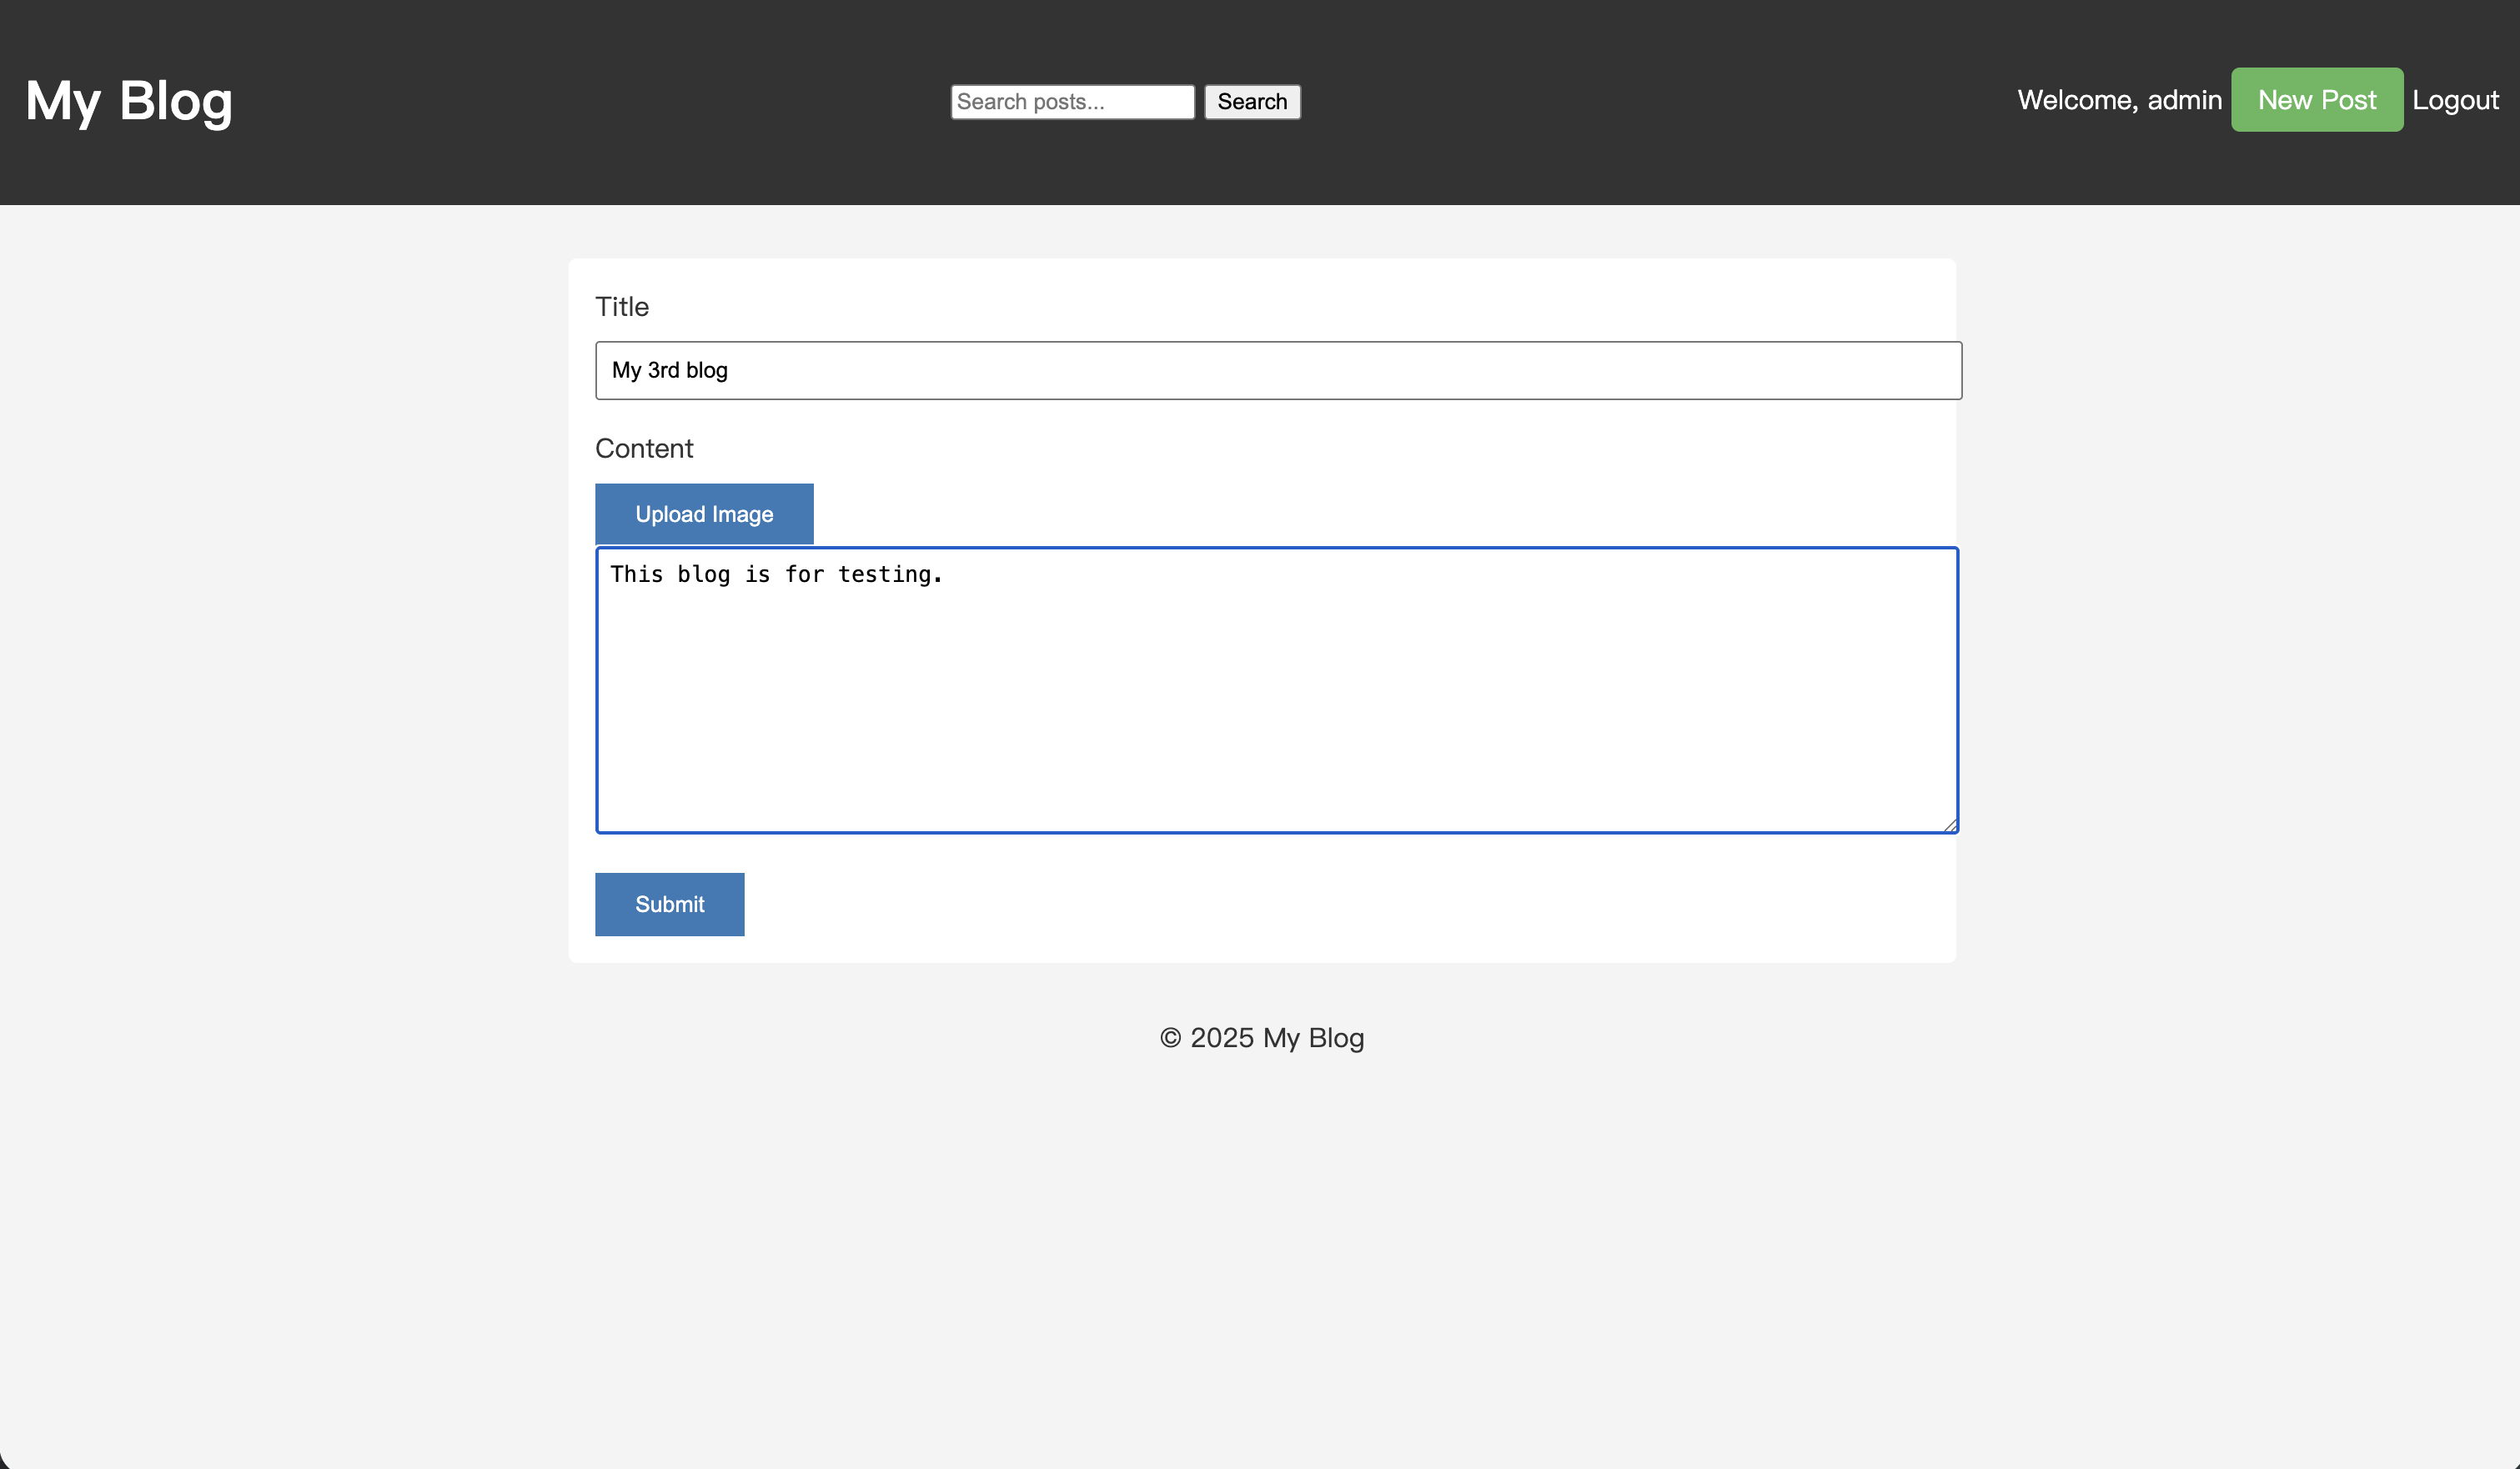
After saving the article, type "test" into the search box and perform a search.
On the search results page, the article you just created now appears in the results.
Your blog now supports full-text search. No matter how much you write, your readers will no longer get lost.
Previous Tutorials:
- Build a Great Nest.js Blog: Upload Image
- Build a Great Nest.js Blog: Reply Comment
- Build a Great Nest.js Blog: Comment System
- Build a Great Nest.js Blog: Add Authorization
- Build a Great Nest.js Blog: Add User System
- 10 Minutes from First Line of Code to Live Deployment: A Super Fast Nest.js Blog Course