Build a Great Nest.js Blog: Comment System
Takashi Yamamoto
Infrastructure Engineer · Leapcell

In the previous tutorial, we implemented user authentication using express-session. Now, users can register and log in to the blog, and we've also protected routes that require a login to access.
Since we can now clearly distinguish between readers and authors, isn't it a great time to add a feature for interaction between them?
In this article, we will add a basic but very core feature to our blog: a comment system.
Specifically, we will implement the following functionalities:
- Display a list of comments below each article.
- Allow logged-in users to post comments.
Step 1: Create the Data Model for Comments
Just like our previous Posts and Users, our Comments also need their own database table and a corresponding Entity file.
Create the Database Table
First, execute the following SQL statement in your PostgreSQL database to create the comment table. This table is linked to both the post table and the user table.
CREATE TABLE "comment" (
    "id" UUID PRIMARY KEY DEFAULT gen_random_uuid(),
    "content" TEXT NOT NULL,
    "createdAt" TIMESTAMPTZ NOT NULL DEFAULT NOW(),
    "postId" UUID REFERENCES "post"("id") ON DELETE CASCADE,
    "userId" UUID REFERENCES "user"("id") ON DELETE CASCADE
);
ON DELETE CASCADEmeans that when a Post or a User is deleted, all of its related comments will also be automatically deleted to ensure data consistency.
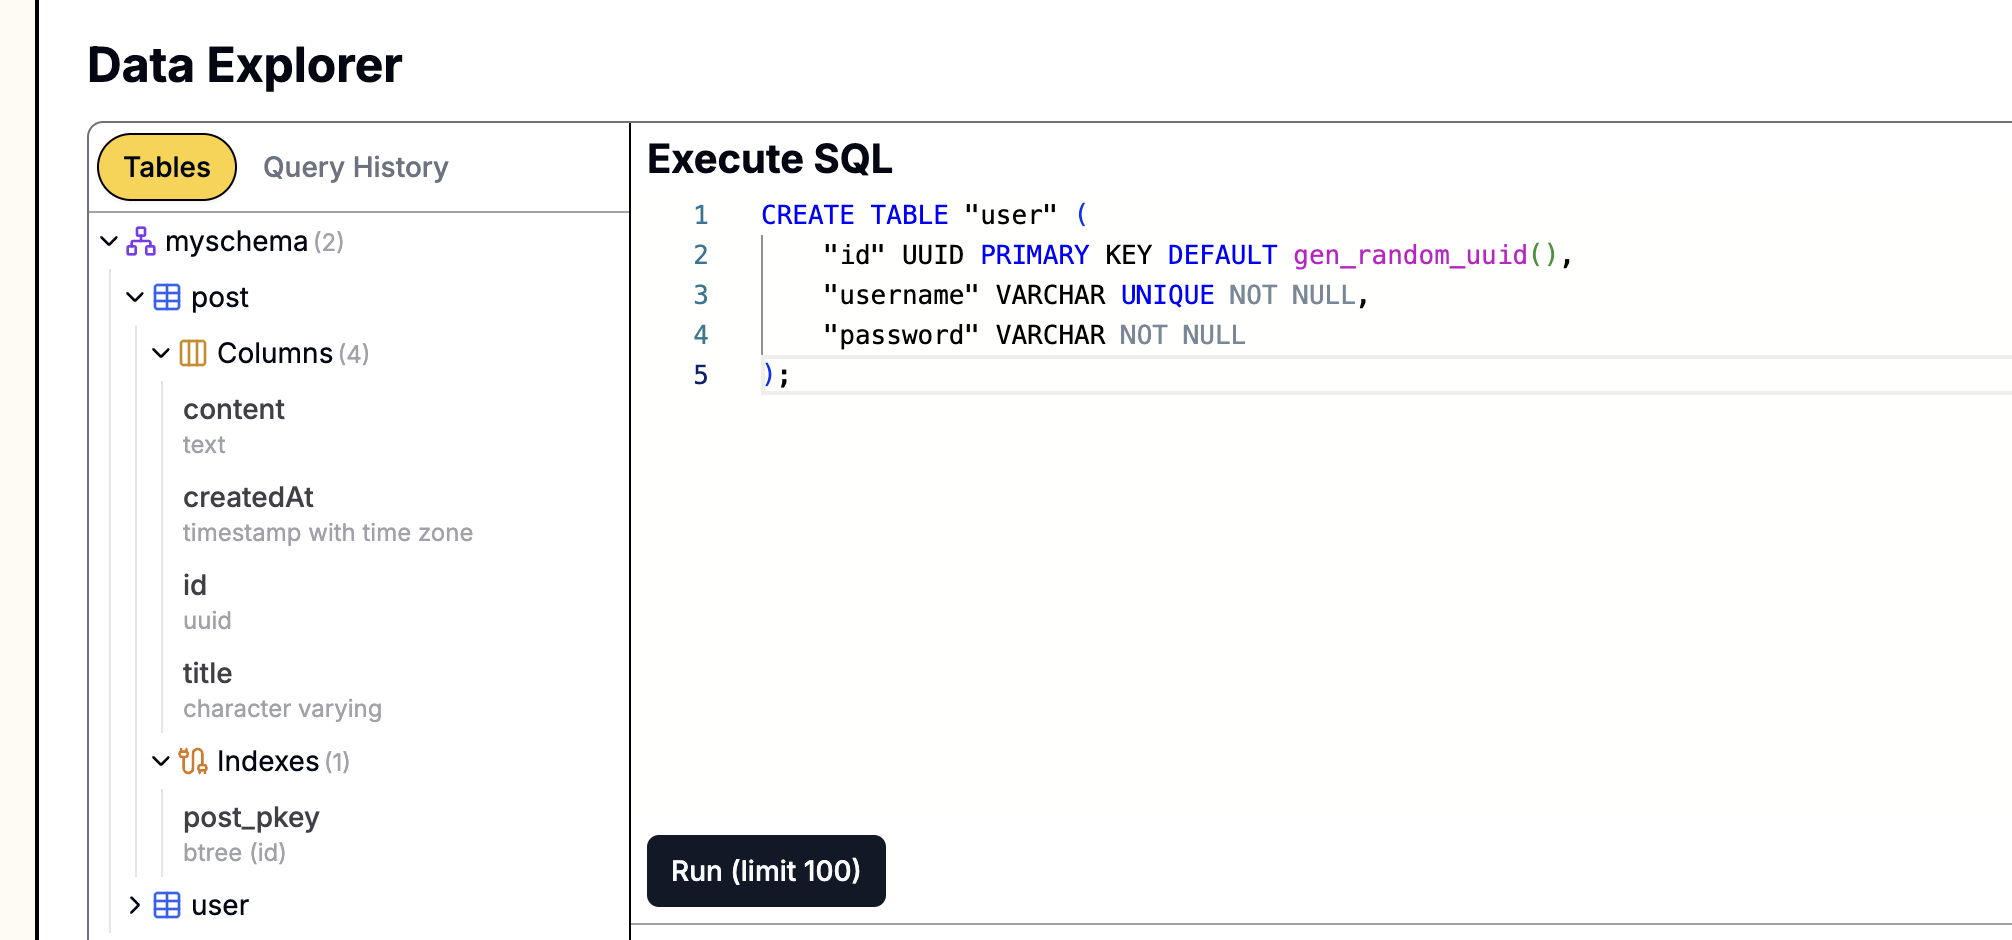
If your database was created on Leapcell,

you can easily execute SQL statements using the graphical interface. Just go to the Database management page on the website, paste the above statement into the SQL interface, and execute it.
Create the Comment Entity
Next, create a comments module to manage all logic related to comments.
nest generate module comments
nest generate service comments
nest generate controller comments
In the src/comments directory, create a file named comment.entity.ts:
// src/comments/comment.entity.ts
import { Entity, Column, PrimaryColumn, CreateDateColumn, ManyToOne } from 'typeorm';
import { User } from '../users/user.entity';
import { Post } from '../posts/post.entity';

@Entity()
export class Comment {
  @PrimaryColumn({ type: 'uuid', default: () => 'gen_random_uuid()' })
  id: string;

  @Column('text')
  content: string;

  @CreateDateColumn()
  createdAt: Date;

  @ManyToOne(() => User, (user) => user.comments)
  user: User;

  @ManyToOne(() => Post, (post) => post.comments)
  post: Post;
}
Update the Related Entities
We have defined the ManyToOne relationship from comments to users and posts. Now, we need to define the reverse OneToMany relationship in the User and Post entities.
Update src/users/user.entity.ts:
// src/users/user.entity.ts
import { Entity, Column, PrimaryColumn, OneToMany } from 'typeorm';
import { Comment } from '../comments/comment.entity'; // Import Comment

@Entity()
export class User {
  @PrimaryColumn({ type: 'uuid', default: () => 'gen_random_uuid()' })
  id: string;

  @Column({ unique: true })
  username: string;

  @Column()
  password: string;

  @OneToMany(() => Comment, (comment) => comment.user) // Add relationship
  comments: Comment[];
}
Update src/posts/post.entity.ts:
// src/posts/post.entity.ts
import { Entity, Column, PrimaryColumn, CreateDateColumn, OneToMany } from 'typeorm';
import { Comment } from '../comments/comment.entity'; // Import Comment

@Entity()
export class Post {
  @PrimaryColumn({ type: 'uuid', default: () => 'gen_random_uuid()' })
  id: string;

  @Column()
  title: string;

  @Column('text')
  content: string;

  @CreateDateColumn()
  createdAt: Date;

  @OneToMany(() => Comment, (comment) => comment.post) // Add relationship
  comments: Comment[];
}
Step 2: Implement the Comment Service
Next, we'll write the CommentsService, which will handle the logic for creating and querying comments.
Register the Comment Entity
Open src/comments/comments.module.ts, register the TypeOrmModule, and export the CommentsService so that other modules can use it.
// src/comments/comments.module.ts
import { Module } from '@nestjs/common';
import { TypeOrmModule } from '@nestjs/typeorm';
import { CommentsService } from './comments.service';
import { Comment } from './comment.entity';
import { CommentsController } from './comments.controller';

@Module({
  imports: [TypeOrmModule.forFeature([Comment])],
  providers: [CommentsService],
  controllers: [CommentsController],
  exports: [CommentsService], // Export the Service
})
export class CommentsModule {}
Write the Service Logic
Modify the src/comments/comments.service.ts file to add methods for creating and querying comments.
// src/comments/comments.service.ts
import { Injectable } from '@nestjs/common';
import { InjectRepository } from '@nestjs/typeorm';
import { Repository } from 'typeorm';
import { Comment } from './comment.entity';
import { Post } from '../posts/post.entity';
import { User } from '../users/user.entity';

@Injectable()
export class CommentsService {
  constructor(
    @InjectRepository(Comment)
    private commentsRepository: Repository<Comment>
  ) {}

  // Find all comments by post ID, and include user information
  findByPostId(postId: string): Promise<Comment[]> {
    return this.commentsRepository.find({
      where: { post: { id: postId } },
      relations: ['user'], // Key: also load the associated user object
      order: {
        createdAt: 'ASC', // Sort in ascending order by time
      },
    });
  }

  // Create a comment
  async create(content: string, user: User, post: Post): Promise<Comment> {
    const newComment = this.commentsRepository.create({
      content,
      user,
      post,
    });
    return this.commentsRepository.save(newComment);
  }
}
relations: ['user']is a very useful feature of TypeORM. It tells TypeORM to automatically fetch and populate the associateduserobject via the foreign key when querying comments. This makes it easy to get the username of the comment's author.
Step 3: Submitting and Displaying Comments
Now, we need to integrate the comment functionality into the article page.
To do this, we'll add logic to the CommentsController to accept comment submissions and update the PostsController to display comments on the article page.
Implement CommentsController
Modify src/comments/comments.controller.ts:
// src/comments/comments.controller.ts
import { Controller, Post, Body, Param, Req, Res, UseGuards } from '@nestjs/common';
import { CommentsService } from './comments.service';
import { AuthenticatedGuard } from '../auth/authenticated.guard';
import type { Response, Request } from 'express';

@Controller('posts/:postId/comments')
export class CommentsController {
  constructor(private readonly commentsService: CommentsService) {}

  @UseGuards(AuthenticatedGuard) // Ensure only logged-in users can comment
  @Post()
  async create(
    @Param('postId') postId: string,
    @Body('content') content: string,
    @Req() req: Request,
    @Res() res: Response
  ) {
    // req.session.user is added by express-session
    const { user } = req.session as any;

    // Note: In a real application, you need to verify that postId exists
    await this.commentsService.create(content, user, { id: postId } as any);

    res.redirect(`/posts/${postId}`); // After successfully commenting, redirect back to the article page
  }
}
Update PostsController
Modify the findOne method of the PostsController so that when rendering the article detail page, it also fetches and passes all the comments for that article.
First, import CommentsModule in src/posts/posts.module.ts so that PostsModule can use CommentsService.
// src/posts/posts.module.ts
// ...
import { CommentsModule } from '../comments/comments.module';

@Module({
  imports: [TypeOrmModule.forFeature([Post]), CommentsModule], // Import CommentsModule
  controllers: [PostsController],
  providers: [PostsService],
})
export class PostsModule {}
Then update src/posts/posts.controller.ts:
// src/posts/posts.controller.ts
import { Controller, Get, Render, Param, Request /* ... */ } from '@nestjs/common';
import { PostsService } from './posts.service';
import { CommentsService } from '../comments/comments.service'; // Import CommentsService
// ...

@Controller('posts')
export class PostsController {
  constructor(
    private readonly postsService: PostsService,
    private readonly commentsService: CommentsService // Inject CommentsService
  ) {}

  // ... other methods remain unchanged

  @Get(':id')
  @Render('post')
  async post(@Param('id') id: string, @Request() req) {
    const post = await this.postsService.findOne(id);
    const comments = await this.commentsService.findByPostId(id); // Get comments
    return { post, user: req.session.user, comments }; // Pass comments to the template
  }
}
Step 4: Update the Frontend View
The final step is to modify the EJS template to display the comment list and the comment form.
Open views/post.ejs and add the following code below the article content:
<a href="/" class="back-link">← Back to Home</a> <section class="comments-section"> <h3>Comments</h3> <div class="comment-list"> <% if (comments.length > 0) { %> <% comments.forEach(comment => { %> <div class="comment-item"> <p class="comment-content"><%= comment.content %></p> <small> By <strong><%= comment.user.username %></strong> on <%= new Date(comment.createdAt).toLocaleDateString() %> </small> </div> <% }) %> <% } else { %> <p>No comments yet. Be the first to comment!</p> <% } %> </div> <% if (user) { %> <form action="/posts/<%= post.id %>/comments" method="POST" class="comment-form"> <h4>Leave a Comment</h4> <div class="form-group"> <textarea name="content" rows="4" placeholder="Write your comment here..." required></textarea> </div> <button type="submit">Submit Comment</button> </form> <% } else { %> <p><a href="/auth/login">Login</a> to leave a comment.</p> <% } %> </section> <%- include('_footer') %>
To make the page look better, you can add some styles to public/css/style.css:
/* ... other styles ... */
.comments-section {
  margin-top: 3rem;
  border-top: 1px solid #eee;
  padding-top: 2rem;
}
.comment-list .comment-item {
  background: #f9f9f9;
  border: 1px solid #ddd;
  padding: 1rem;
  border-radius: 5px;
  margin-bottom: 1rem;
}
.comment-content {
  margin-top: 0;
}
.comment-item small {
  color: #666;
}
.comment-form {
  margin-top: 2rem;
}
.comment-form textarea {
  width: 100%;
  padding: 0.5rem;
  margin-bottom: 1rem;
}
Run and Test
Restart your application:
npm run start:dev
Open your browser and visit the webpage: http://localhost:3000/
Navigate to any article, and you will now see the comments section.
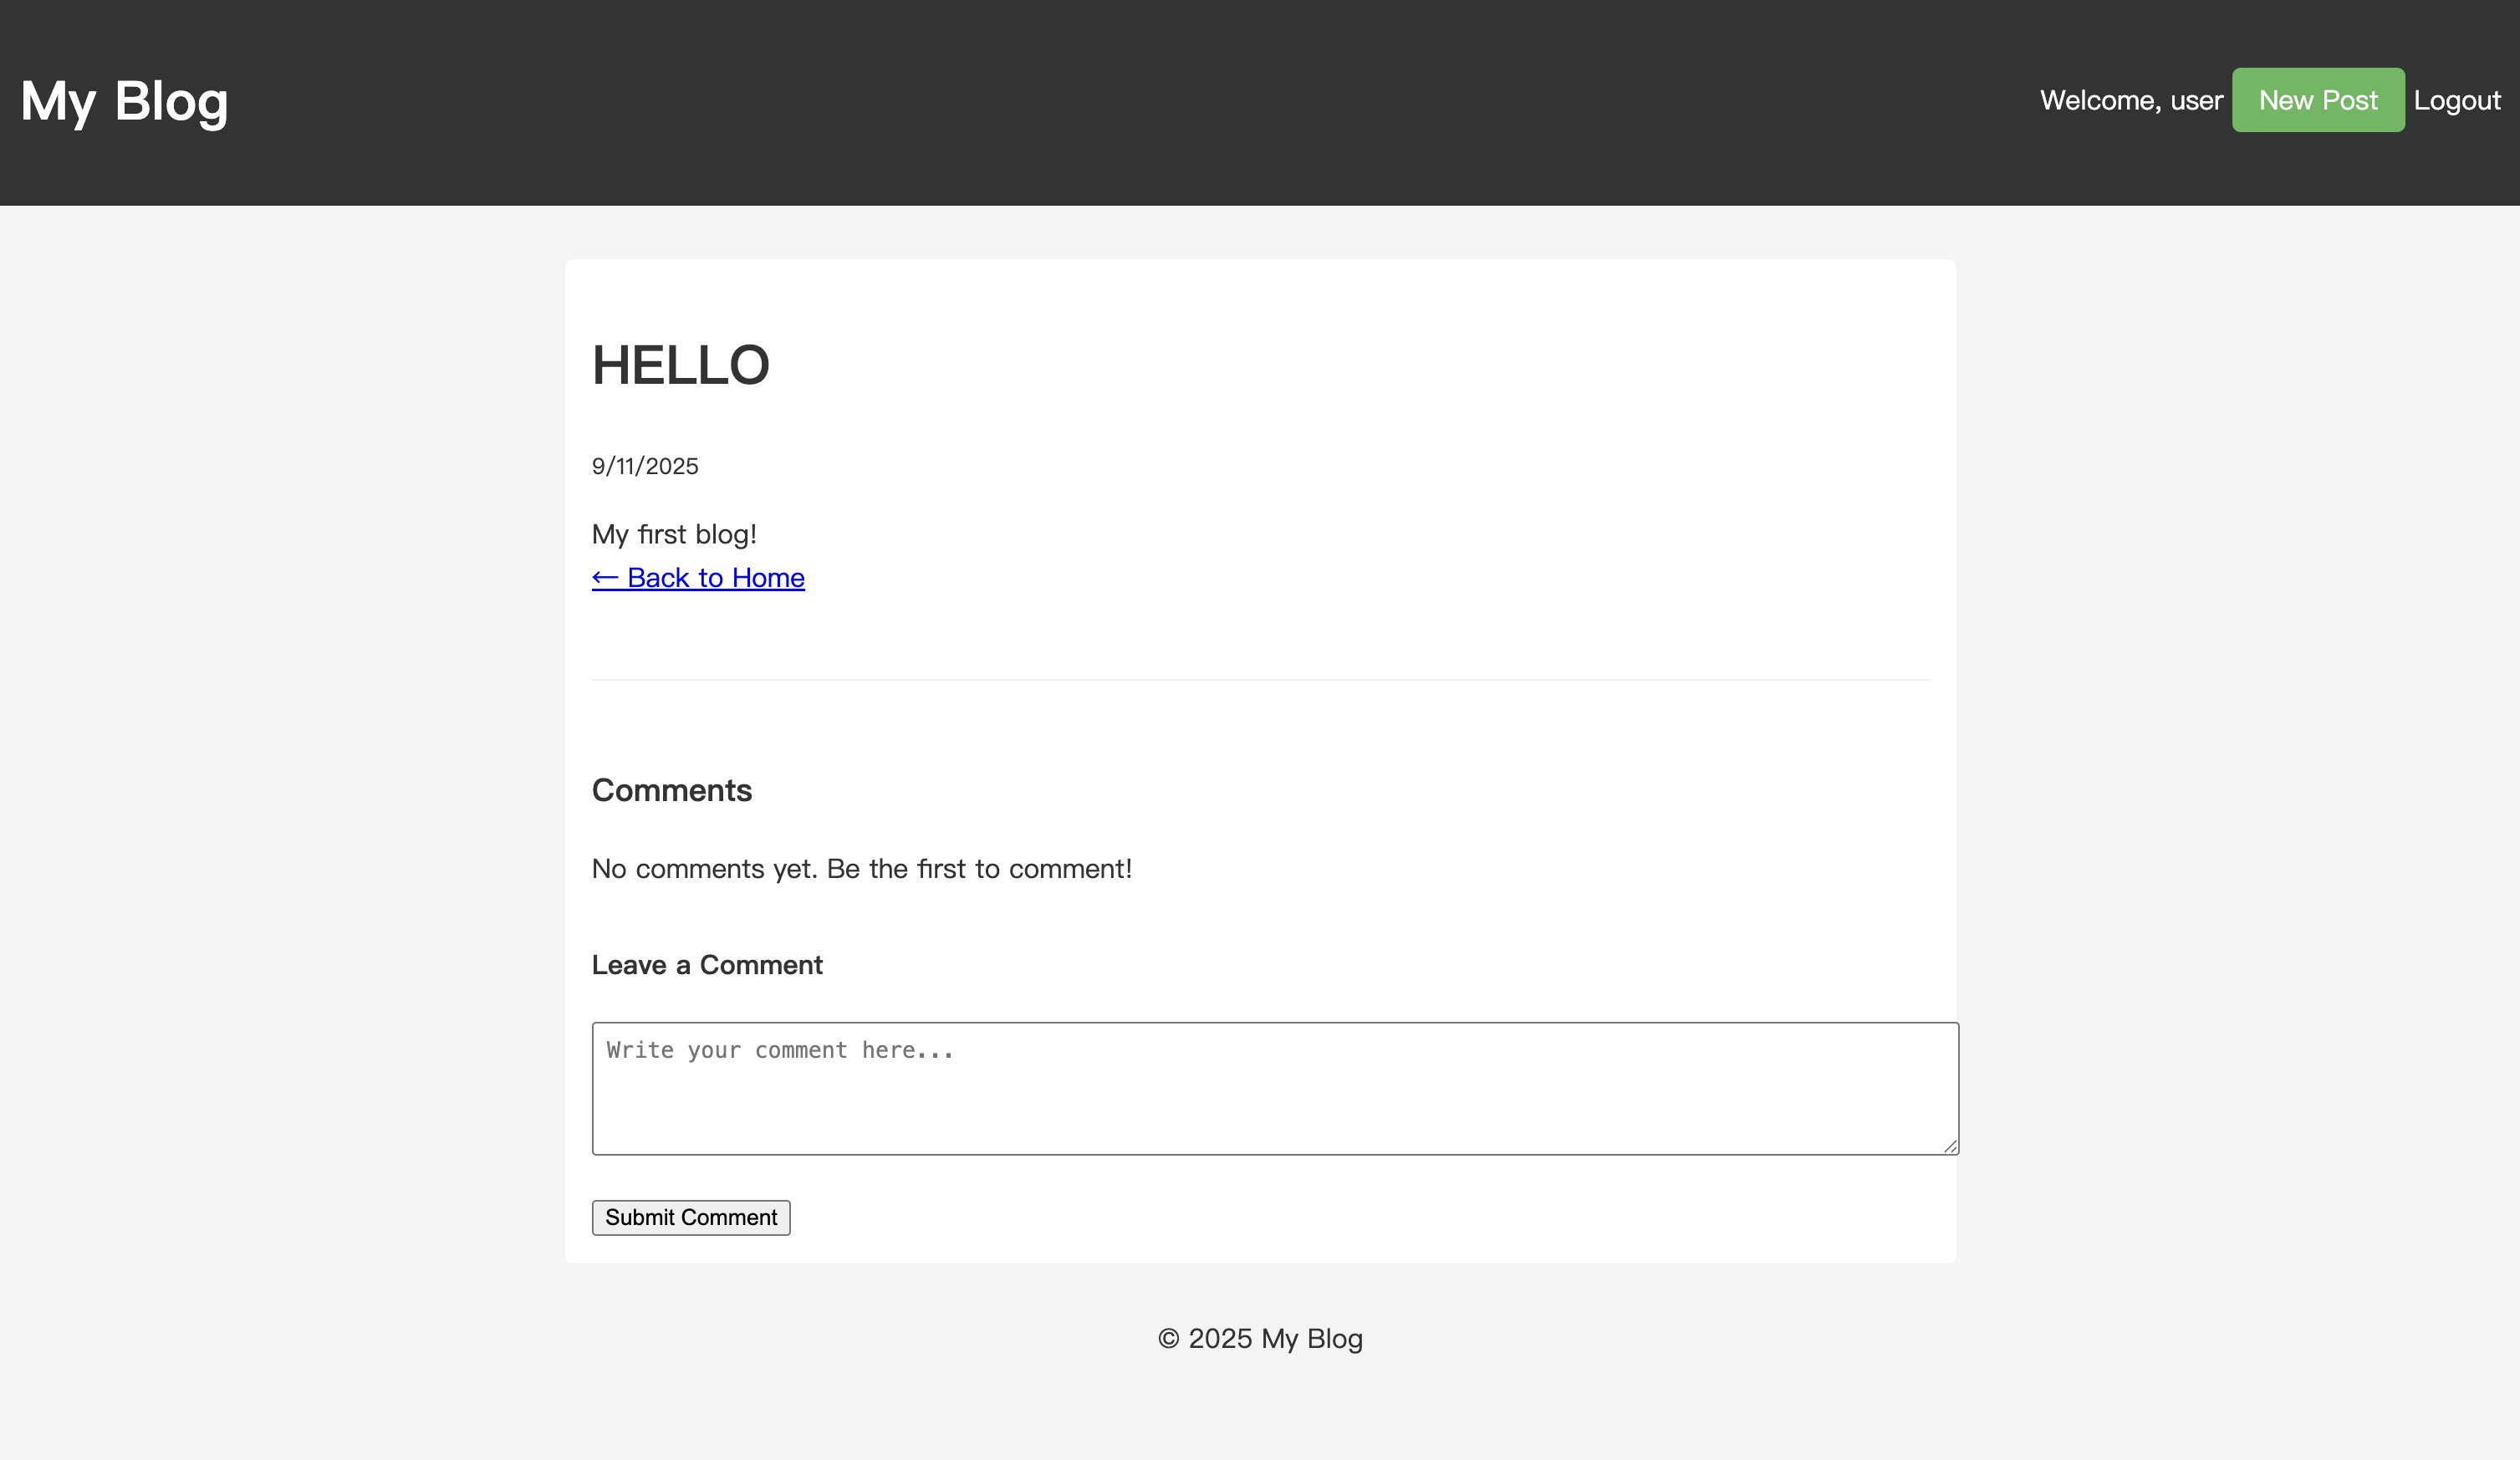
Enter content into the comment box and submit it. After the page refreshes, you will be able to see the comment you just posted in the comment list.
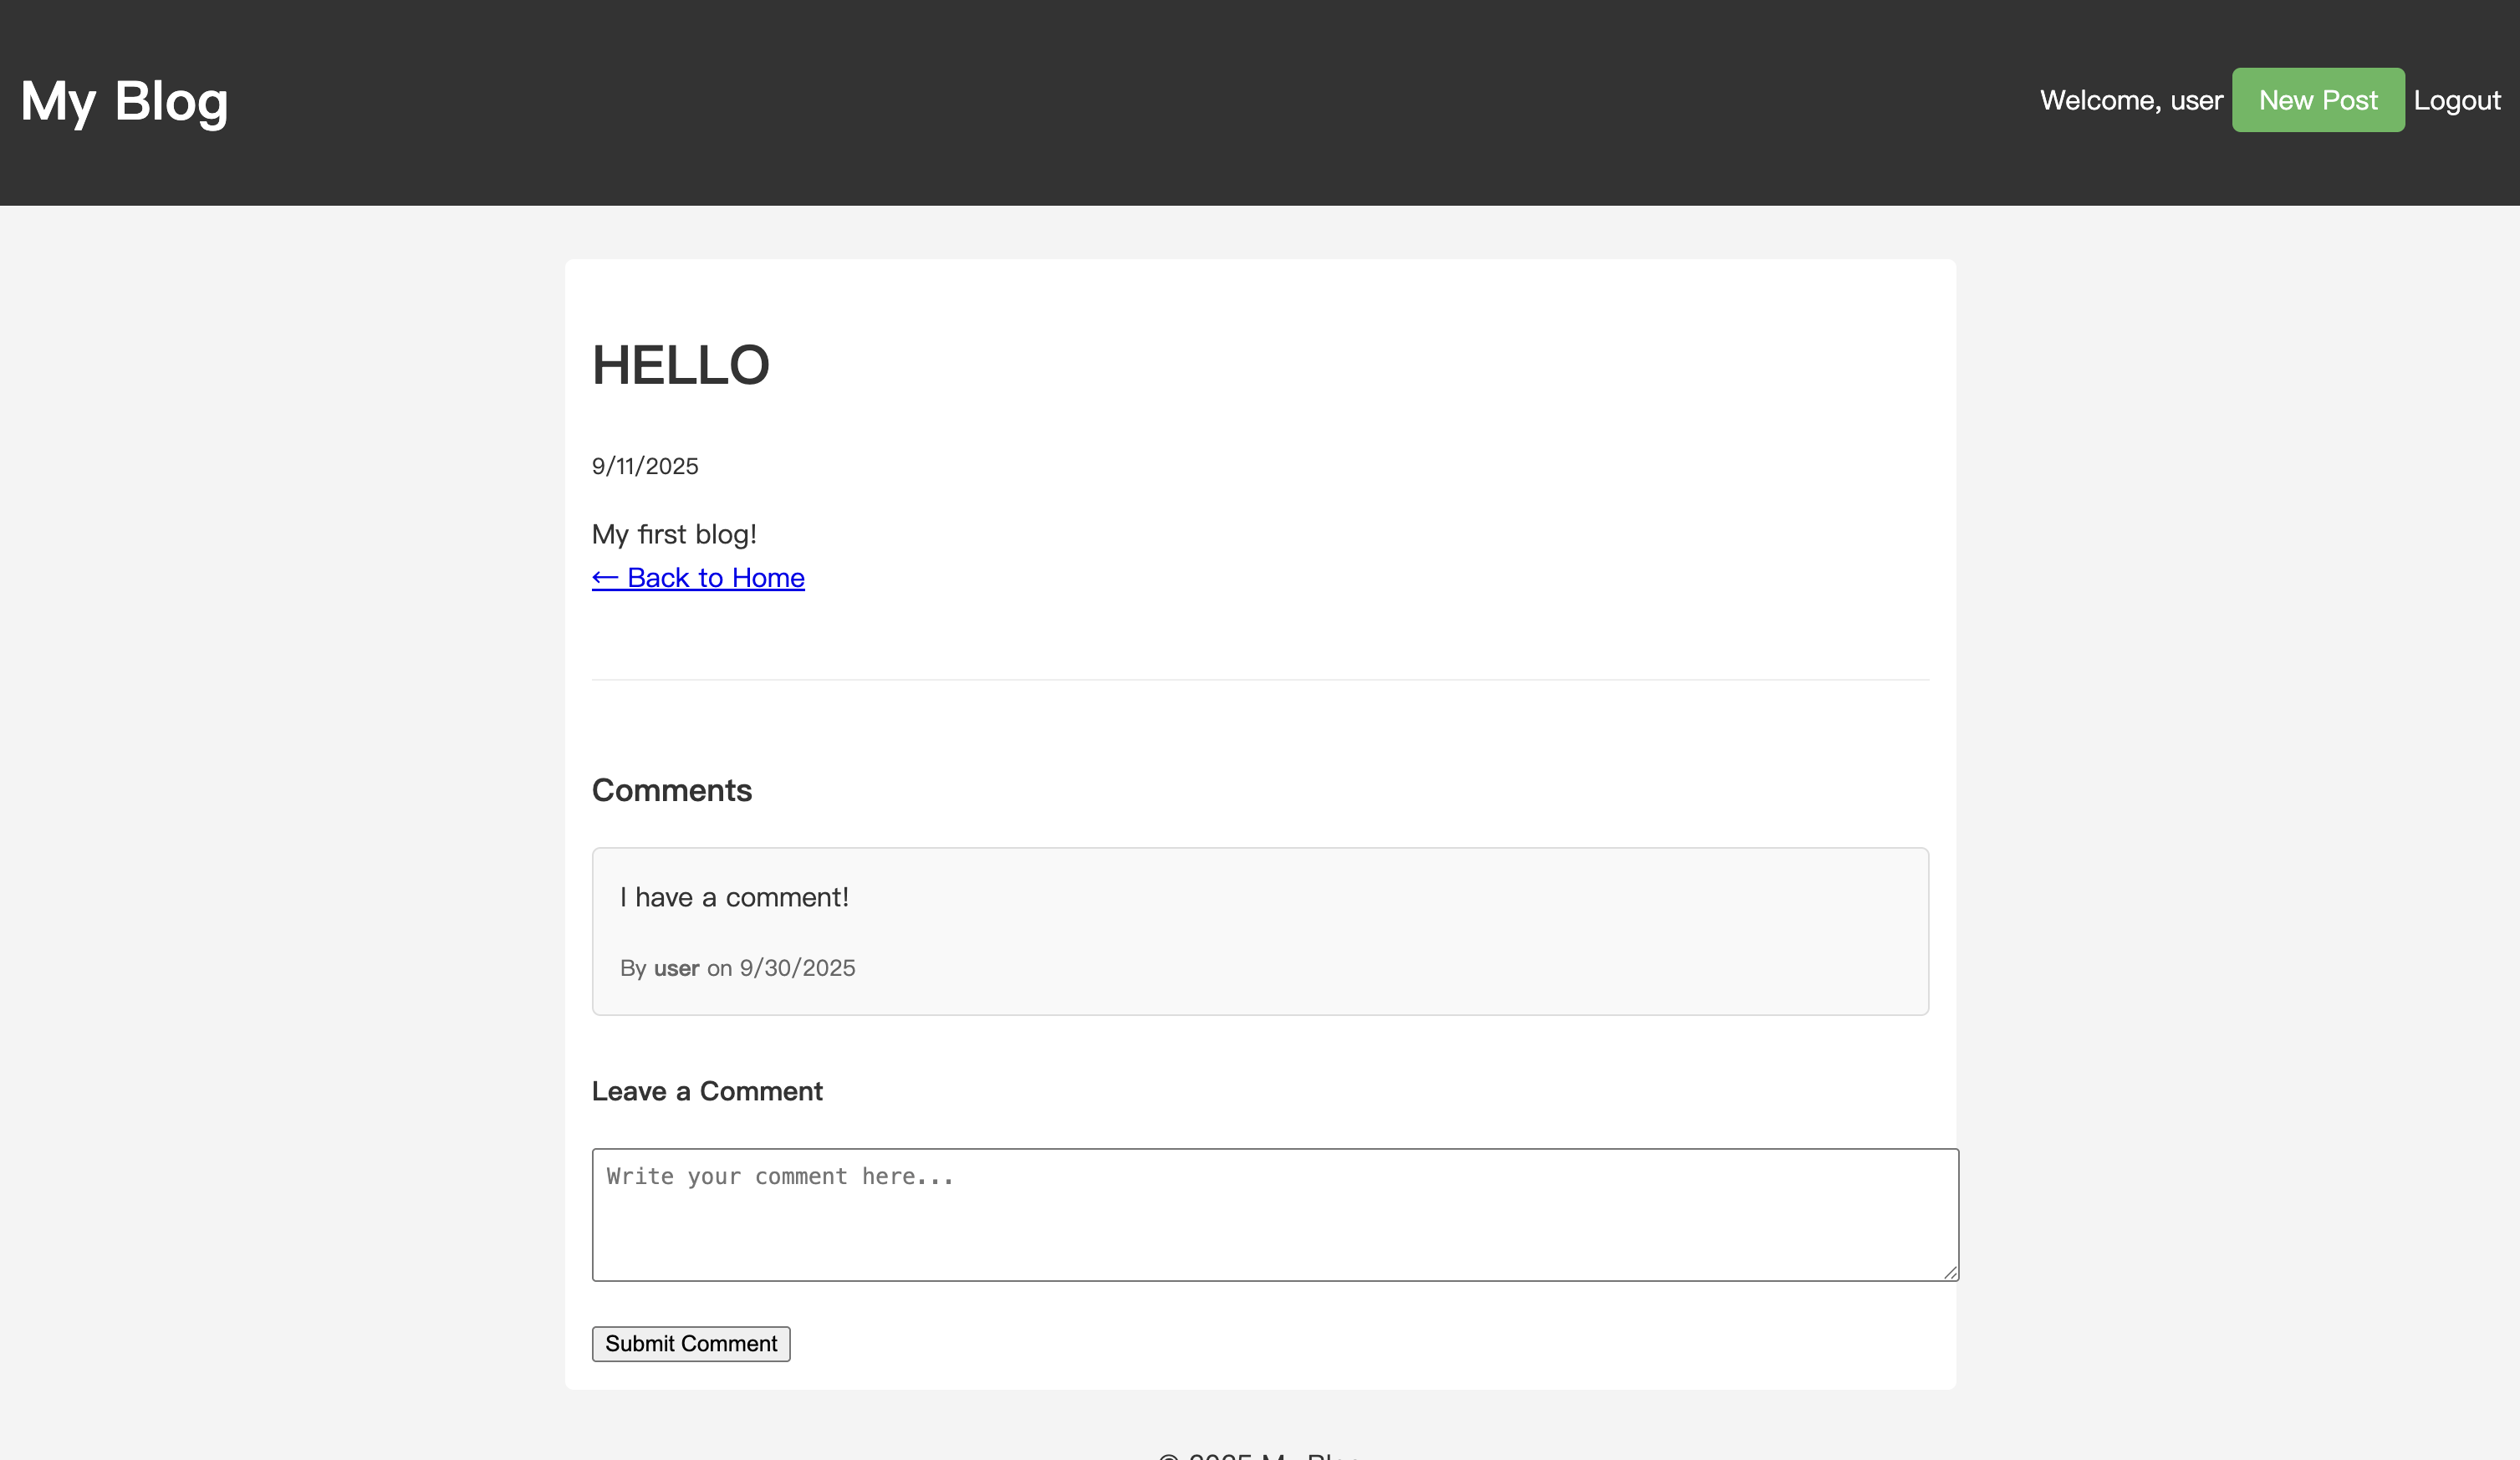
Congratulations, you have successfully added a comment system to your blog!
Of course, the current comment functionality is still quite basic. In the next article, we will continue to enhance this feature by implementing logic for authors to reply to comments, taking the blog's interactivity to the next level.
Previous Tutorials: