Build Your Own Forum with FastAPI: Step 9 - Upload Images
Ethan Miller
Product Engineer · Leapcell

In the previous article, we used PostgreSQL's built-in full-text search feature to enable post searching in our forum.
Next, we'll continue to enrich our site's functionality by adding support for uploading images in posts.
The process for uploading images is as follows:
- The user selects an image file and submits it.
- After FastAPI receives the data, it forwards the image file to a dedicated object storage service, such as S3.
Why not store it directly on the server?
While this is convenient, it has several problems:
- You need to maintain persistent storage for the images. This means ensuring that image files are not lost every time you deploy the application.
- Serving images from the server will consume the server's expensive bandwidth and computing resources. Handling this with object storage doesn't use server compute resources, and the bandwidth is much cheaper.
That's why we need to use an external object storage service like S3.
Step 1: Prepare an S3 Storage Bucket
You'll need an S3-compatible storage service. You can choose:
- Leapcell. Leapcell is a platform that provides all-in-one backend services, allowing you to build websites, deploy databases, and it also includes S3-compatible object storage.
- Amazon S3 (AWS official service)
- Other cloud providers, as long as they are marked as S3-compatible.
Next, we'll use Leapcell as an example.

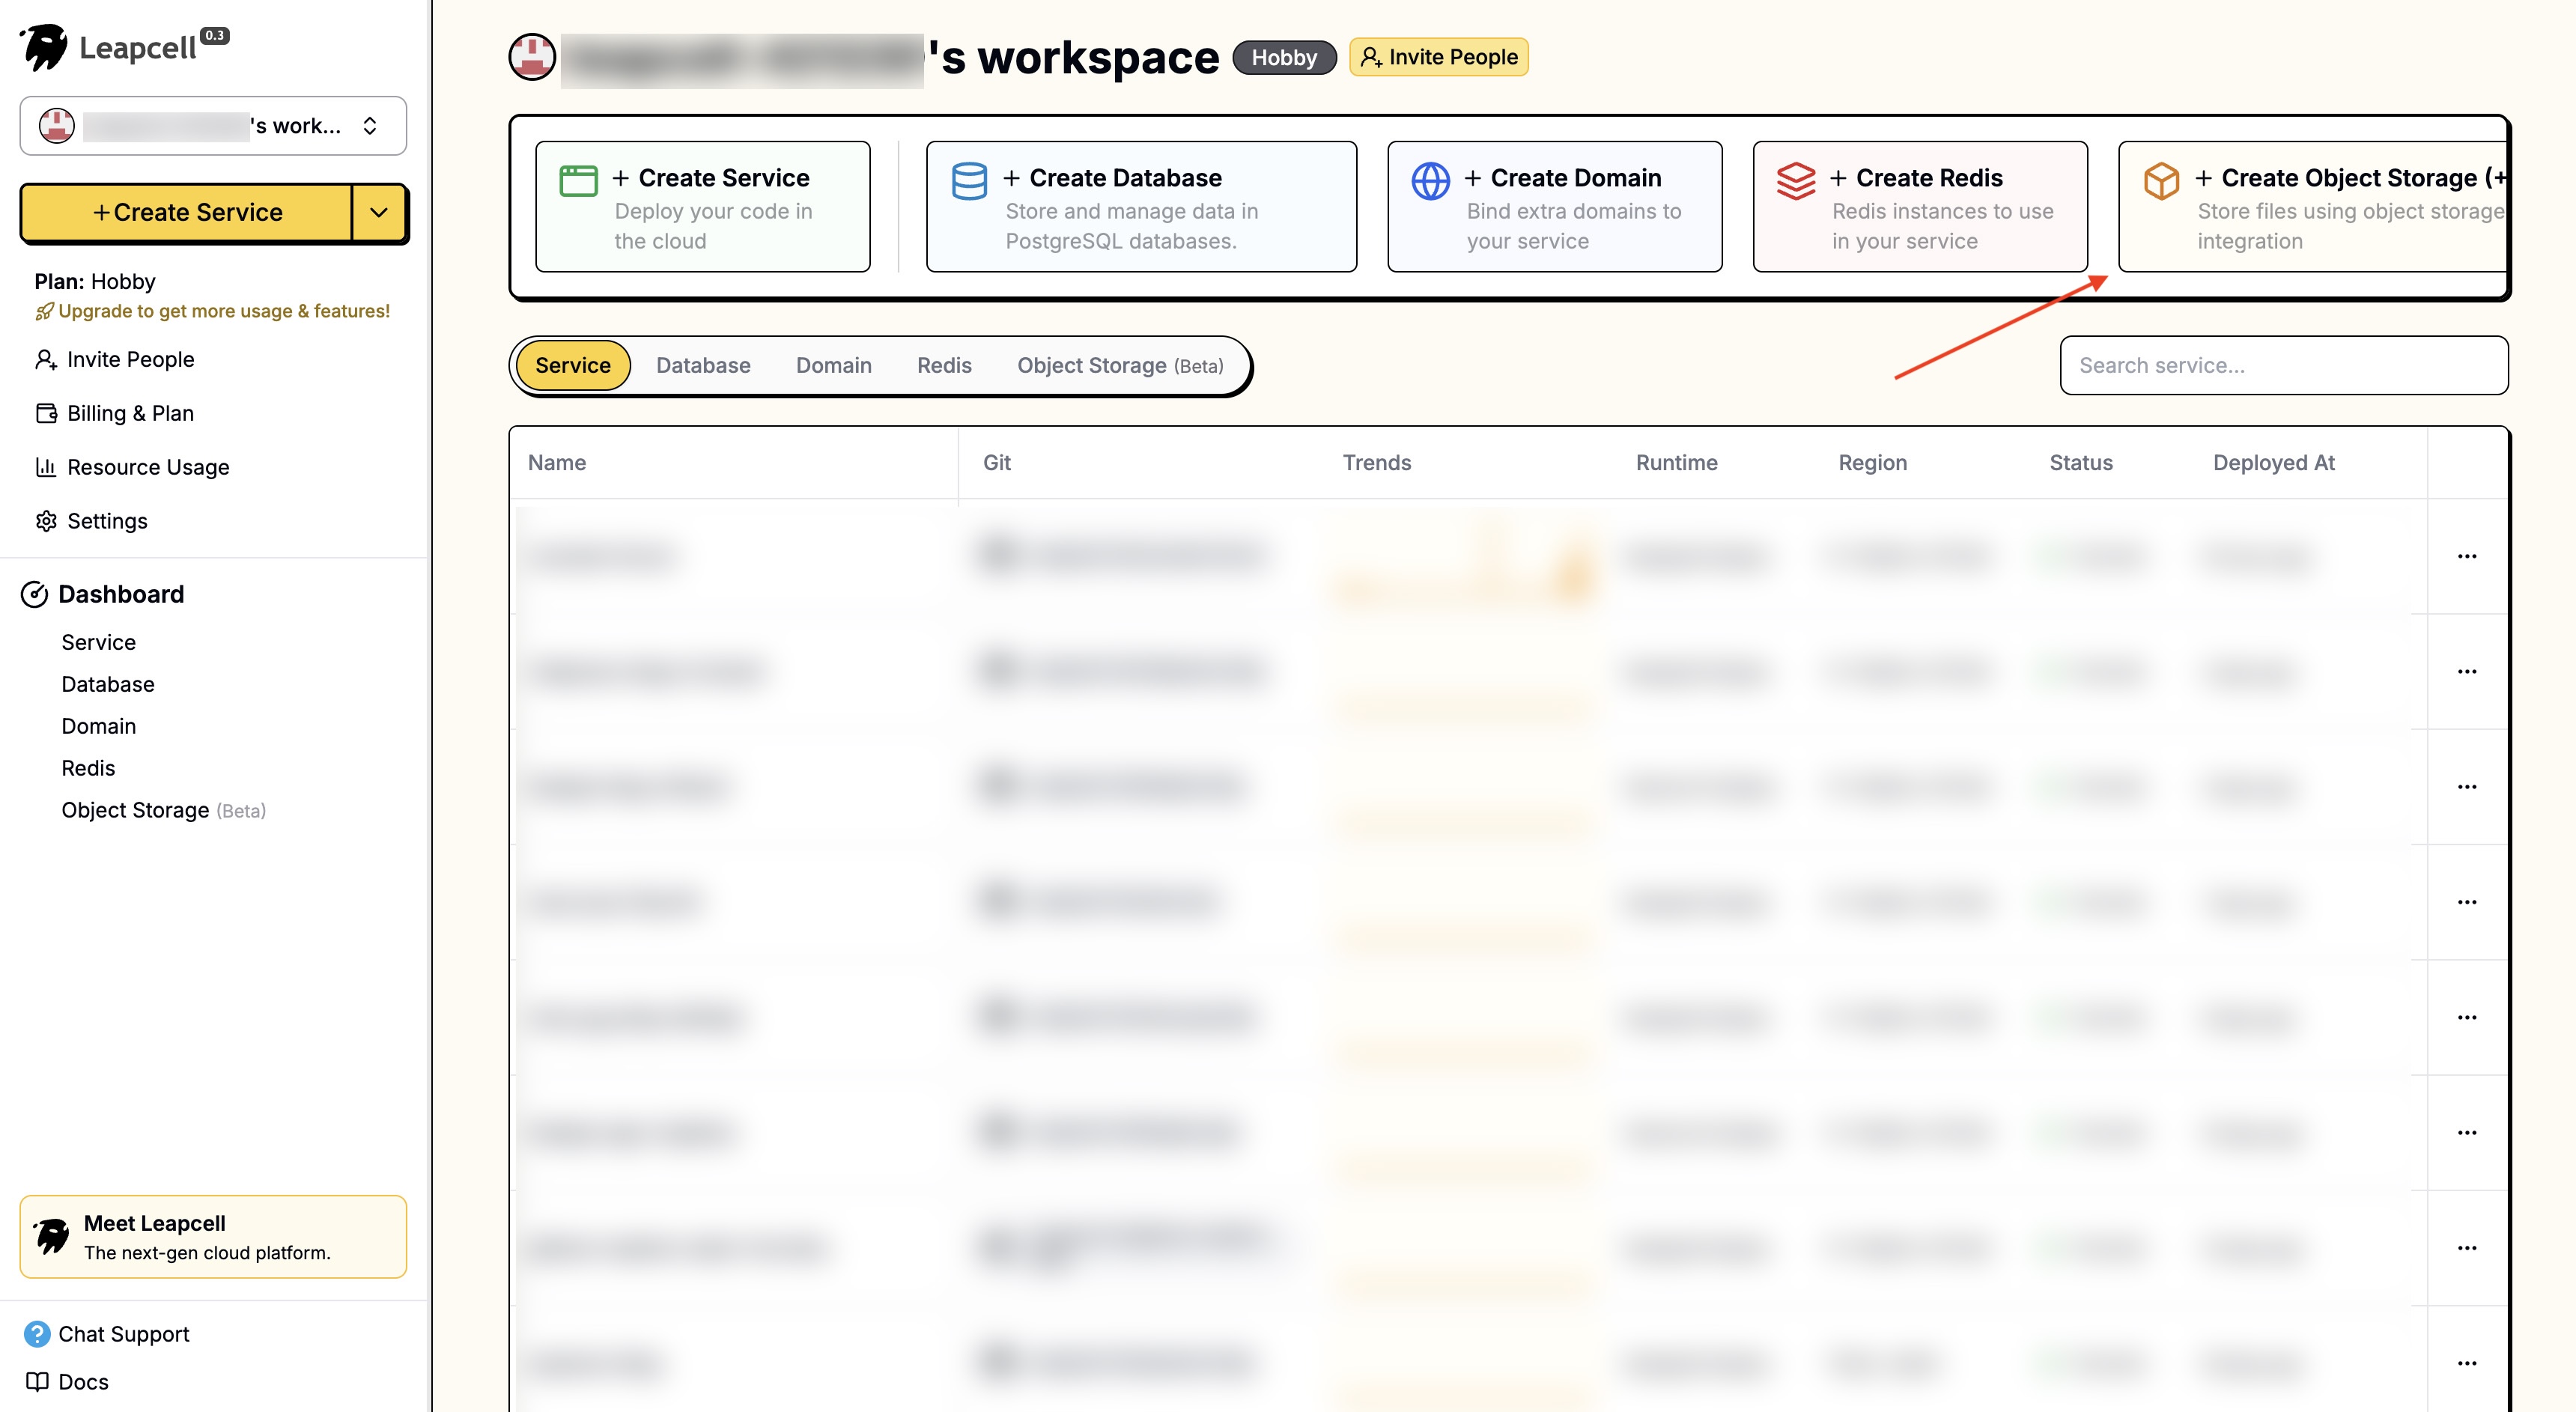
Log in to the Leapcell main interface and click "Create Object Storage".
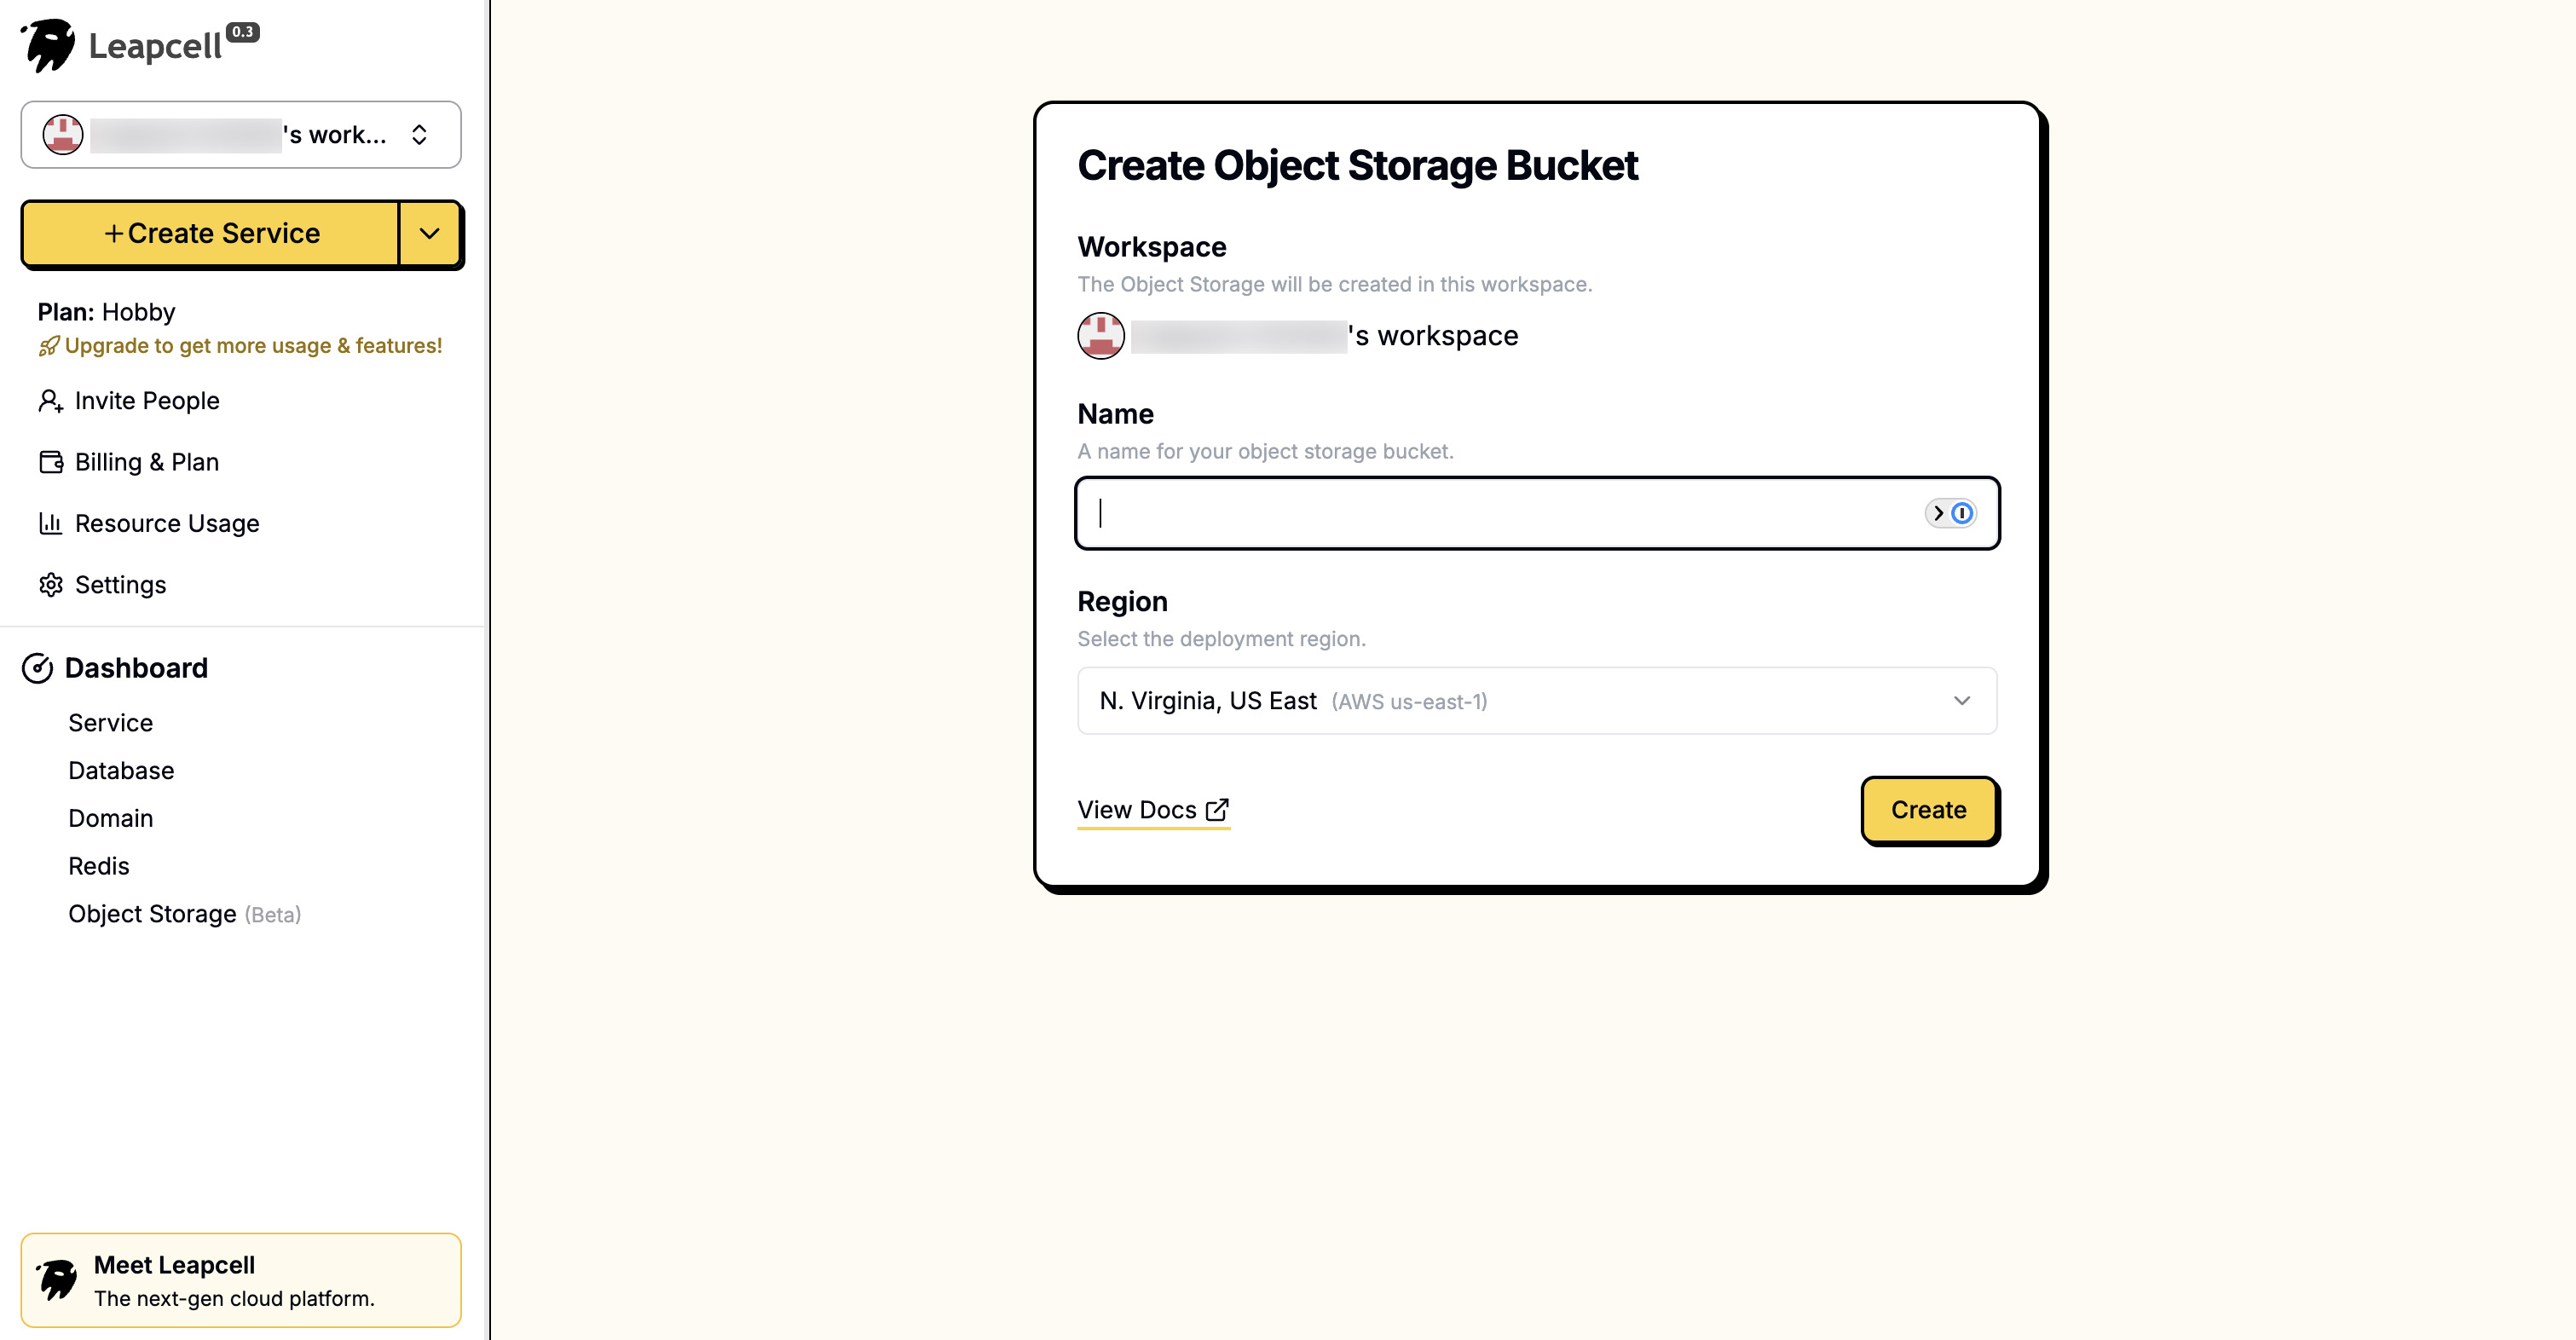
Fill in a name to create the Object Storage.
On the Object Storage details page, you can see the Endpoint, Access Key ID, and Secret Access Key, which are the parameters used for connection. We will use them in our backend configuration later.
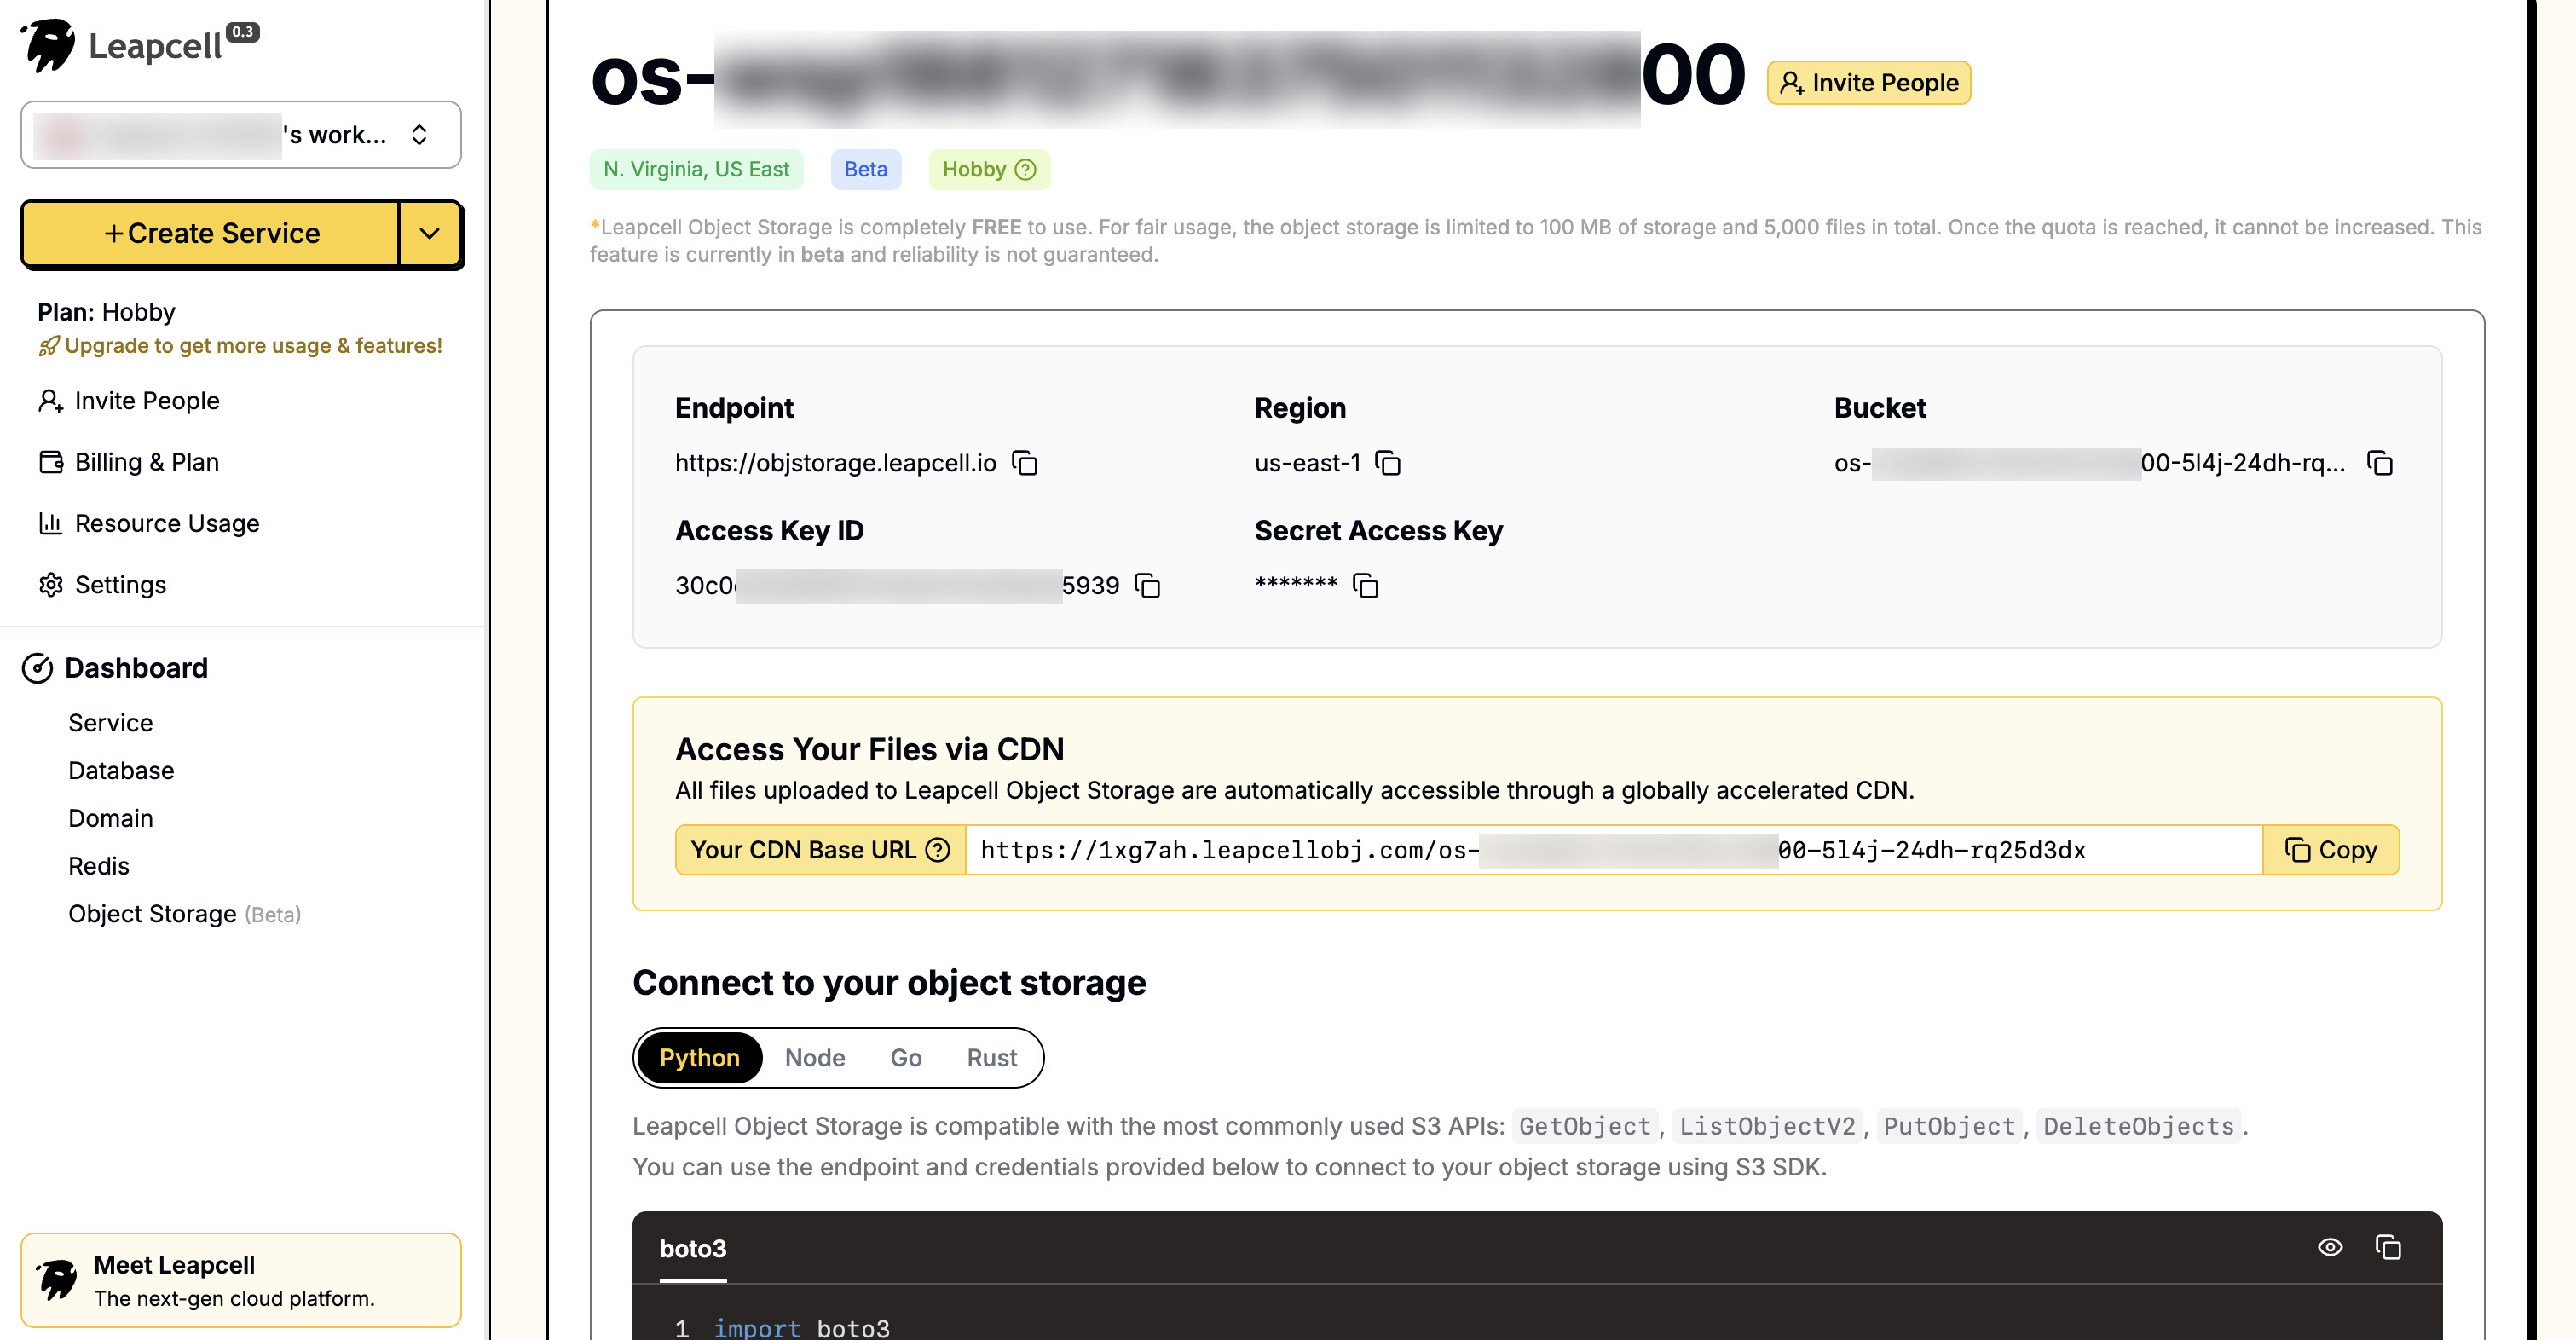
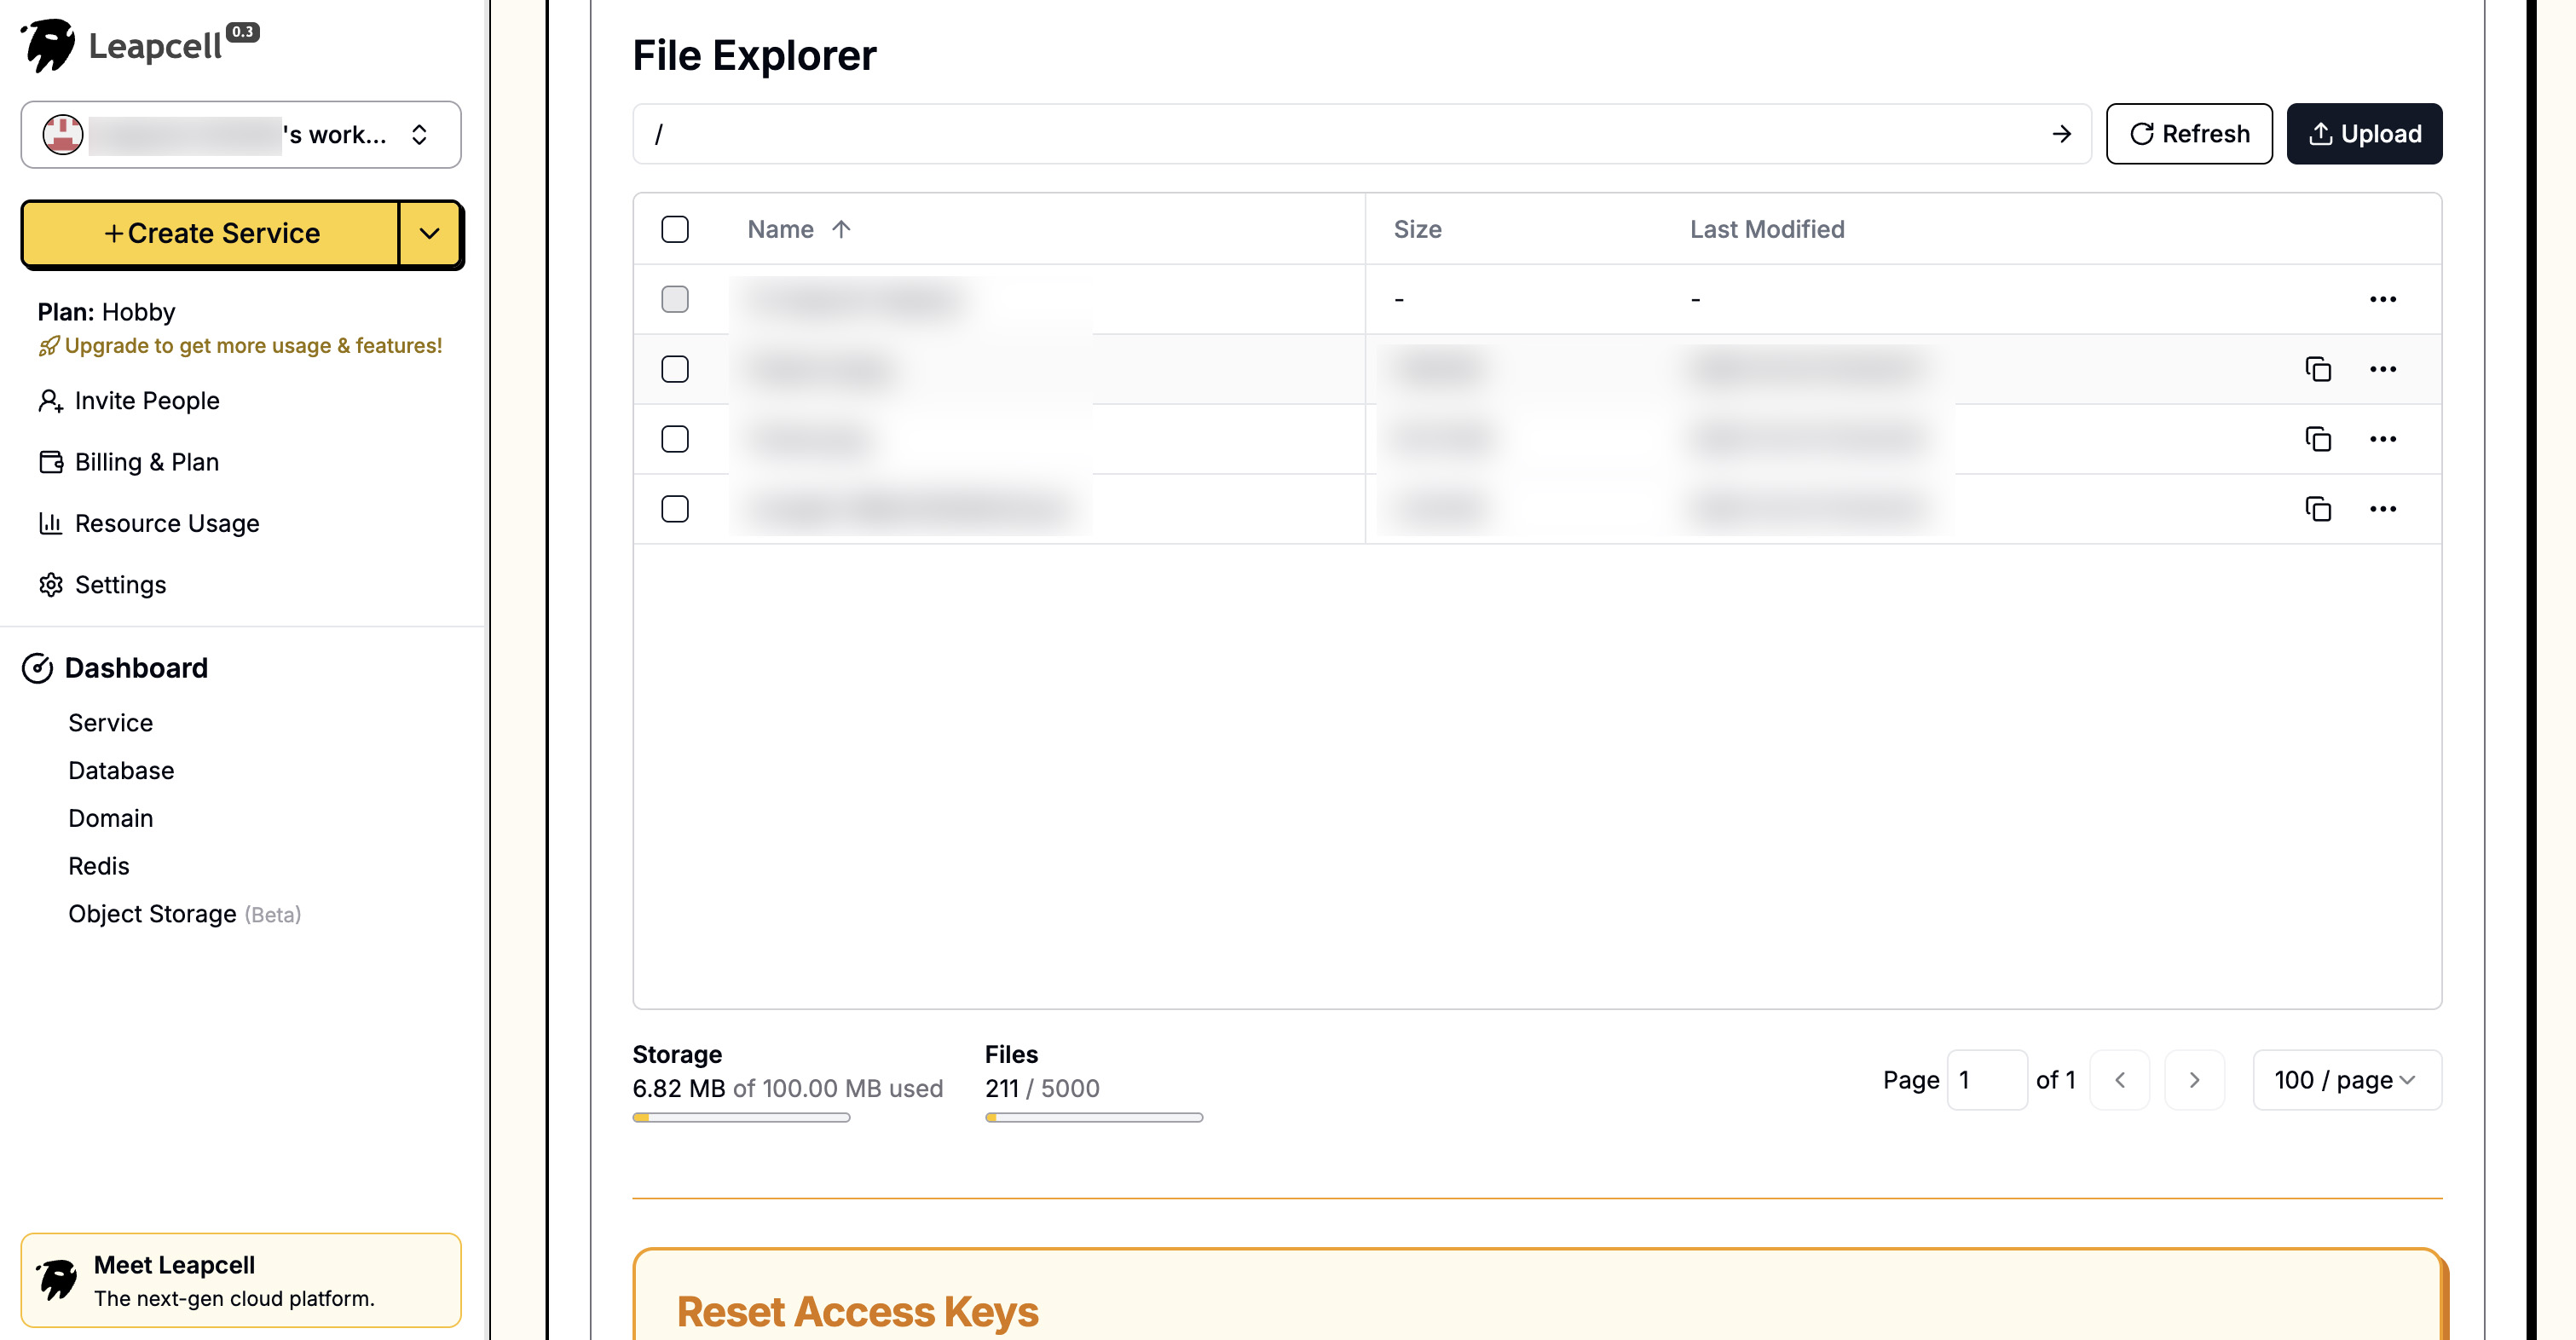
The interface also provides a very convenient UI, allowing you to upload and manage files directly in the browser.
Step 2: Install Dependencies
We will use boto3, which is the official AWS Python SDK and is also fully compatible with all S3-protocol services.
pip install boto3
Step 3: Add Configuration
Create a config.py in the project root directory to manage all object storage configurations centrally:
config.py
# S3 Storage Configuration
# Please replace with your own S3 information
S3_ENDPOINT_URL = "https.objstorage.leapcell.io"
S3_ACCESS_KEY = "YOUR_ACCESS_KEY"
S3_SECRET_KEY = "YOUR_SECRET_KEY"
S3_BUCKET_NAME = "your-bucket-name"
S3_PUBLIC_URL = "https://your-bucket-name.leapcellobj.com"
Step 4: Create S3 Upload Utility
To make the logic clearer, we'll create a new file s3_utils.py specifically for handling file uploads.
s3_utils.py
import boto3
import uuid
import config

# Initialize the S3 client
s3_client = boto3.client(
    's3',
    endpoint_url=config.S3_ENDPOINT_URL,
    aws_access_key_id=config.S3_ACCESS_KEY,
    aws_secret_access_key=config.S3_SECRET_KEY
)

def upload_file_to_s3(file_bytes: bytes, bucket_name: str, content_type: str, extension: str) -> str:
    """
    Uploads a binary file stream to S3
    :param file_bytes: The binary content of the file
    :param bucket_name: The bucket name
    :param content_type: The MimeType of the file
    :param extension: The file extension
    :return: The public URL of the file
    """

    # Generate a unique filename
    file_name = f"uploads/{uuid.uuid4()}.{extension}"

    try:
        s3_client.put_object(
            Body=file_bytes,
            Bucket=bucket_name,
            Key=file_name,
            ContentType=content_type,
        )

        # Construct and return the public URL
        public_url = f"{config.S3_PUBLIC_URL}/{file_name}"
        return public_url

    except Exception as e:
        print(f"S3 upload failed: {e}")
        return None
Step 5: Update Database Model
We need to add a field to the posts table to store the uploaded image URL.
Open models.py and modify the Post model:
models.py (Update Post model)
from sqlalchemy import Column, Integer, String, ForeignKey, Boolean
# ... (Other imports)

class Post(Base):
    __tablename__ = "posts"

    id = Column(Integer, primary_key=True, index=True)
    title = Column(String, index=True)
    content = Column(String)
    owner_id = Column(Integer, ForeignKey("users.id"))

    # --- New Field ---
    image_url = Column(String, nullable=True)
    # ---------------

    owner = relationship("User", back_populates="posts")
    comments = relationship("Comment", back_populates="post", cascade="all, delete-orphan")
    search_vector = Column(TSVECTOR, nullable=True)
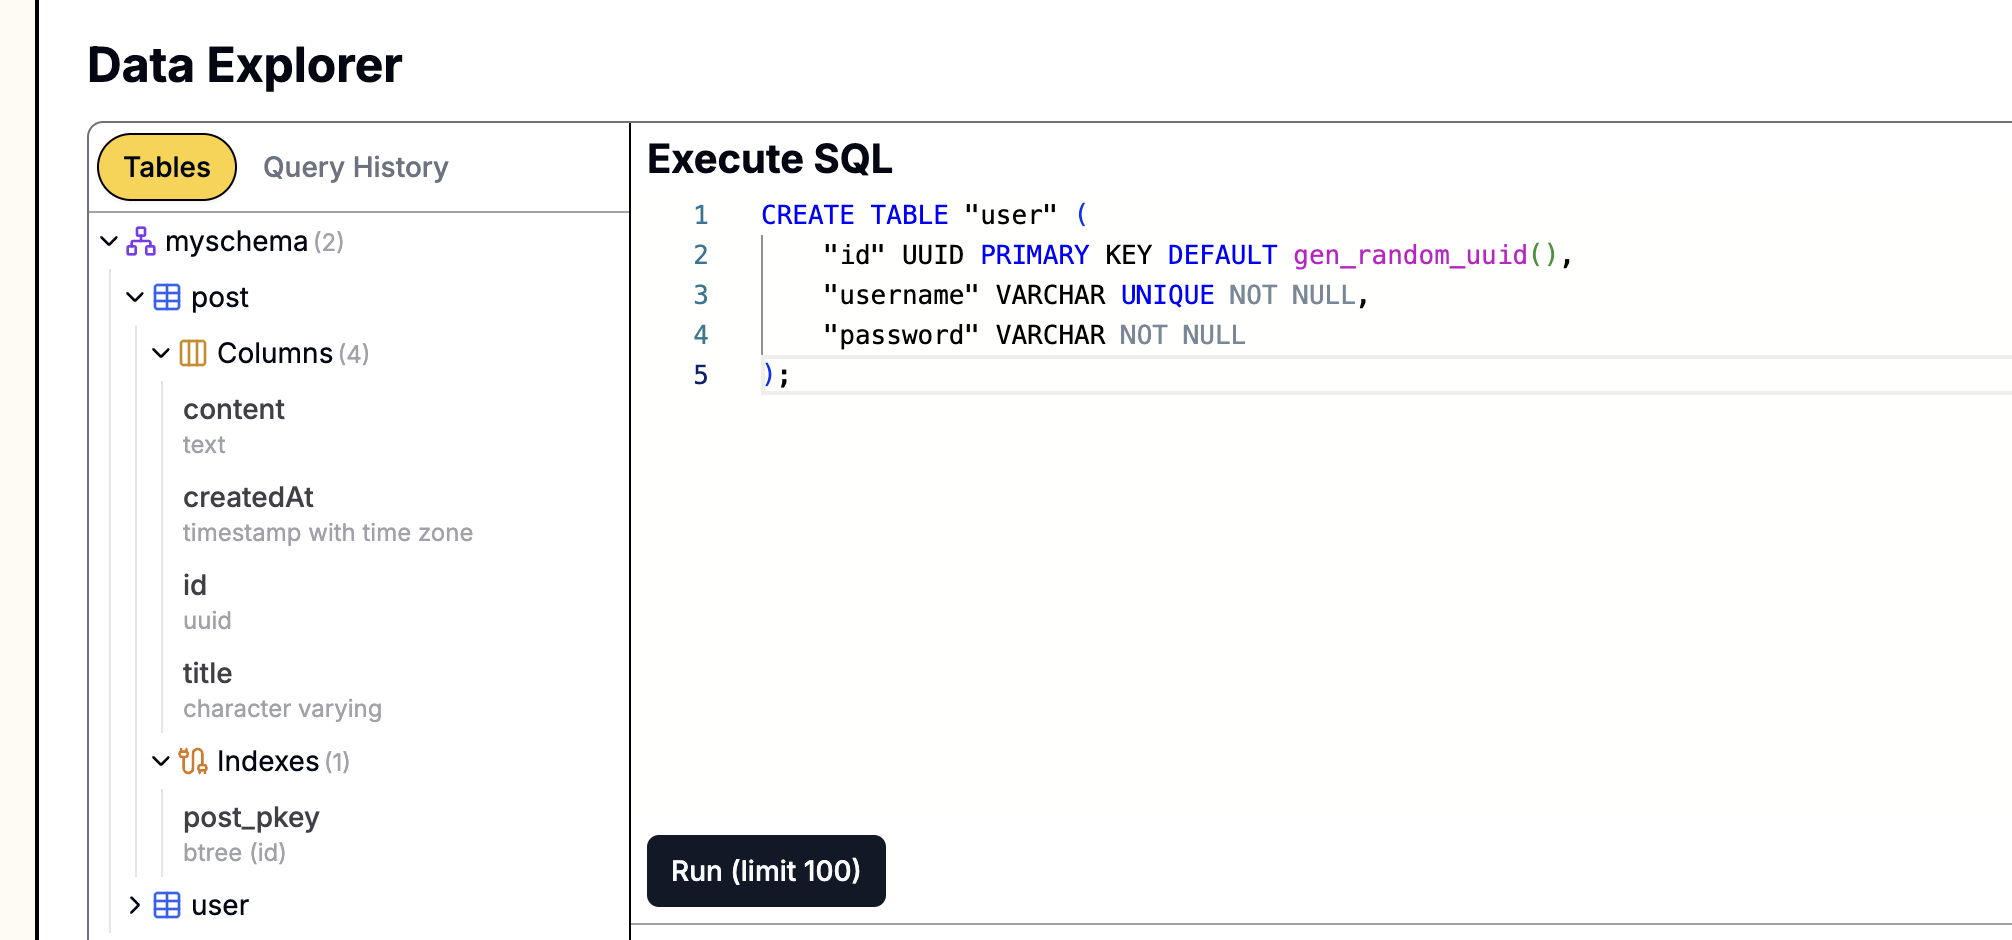
We also need to update our database table structure. The corresponding SQL statement is:
ALTER TABLE posts ADD COLUMN image_url VARCHAR(512);
If your database was created using Leapcell,
you can execute these SQL statements directly in its web-based operation panel.
Step 6: Refactor the Backend Route
Next, let's modify the create_post route in main.py to accept file uploads.
main.py (Update create_post route)
# ... (Previous imports) ...
from fastapi import File, UploadFile
import s3_utils  # Import the utility we just created
import config    # Import the configuration
import asyncio   # Import asyncio

# ... (app, templates, dependencies, etc., remain unchanged) ...

@app.post("/api/posts")
async def create_post(
    title: str = Form(...),
    content: str = Form(...),
    image: Optional[UploadFile] = File(None),  # 1. Accept the image file
    db: AsyncSession = Depends(get_db),
    current_user: Optional[models.User] = Depends(get_current_user)
):
    if not current_user:
        return RedirectResponse(url="/login", status_code=status.HTTP_302_FOUND)

    if current_user.is_banned:
        raise HTTPException(status_code=403, detail="You are banned and cannot create posts.")

    image_url = None

    # 2. Process the image upload
    if image and image.filename:
        # Check file type
        if image.content_type not in ["image/jpeg", "image/png", "image/gif"]:
            raise HTTPException(status_code=400, detail="Invalid file type. Only JPEG, PNG, GIF are allowed.")

        # Read file content
        file_bytes = await image.read()

        # Get file extension
        extension = image.filename.split('.')[-1]

        # 3. Use asyncio.to_thread to run the blocking S3 upload in a background thread
        # Boto3 (s3_client.put_object) is a blocking I/O operation
        # in
        image_url = await asyncio.to_thread(
            s3_utils.upload_file_to_s3,
            file_bytes,
            config.S3_BUCKET_NAME,
            image.content_type,
            extension
        )

        if not image_url:
            raise HTTPException(status_code=500, detail="Image upload failed.")

    # 4. Create the Post object, including the image_url
    new_post = models.Post(
        title=title,
        content=content,
        owner_id=current_user.id,
        image_url=image_url  # Save the URL
    )

    db.add(new_post)
    await db.commit()
    await db.refresh(new_post)
    return RedirectResponse(url="/posts", status_code=status.HTTP_303_SEE_OTHER)

# ... (All other routes remain unchanged) ...
The main changes are:
- The
create_postparameters now includeimage: Optional[UploadFile] = File(None). - Read the content of the
imageparameter (await image.read()) and calls3_utils.upload_file_to_s3to upload the image to object storage. - Finally, when creating the
models.Postobject, save theimage_urlreturned from the previous step to the database.
Step 7: Update Frontend Templates
Finally, we need to update our frontend pages to add the file upload field and display the images.
templates/posts.html (Updated)
... (head and style remain unchanged) ...
<body>
    <header>
        ... (header content remains unchanged) ...
    </header>
    <form action="/search" method="GET" style="display: flex;">
        ... (search form remains unchanged) ...
    </form>

    {% if current_user and not current_user.is_banned %}
    <h2>Create New Post</h2>
    <form action="/api/posts" method="post" enctype="multipart/form-data">
        <input type="text" name="title" placeholder="Post Title" required /><br />
        <textarea name="content" rows="4" placeholder="Post Content" required></textarea><br />

        <label for="image">Upload Image (Optional, JPE/PNG/GIF):</label>
        <input type="file" name="image" id="image" accept="image/jpeg,image/png,image/gif" />
        <br /><br />

        <button type="submit">Post</button>
    </form>
    {% elif current_user and current_user.is_banned %}
        ... (banned message) ...
    {% else %}
        ... (login prompt) ...
    {% endif %}

    <hr />
    <h2>Post List</h2>

    {% for post in posts %}
    <div class="post-item">
        <a href="/posts/{{ post.id }}"><h3>{{ post.title }}</h3></a>

        {% if post.image_url %}
        <img src="{{ post.image_url }}" alt="{{ post.title }}" style="max-width: 400px; height: auto; margin-bottom: 10px;" />
        {% endif %}

        <p>{{ post.content }}</p>
        <small>Author: {{ post.owner.username if post.owner else 'Unknown' }}</small>

        {% if current_user and post.owner_id == current_user.id %}
            ... (edit link) ...
        {% endif %}
    </div>
    {% endfor %}
</body>
</html>
templates/post_detail.html (Updated)
... (head and style remain unchanged) ...
<body>
    <div class="post-container">
        <h1>{{ post.title }}</h1>

        {% if post.image_url %}
        <img src="{{ post.image_url }}" alt="{{ post.title }}" style="max-width: 600px; height: auto; margin-bottom: 10px;" />
        {% endif %}

        <p>{{ post.content }}</p>
        <small>Author: {{ post.owner.username }}</small>
    </div>

    ... (comment form and comment section remain unchanged) ...
</body>
</html>
Run and Verify
Restart your uvicorn server:
uvicorn main:app --reload
Visit http://127.0.0.1:8000.
You will see a file selection button in the "Create New Post" form.
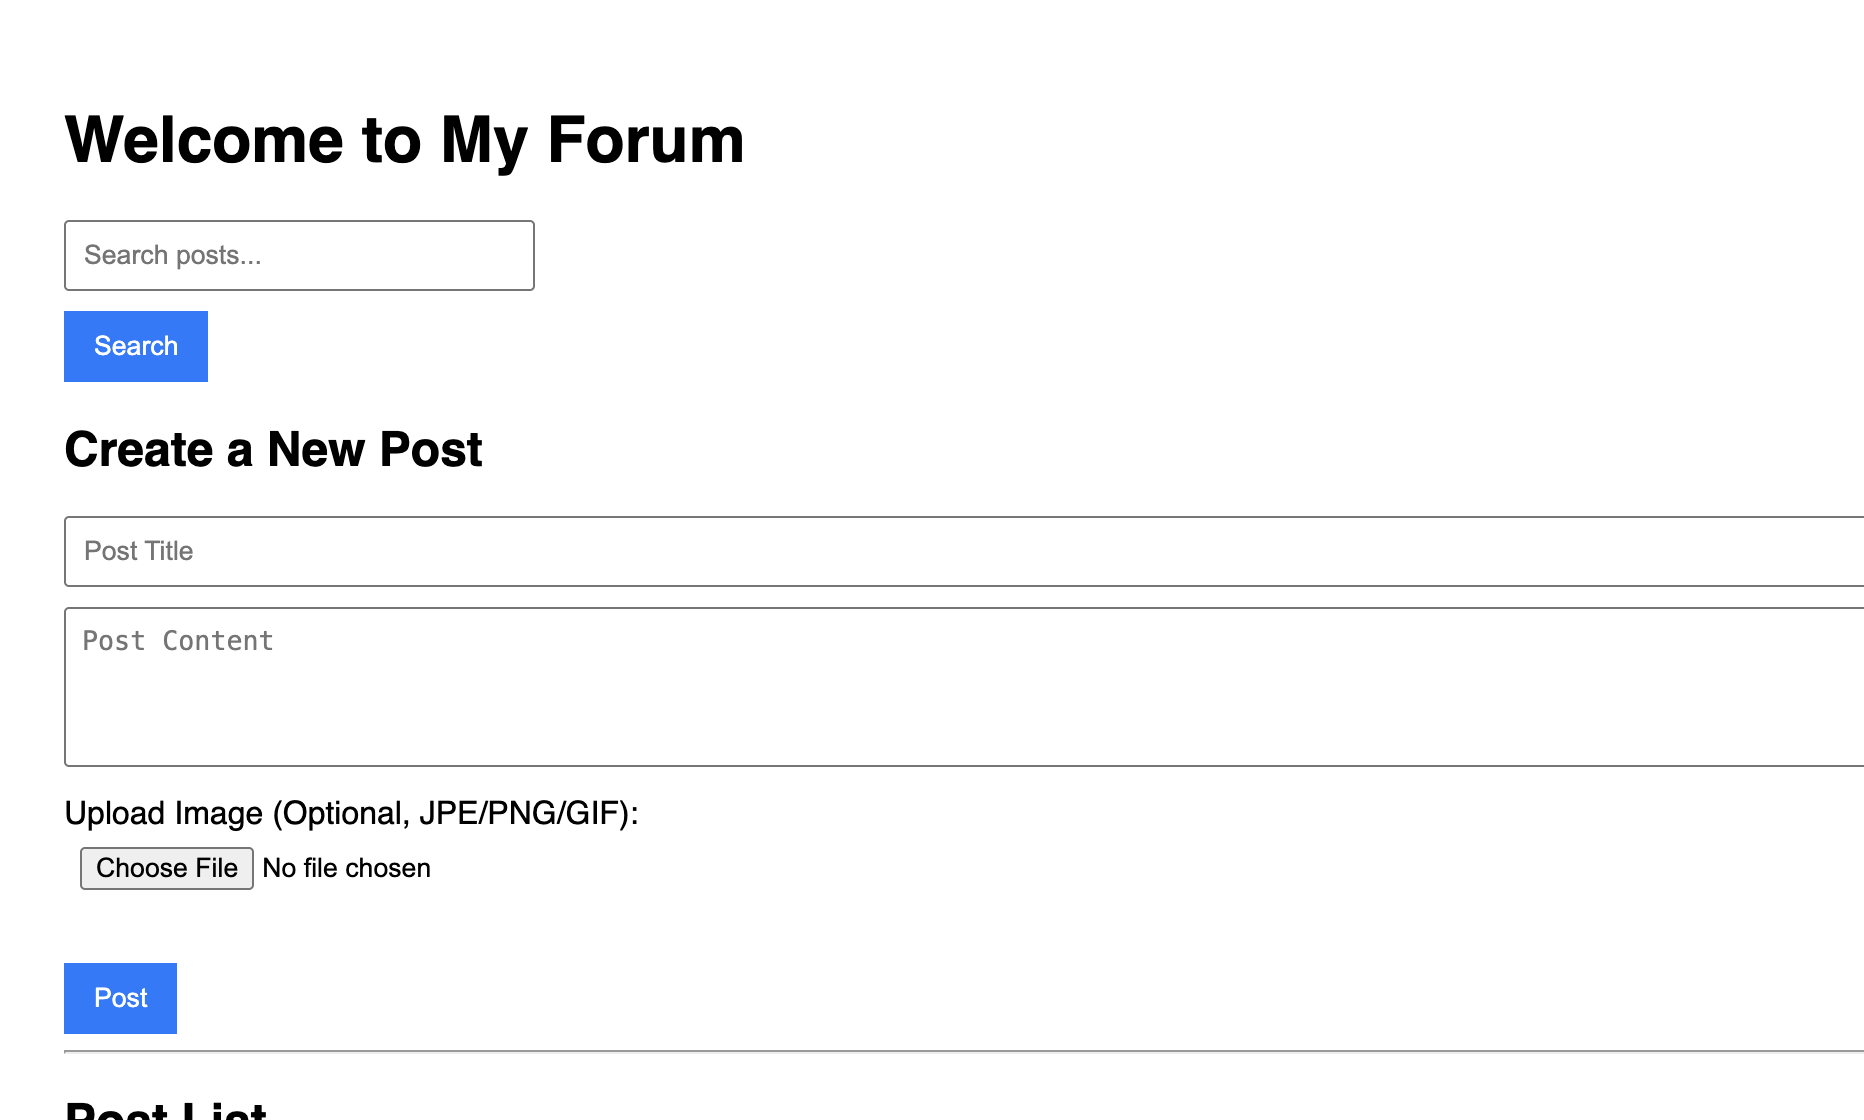
Try to publish a new post and attach an image. After submitting, you will see the image you uploaded in the post.
Conclusion
Using object storage, you've successfully added image upload functionality to the forum.
Currently, all posts are crowded onto the same page. This will become very chaotic as the forum's content grows.
In the next article, we will add Categories (sub-forums) to the forum, allowing posts to be organized by different topics, making the forum more structured.