Unleash the Full Power of Your GitHub Readme Stats
Takashi Yamamoto
Infrastructure Engineer · Leapcell

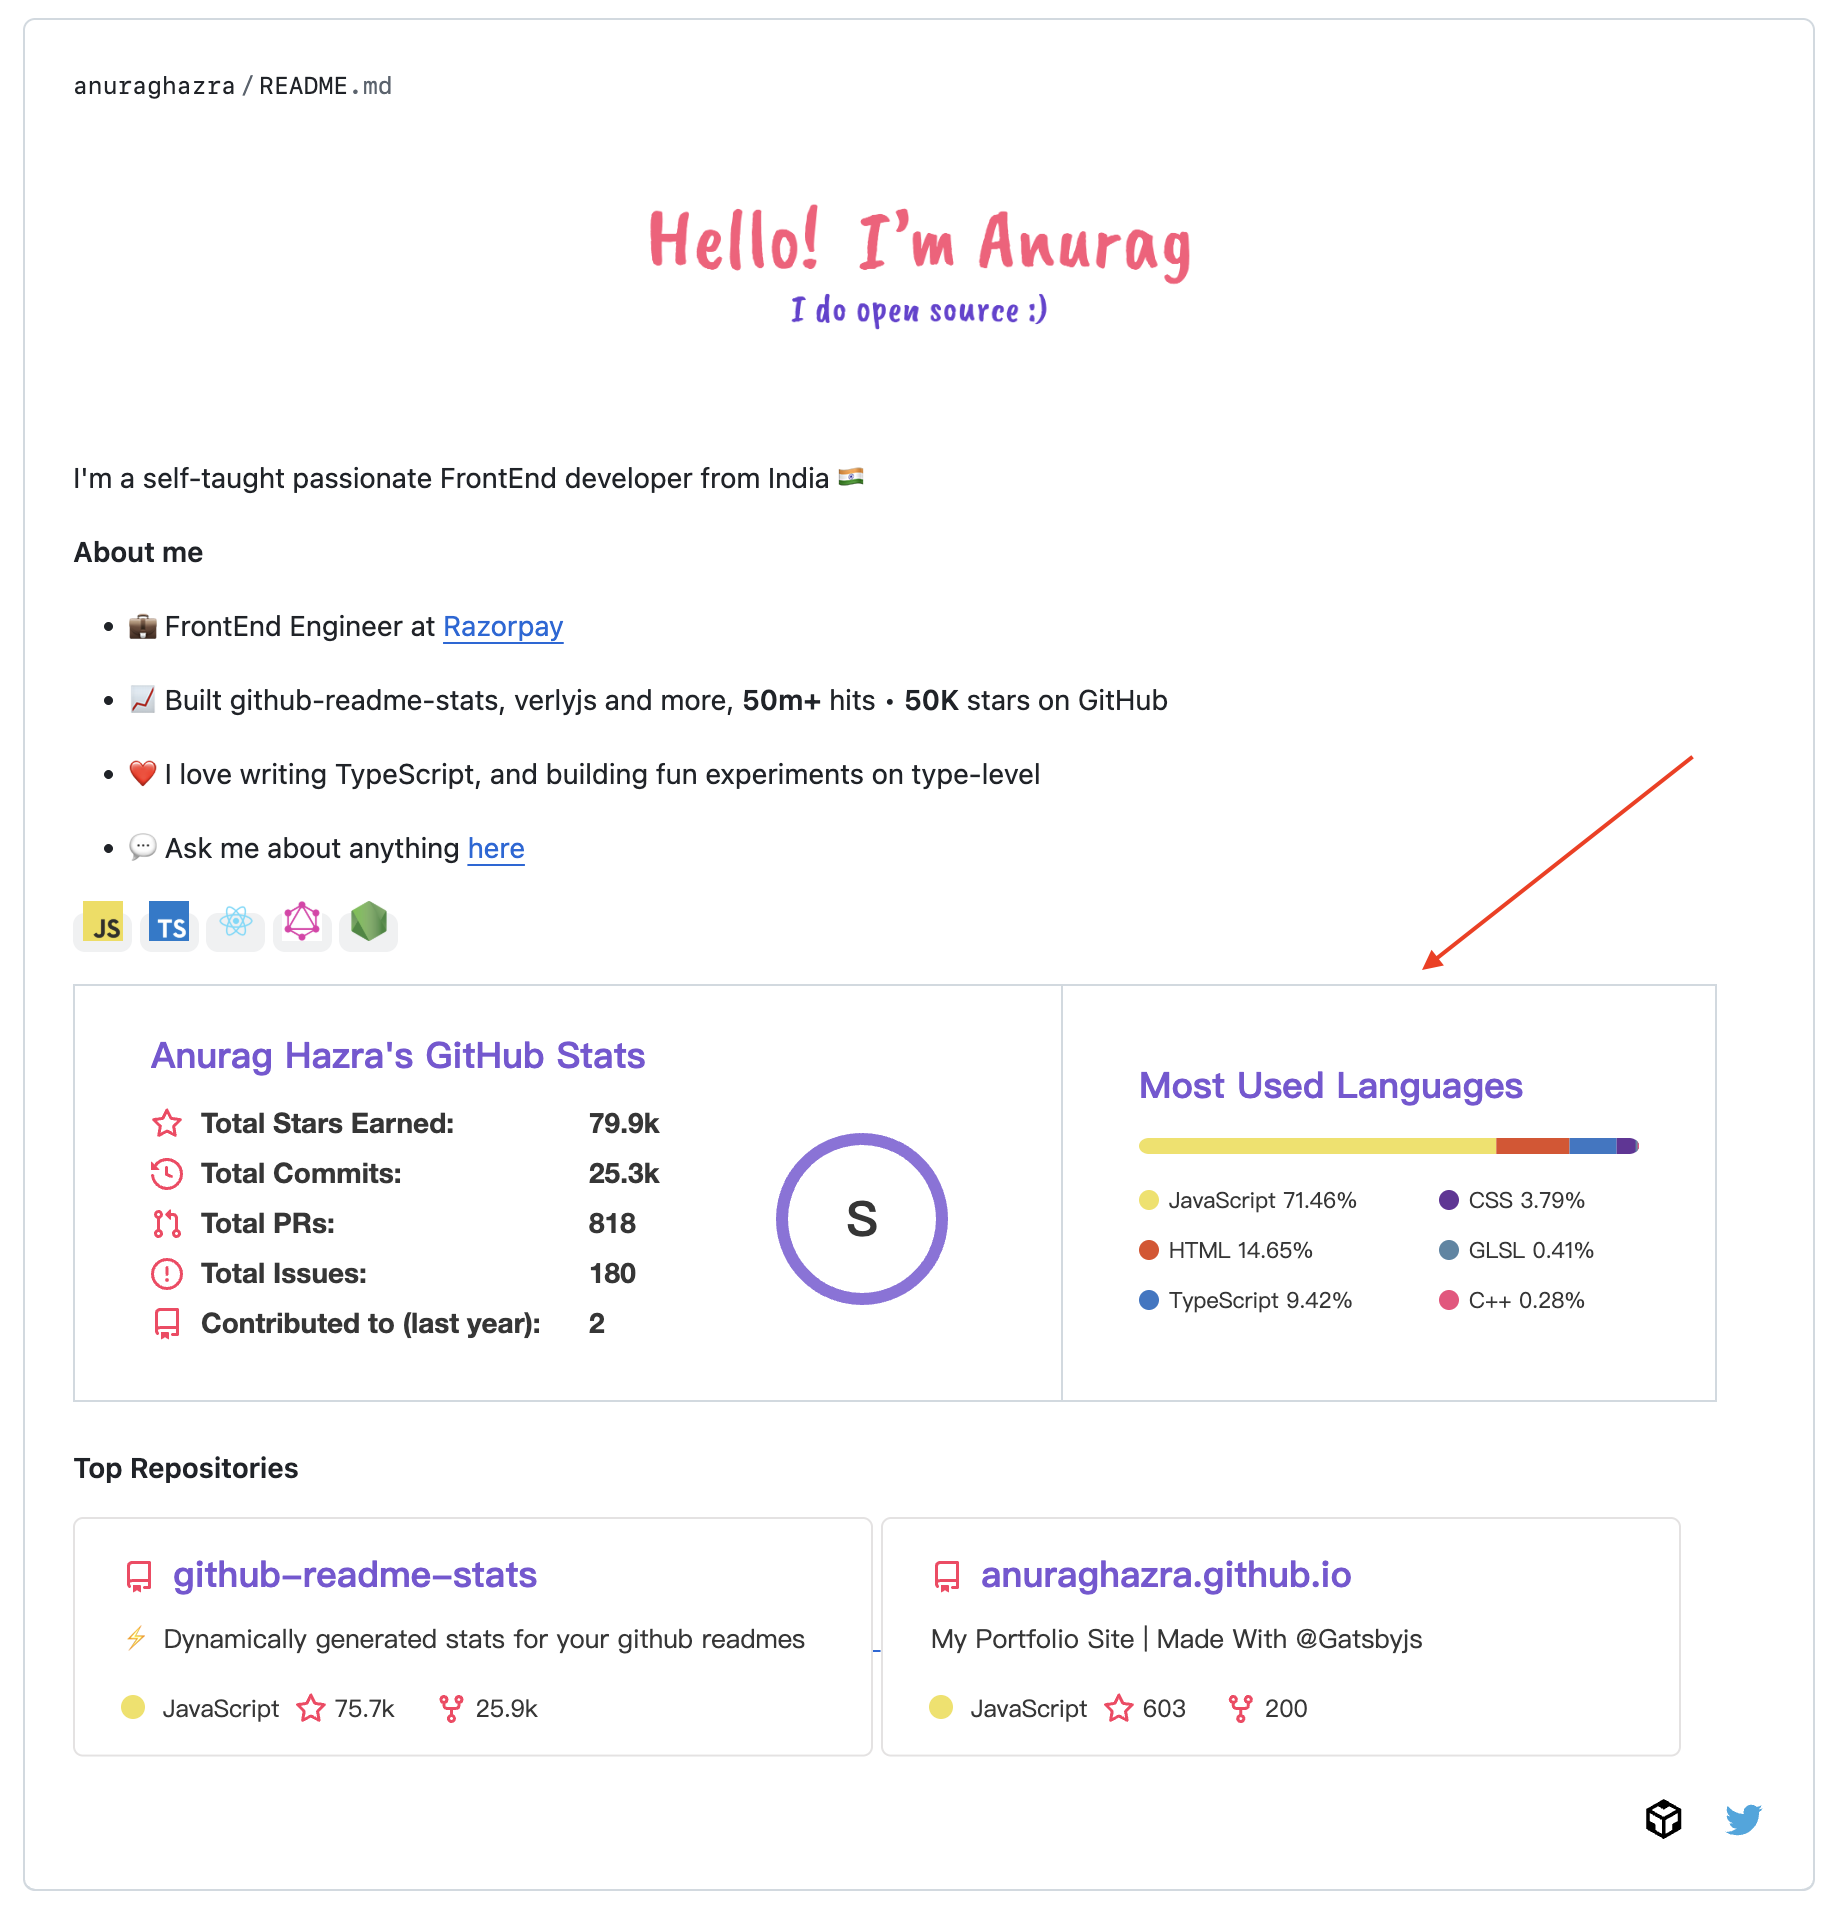
GitHub Readme Stats is a very popular GitHub project.
It can dynamically fetch various statistics of a specified GitHub account, such as the number of stars, total commits, and major programming languages used, and convert them into beautiful dynamic cards.
You can add these cards to your own GitHub readme to make them look cooler.
Using GitHub Readme Stats is very easy. The easiest way is to directly insert the project's public link in the readme and add some parameters, as stated in the official documentation. You can see the specific card types in the official DEMO.
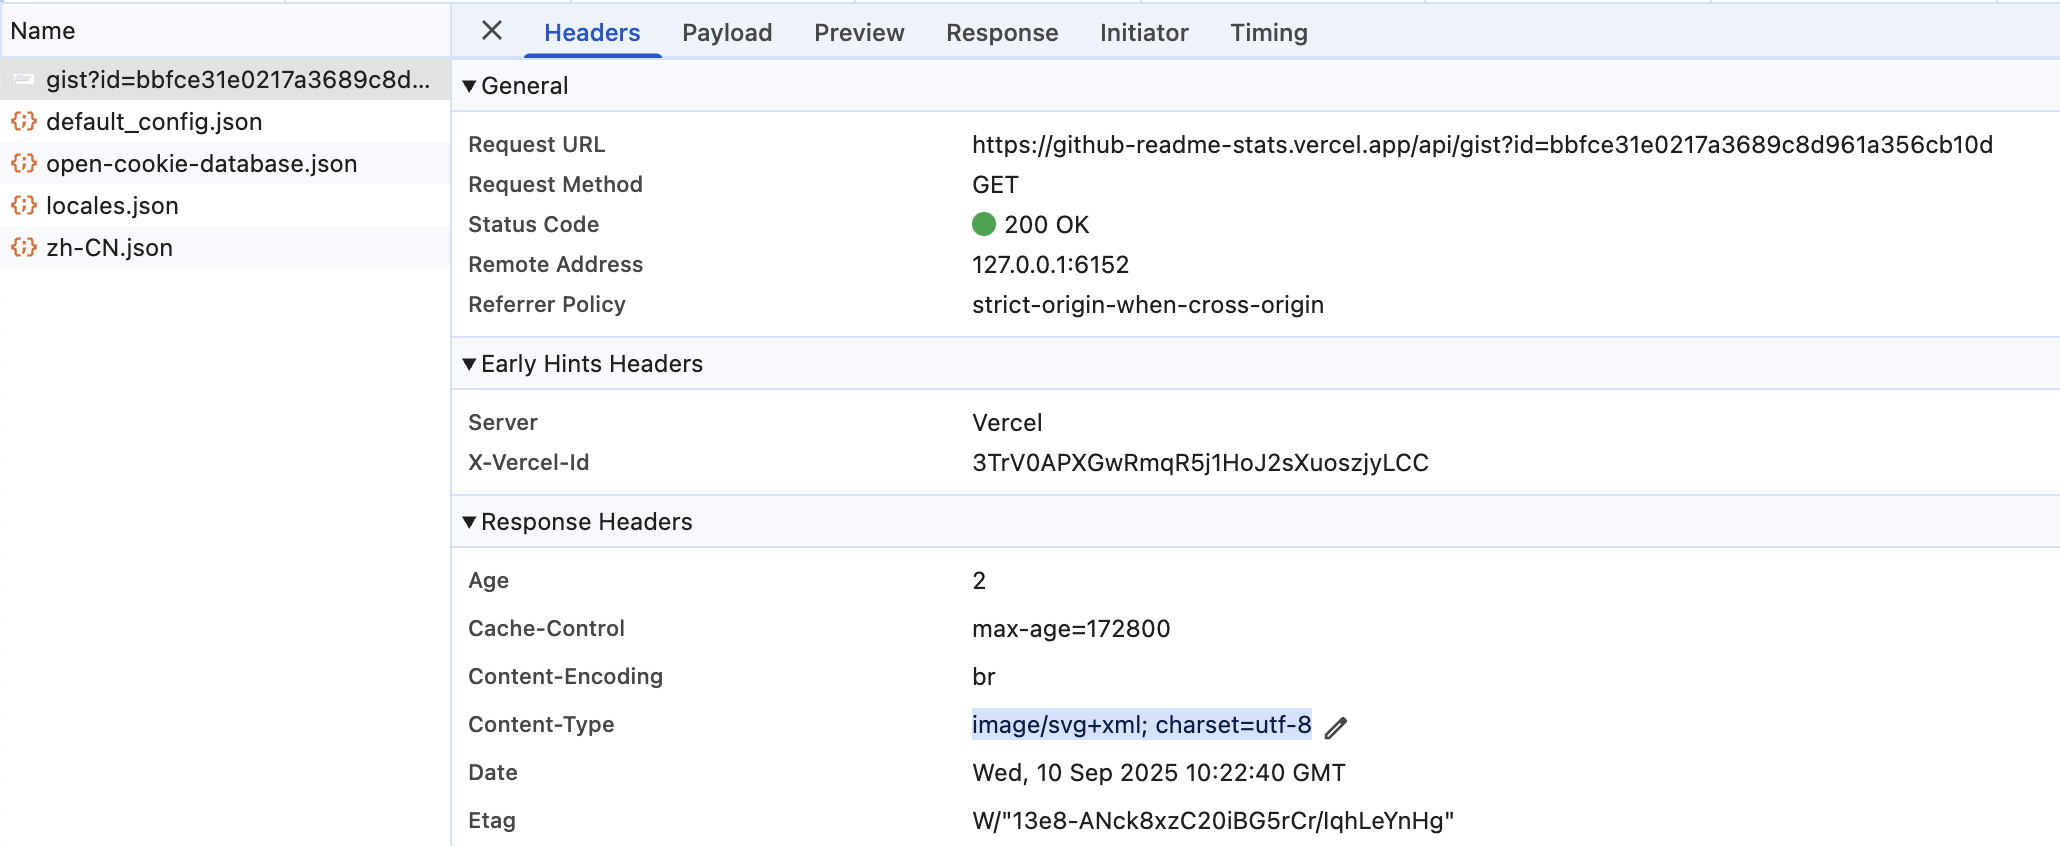
The principle behind it is:
When your readme is accessed, this link will receive a request. It will dynamically call the GitHub API to obtain specific data and generate an SVG image in real time based on the data.
But this usage does not unlock the full potential of GitHub Readme Stats:
- GitHub Readme Stats cannot read the statistical data of your private repos.
- Since the public link uses the same GitHub API token to obtain data when processing all requests, it will be rate-limited when the request volume is large, resulting in the inability to display the card.
- As time changes and projects change, the original public link may become invalid, causing the card to fail to load.
Therefore, the best practice is to deploy your own GitHub Readme Stats and use your own API token to avoid the above-mentioned problems.
How to deploy your own GitHub Readme Stats? You can use Leapcell.

Leapcell is a web app hosting platform with powerful functions that can support the deployment of multiple languages and frameworks such as Node.js, Python and Go. It also provides a high free quota, and personal usage will hardly touch the payment line. Therefore, it is very suitable for deploying your own GitHub Readme Stats.
Steps:
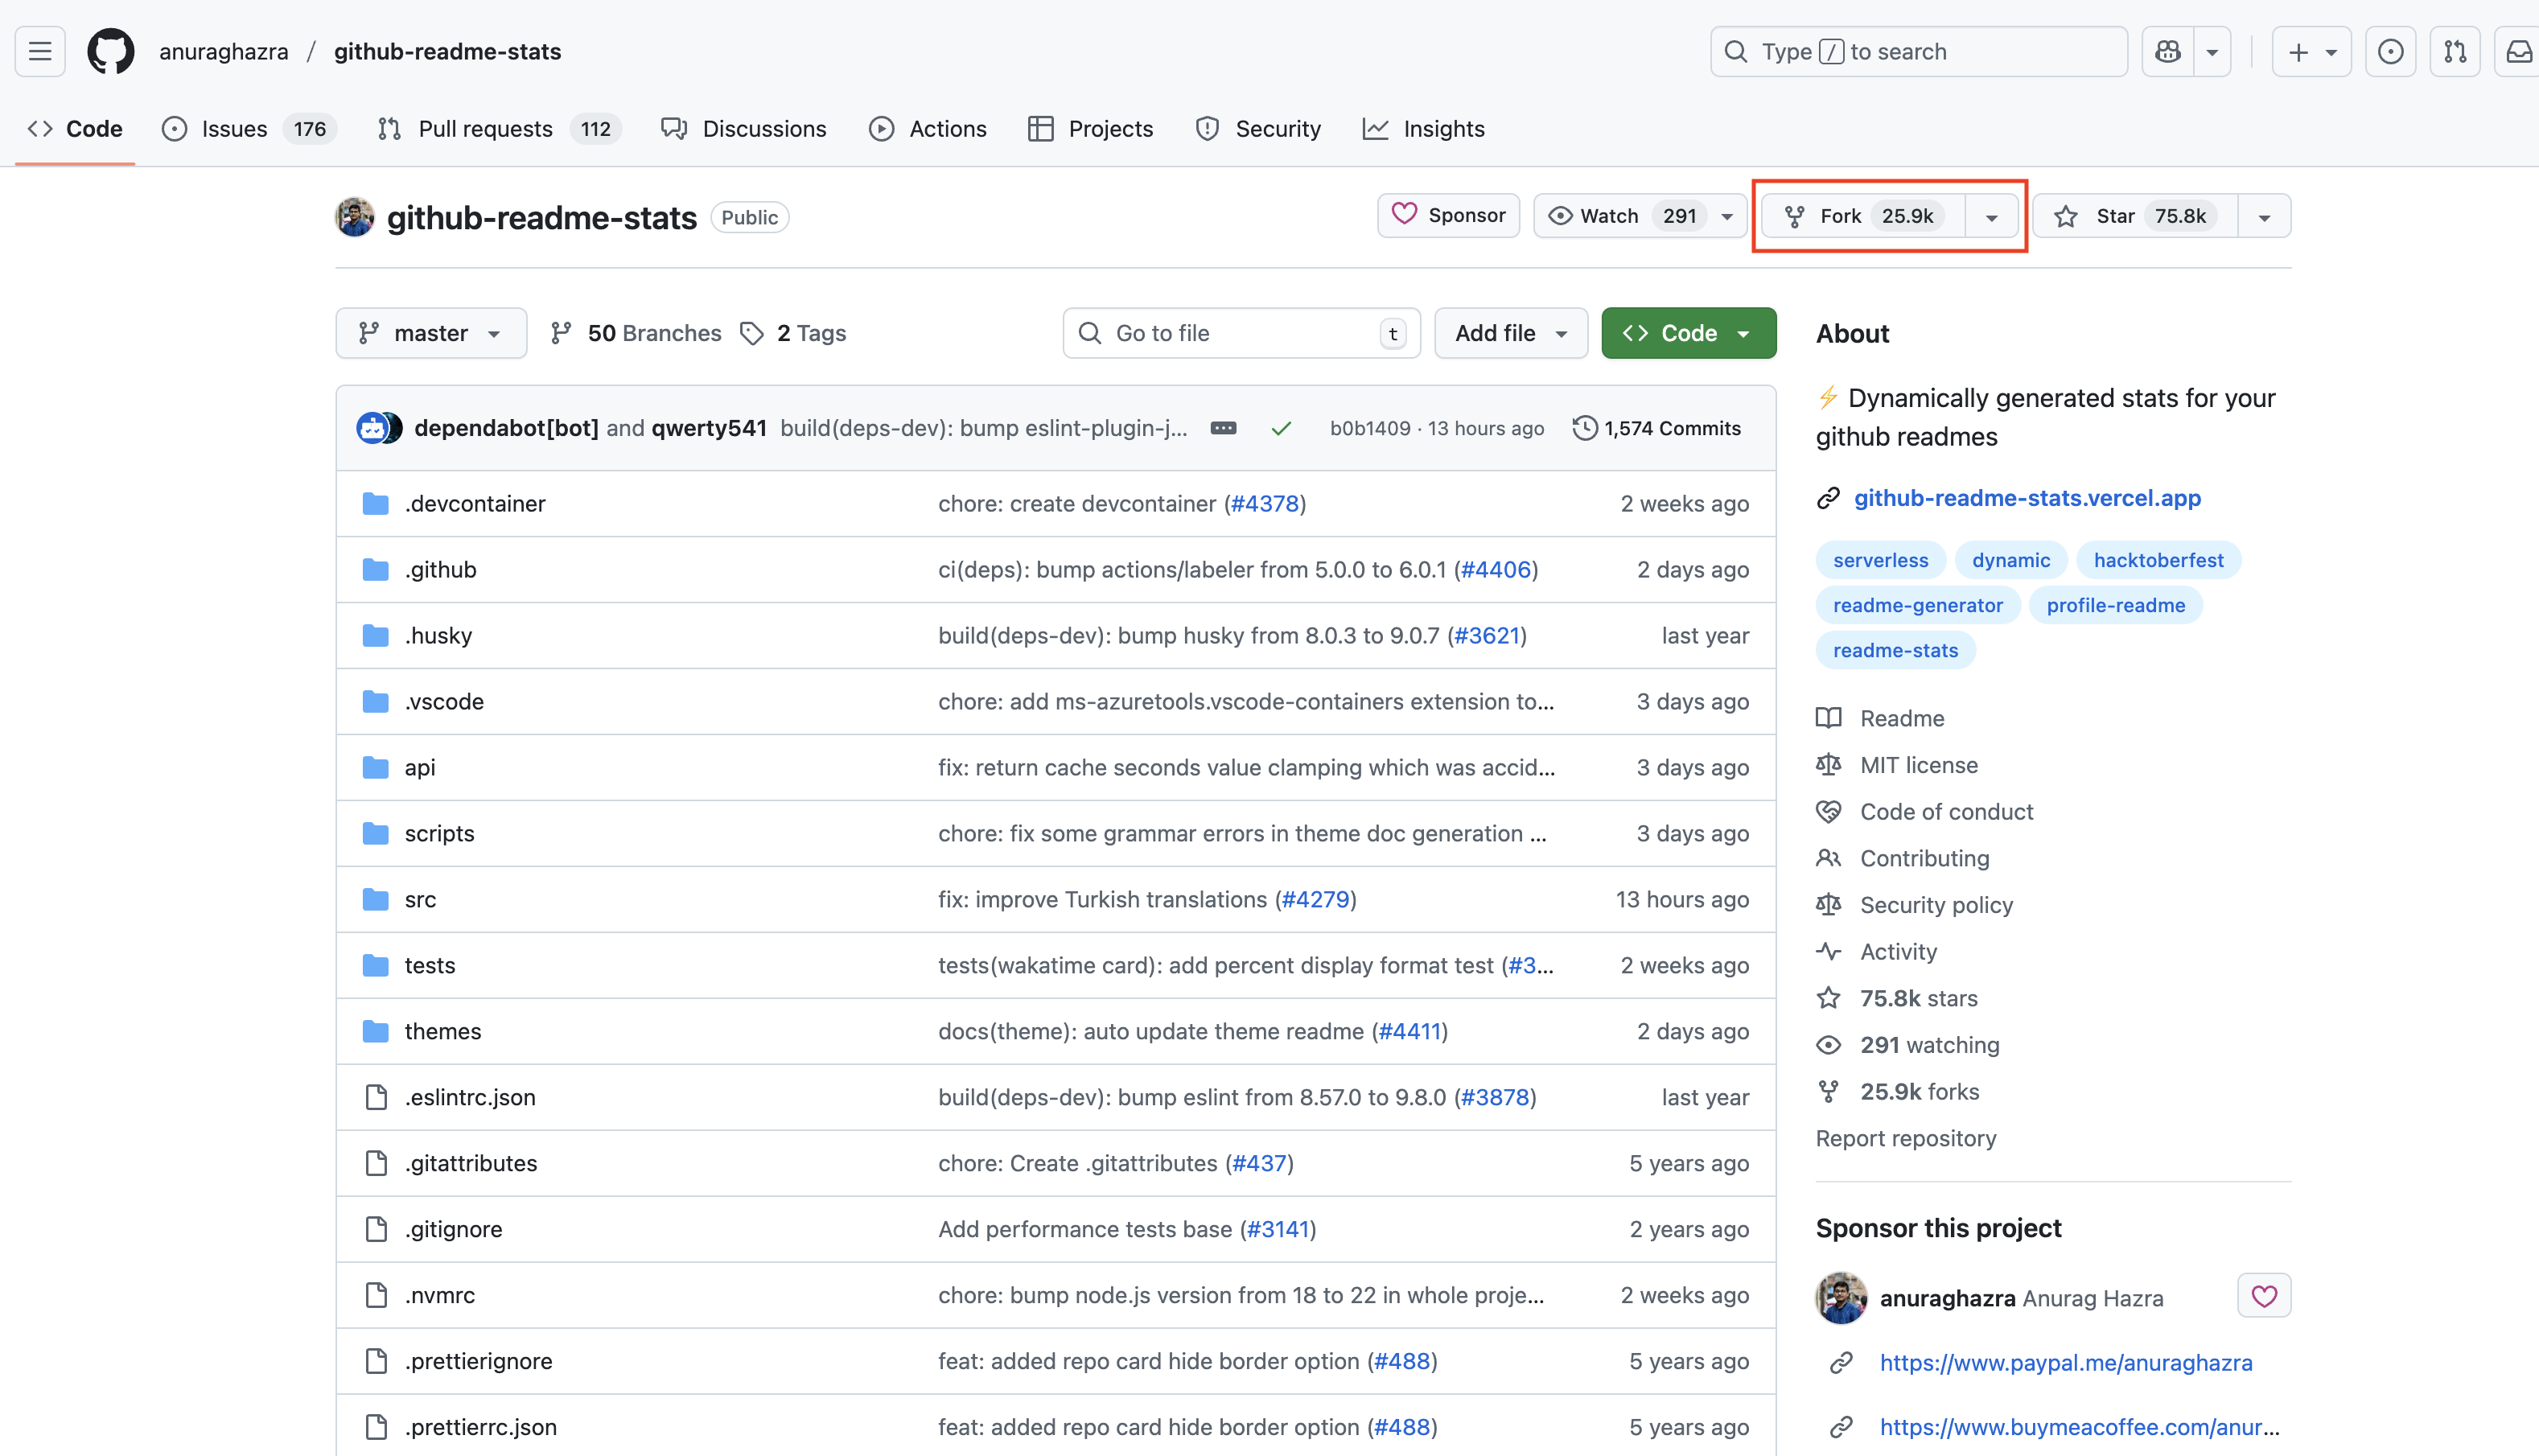
1 - Fork the GitHub Readme Stats project. Leapcell will pull the code from your repository later.
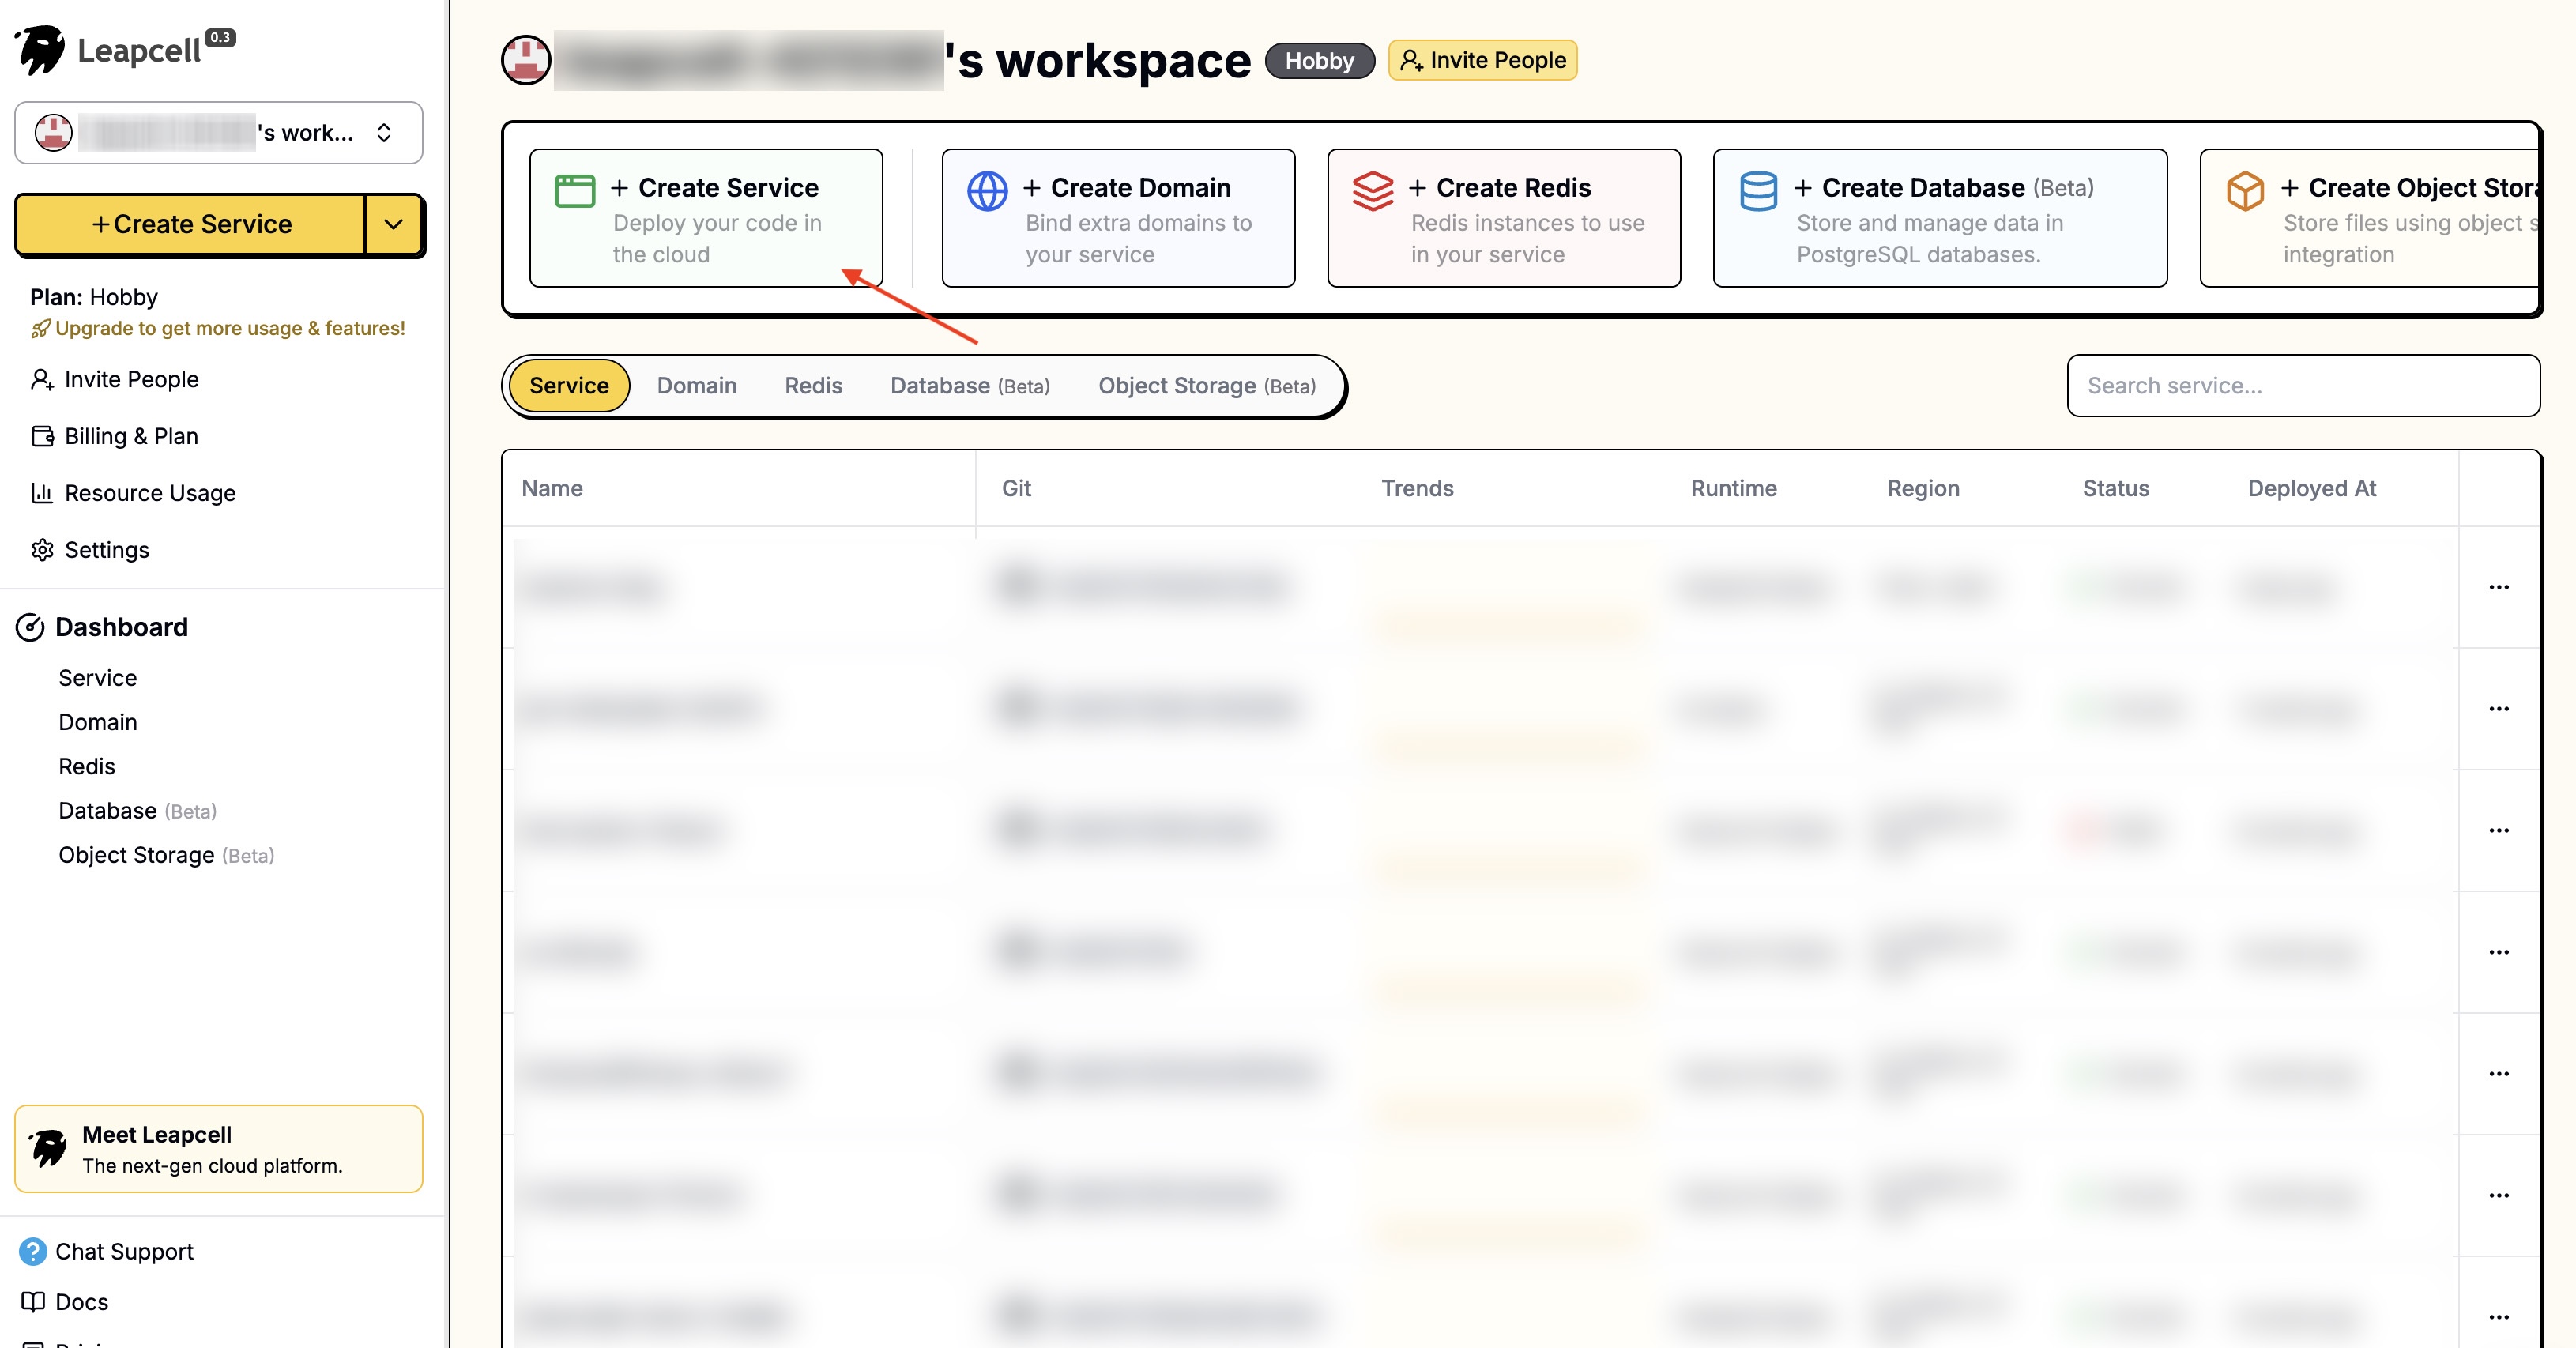
2 - Visit the Leapcell website and register an account. After registration, click "Create Service" on the page.
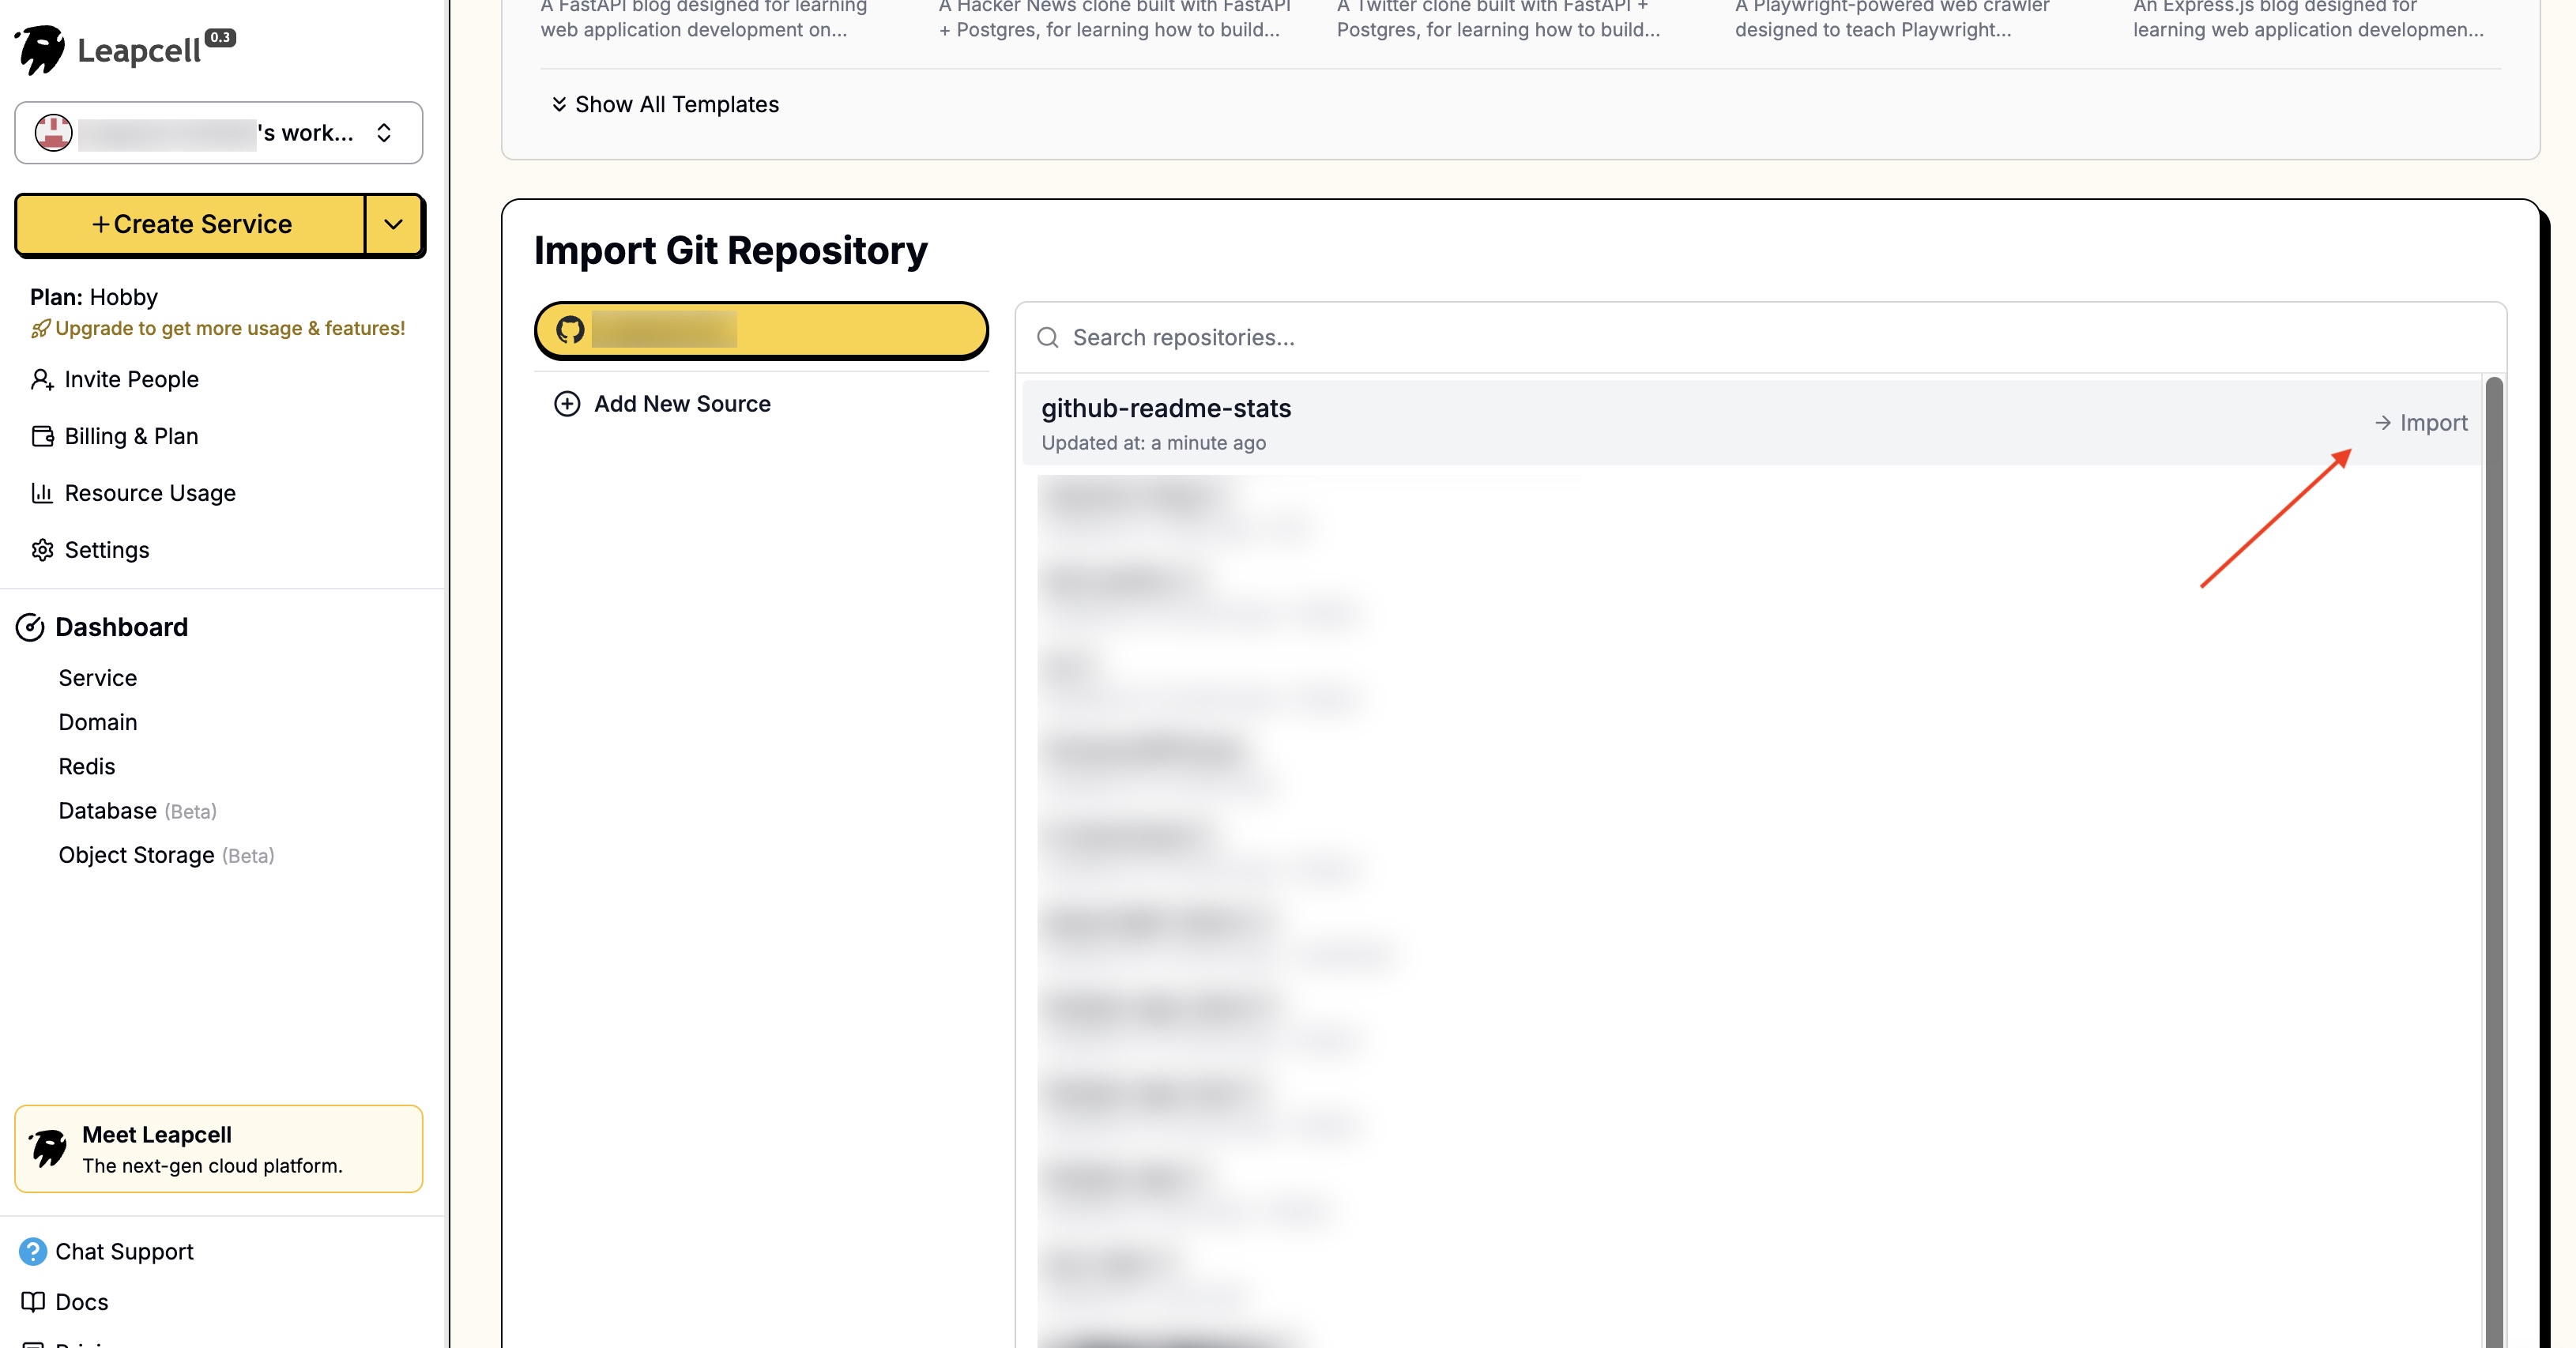
3 - On the create service page, you need to select the code source. Select the GitHub Readme Stats you just forked.
4 - You can see that Leapcell automatically recognizes that this is a Node.js project and pre-fills some basic deployment parameters.
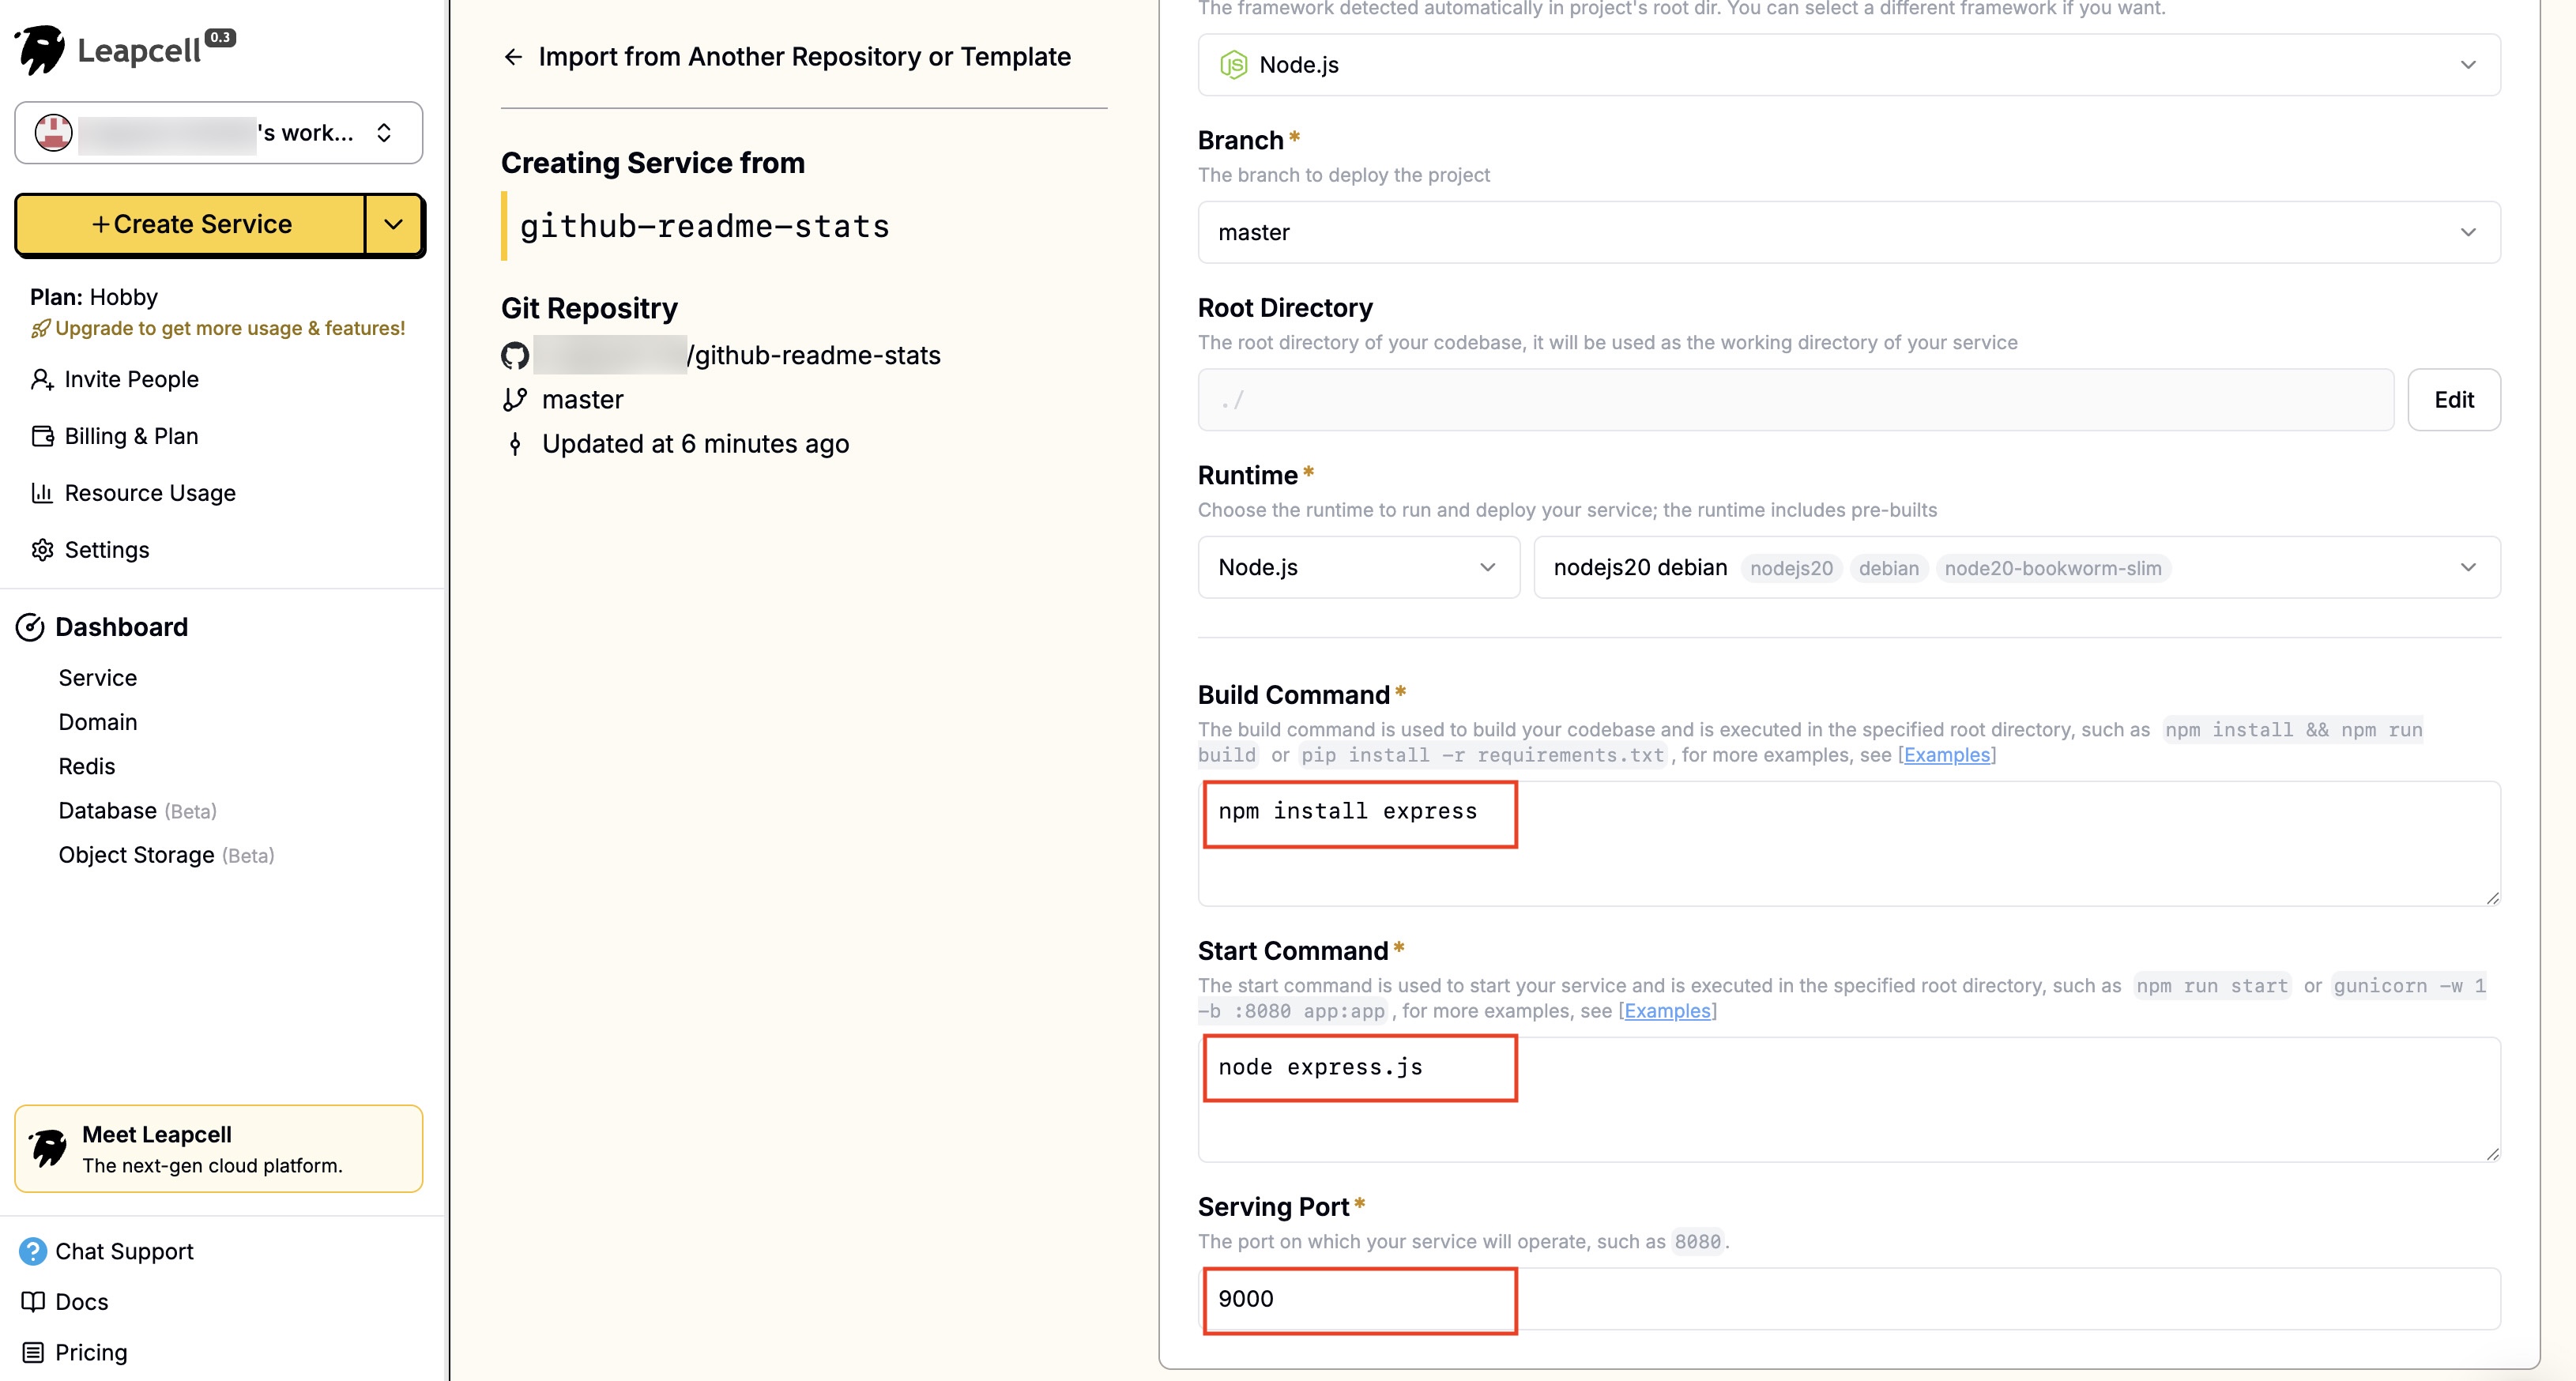
We need to modify them according to the actual situation of the project and change them to:
| Field | Value |
|---|---|
Start Command | npm install express |
Build Command | node express.js |
Port | 9000 |
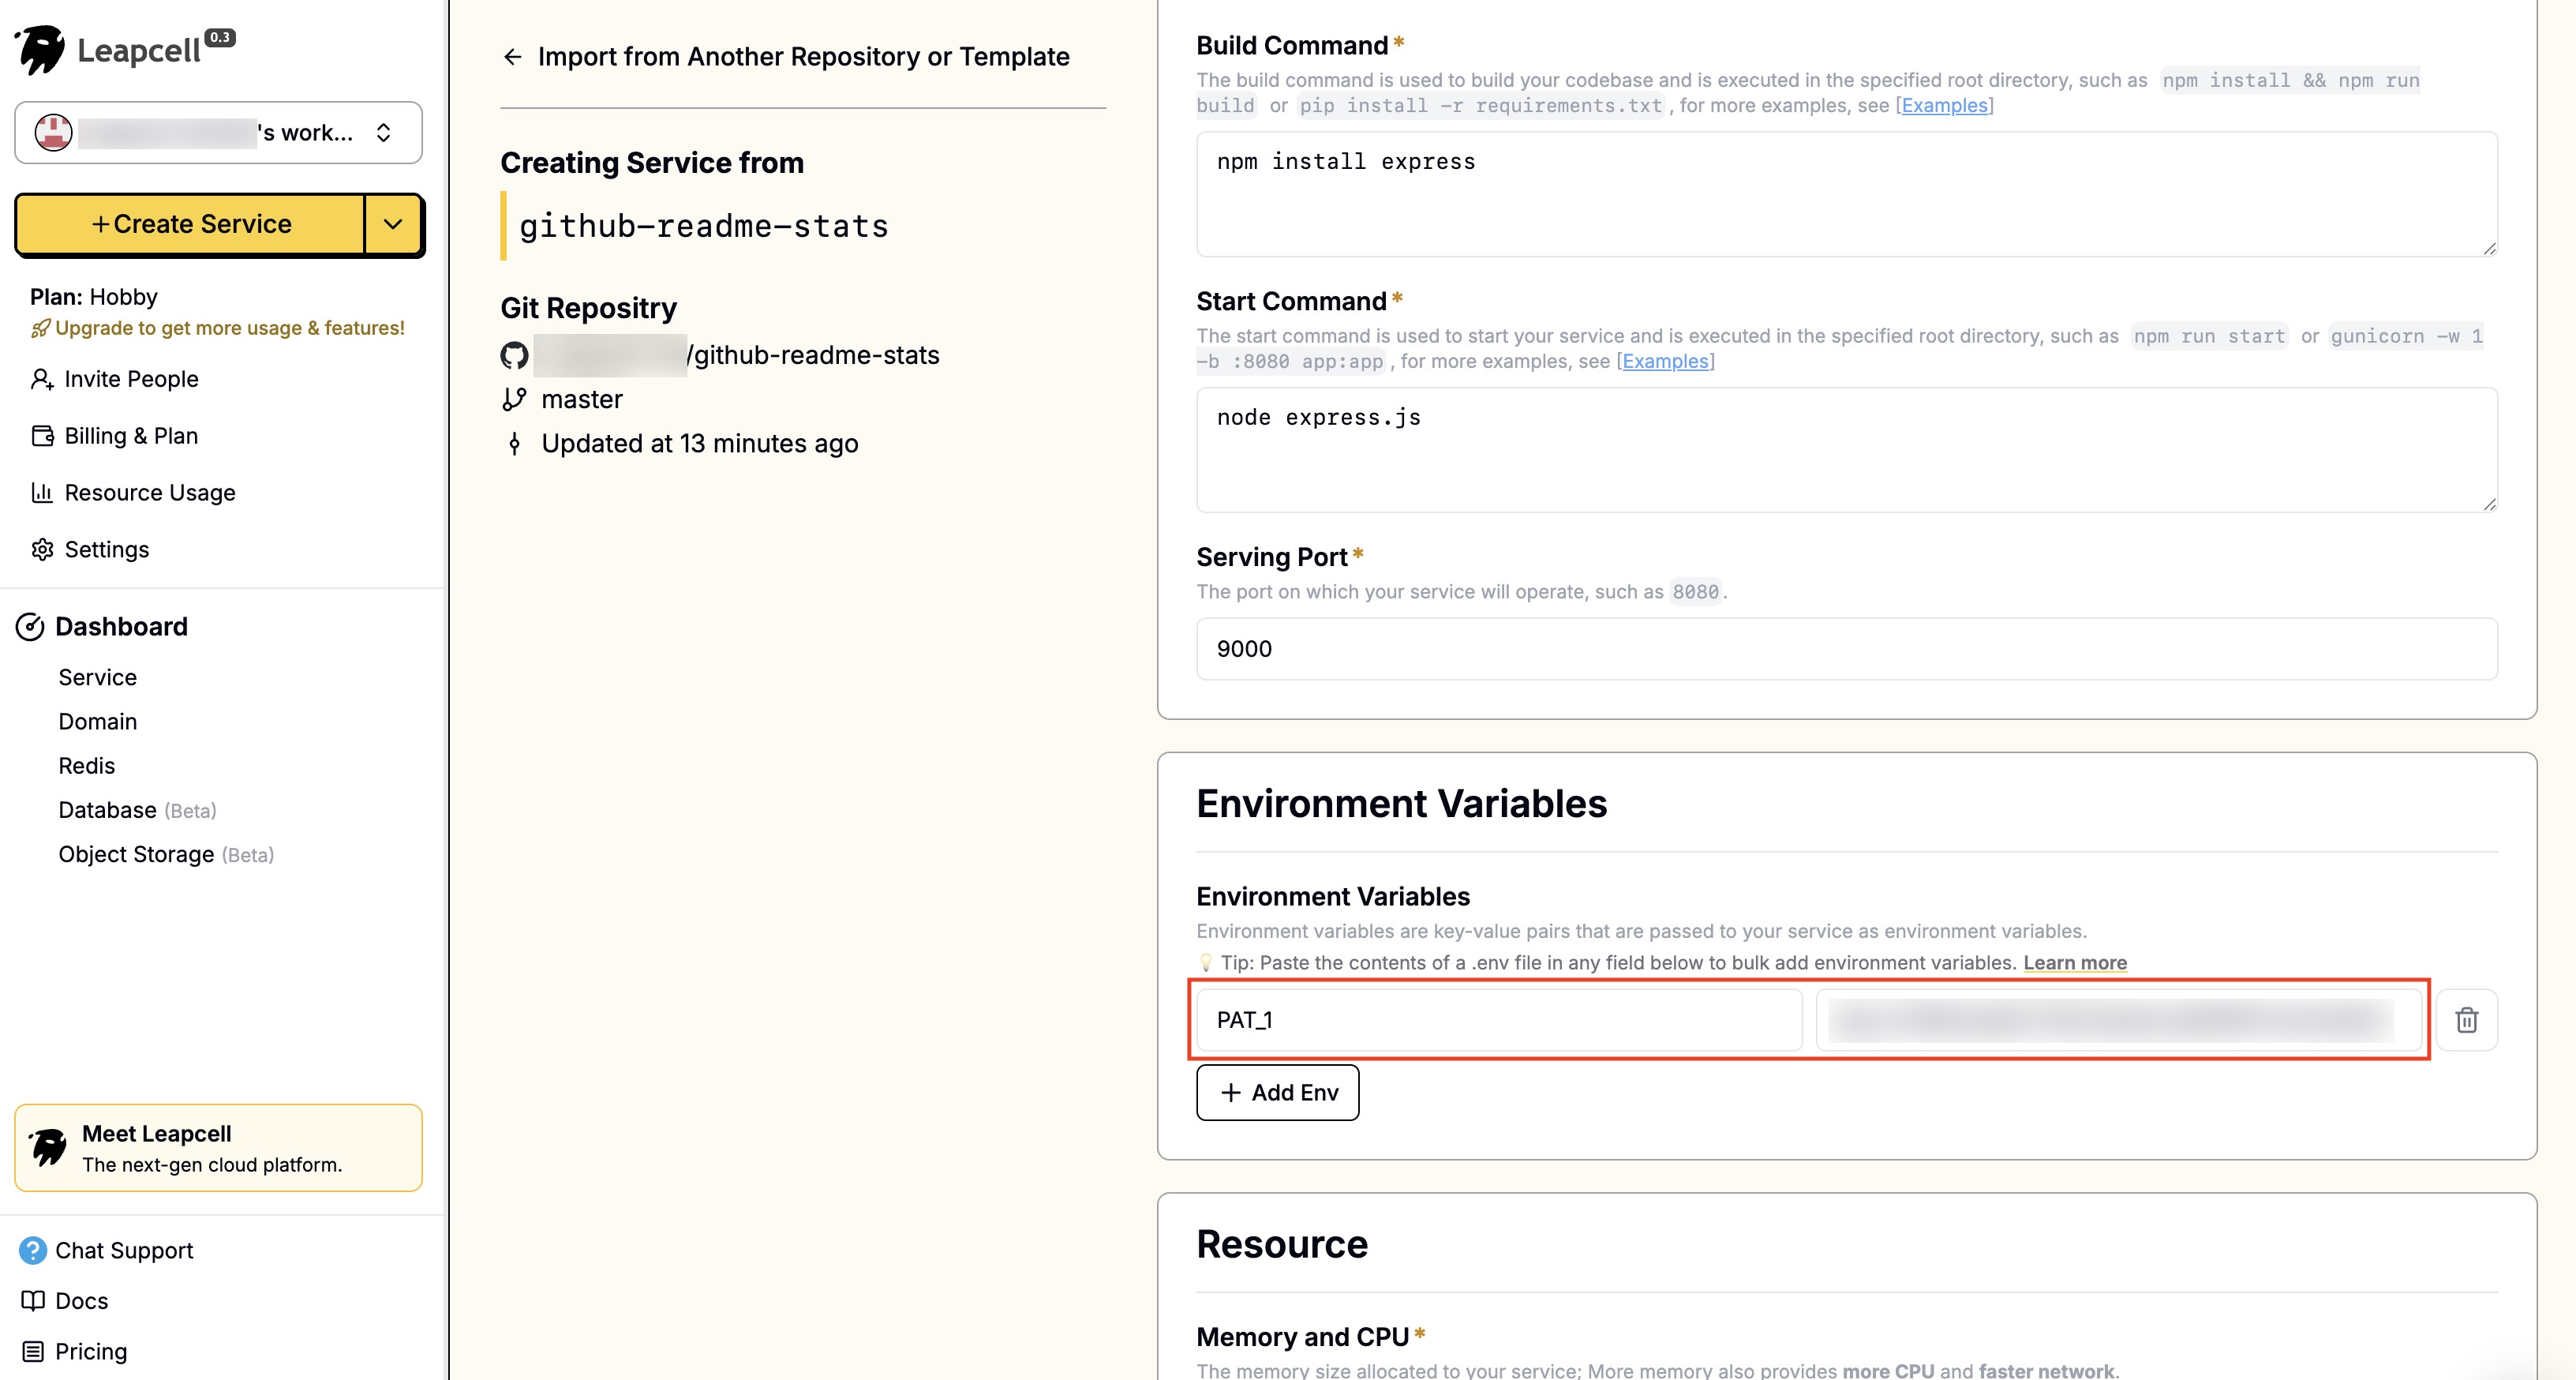
5 - If you want the project to be able to access your private GitHub repo, you also need to create an access token in GitHub, and remember to grant the token repo and user permissions.
6 - Fill in the access token into the environment variable PAT_1.
7 - Click Submit at the bottom to deploy. The deployment will be completed soon and you will be returned to the deployment homepage. Here we can see that Leapcell provides a domain. This is your exclusive GitHub Readme Stats address.

Now, you can use this new address to generate statistical cards. It should be noted that the API path of the version we deployed ourselves is slightly different from the public link. We need to remove /api/ from the address.
For example:
Public link: https://github-readme-stats.vercel.app/api?username=[your name]
Self-hosted: https://xxxxx.leapcell.dev/?username=[your name]
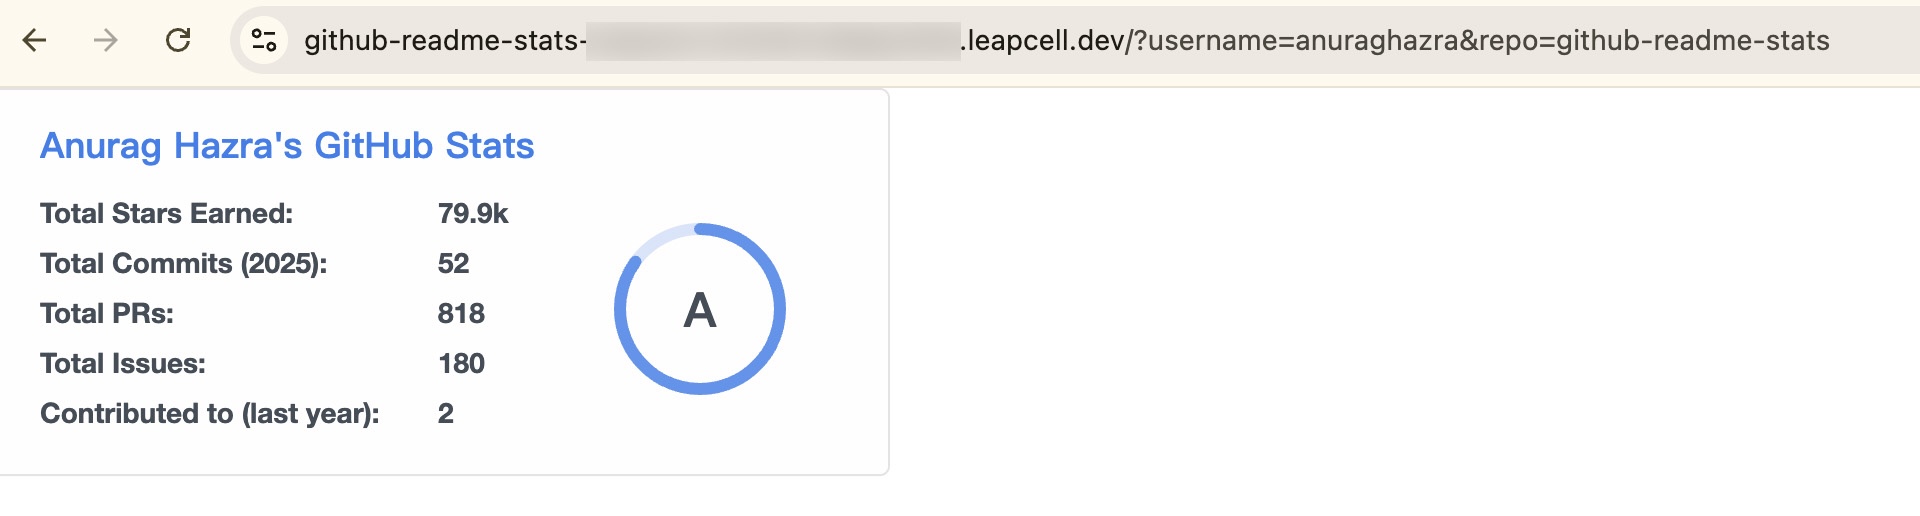
Use a link to test. Visit https://xxxxx.leapcell.dev/?username=anuraghazra&repo=github-readme-stats and you can see that the card is successfully displayed.
Congratulations, you now have GitHub Readme Stats with all its potential unlocked!