優れたNest.jsブログを構築する:画像のアップロード
Daniel Hayes
Full-Stack Engineer · Leapcell

前のチュートリアルで、ブログのコメント返信機能を実装しました。
これでコメントセクションはかなり完成したので、記事自体が少し地味に見えるかもしれません。結局のところ、プレーンテキストしかサポートしていません。
今後のチュートリアルでは、画像挿入を有効にすることで記事を充実させていきます。
画像の挿入の原則は次のとおりです。
- ユーザーが画像を選択し、バックエンドにアップロードします。
- バックエンドは画像をどこかに保存し、画像リソースにアクセスするためのURLを返します。
- フロントエンドは画像URLを記事コンテンツに挿入します。
- 記事コンテンツは最終的にWebページとしてレンダリングされ、画像は対応する画像URLからデータを取得して表示されます。
ステップ1:S3互換オブジェクトストレージの準備
まず、アップロードされた画像を保存する場所が必要です。サーバーのハードドライブに直接画像を保存する方法もありますが、現代的なアプリケーションでは、メンテナンスが容易でコスト効率も高いため、オブジェクトストレージサービス(AWS S3など)を使用することが推奨されます。
利便性のために、データベースとバックエンドホスティングを提供するだけでなく、S3互換オブジェクトストレージサービスも提供するLeapcellを引き続き使用します。

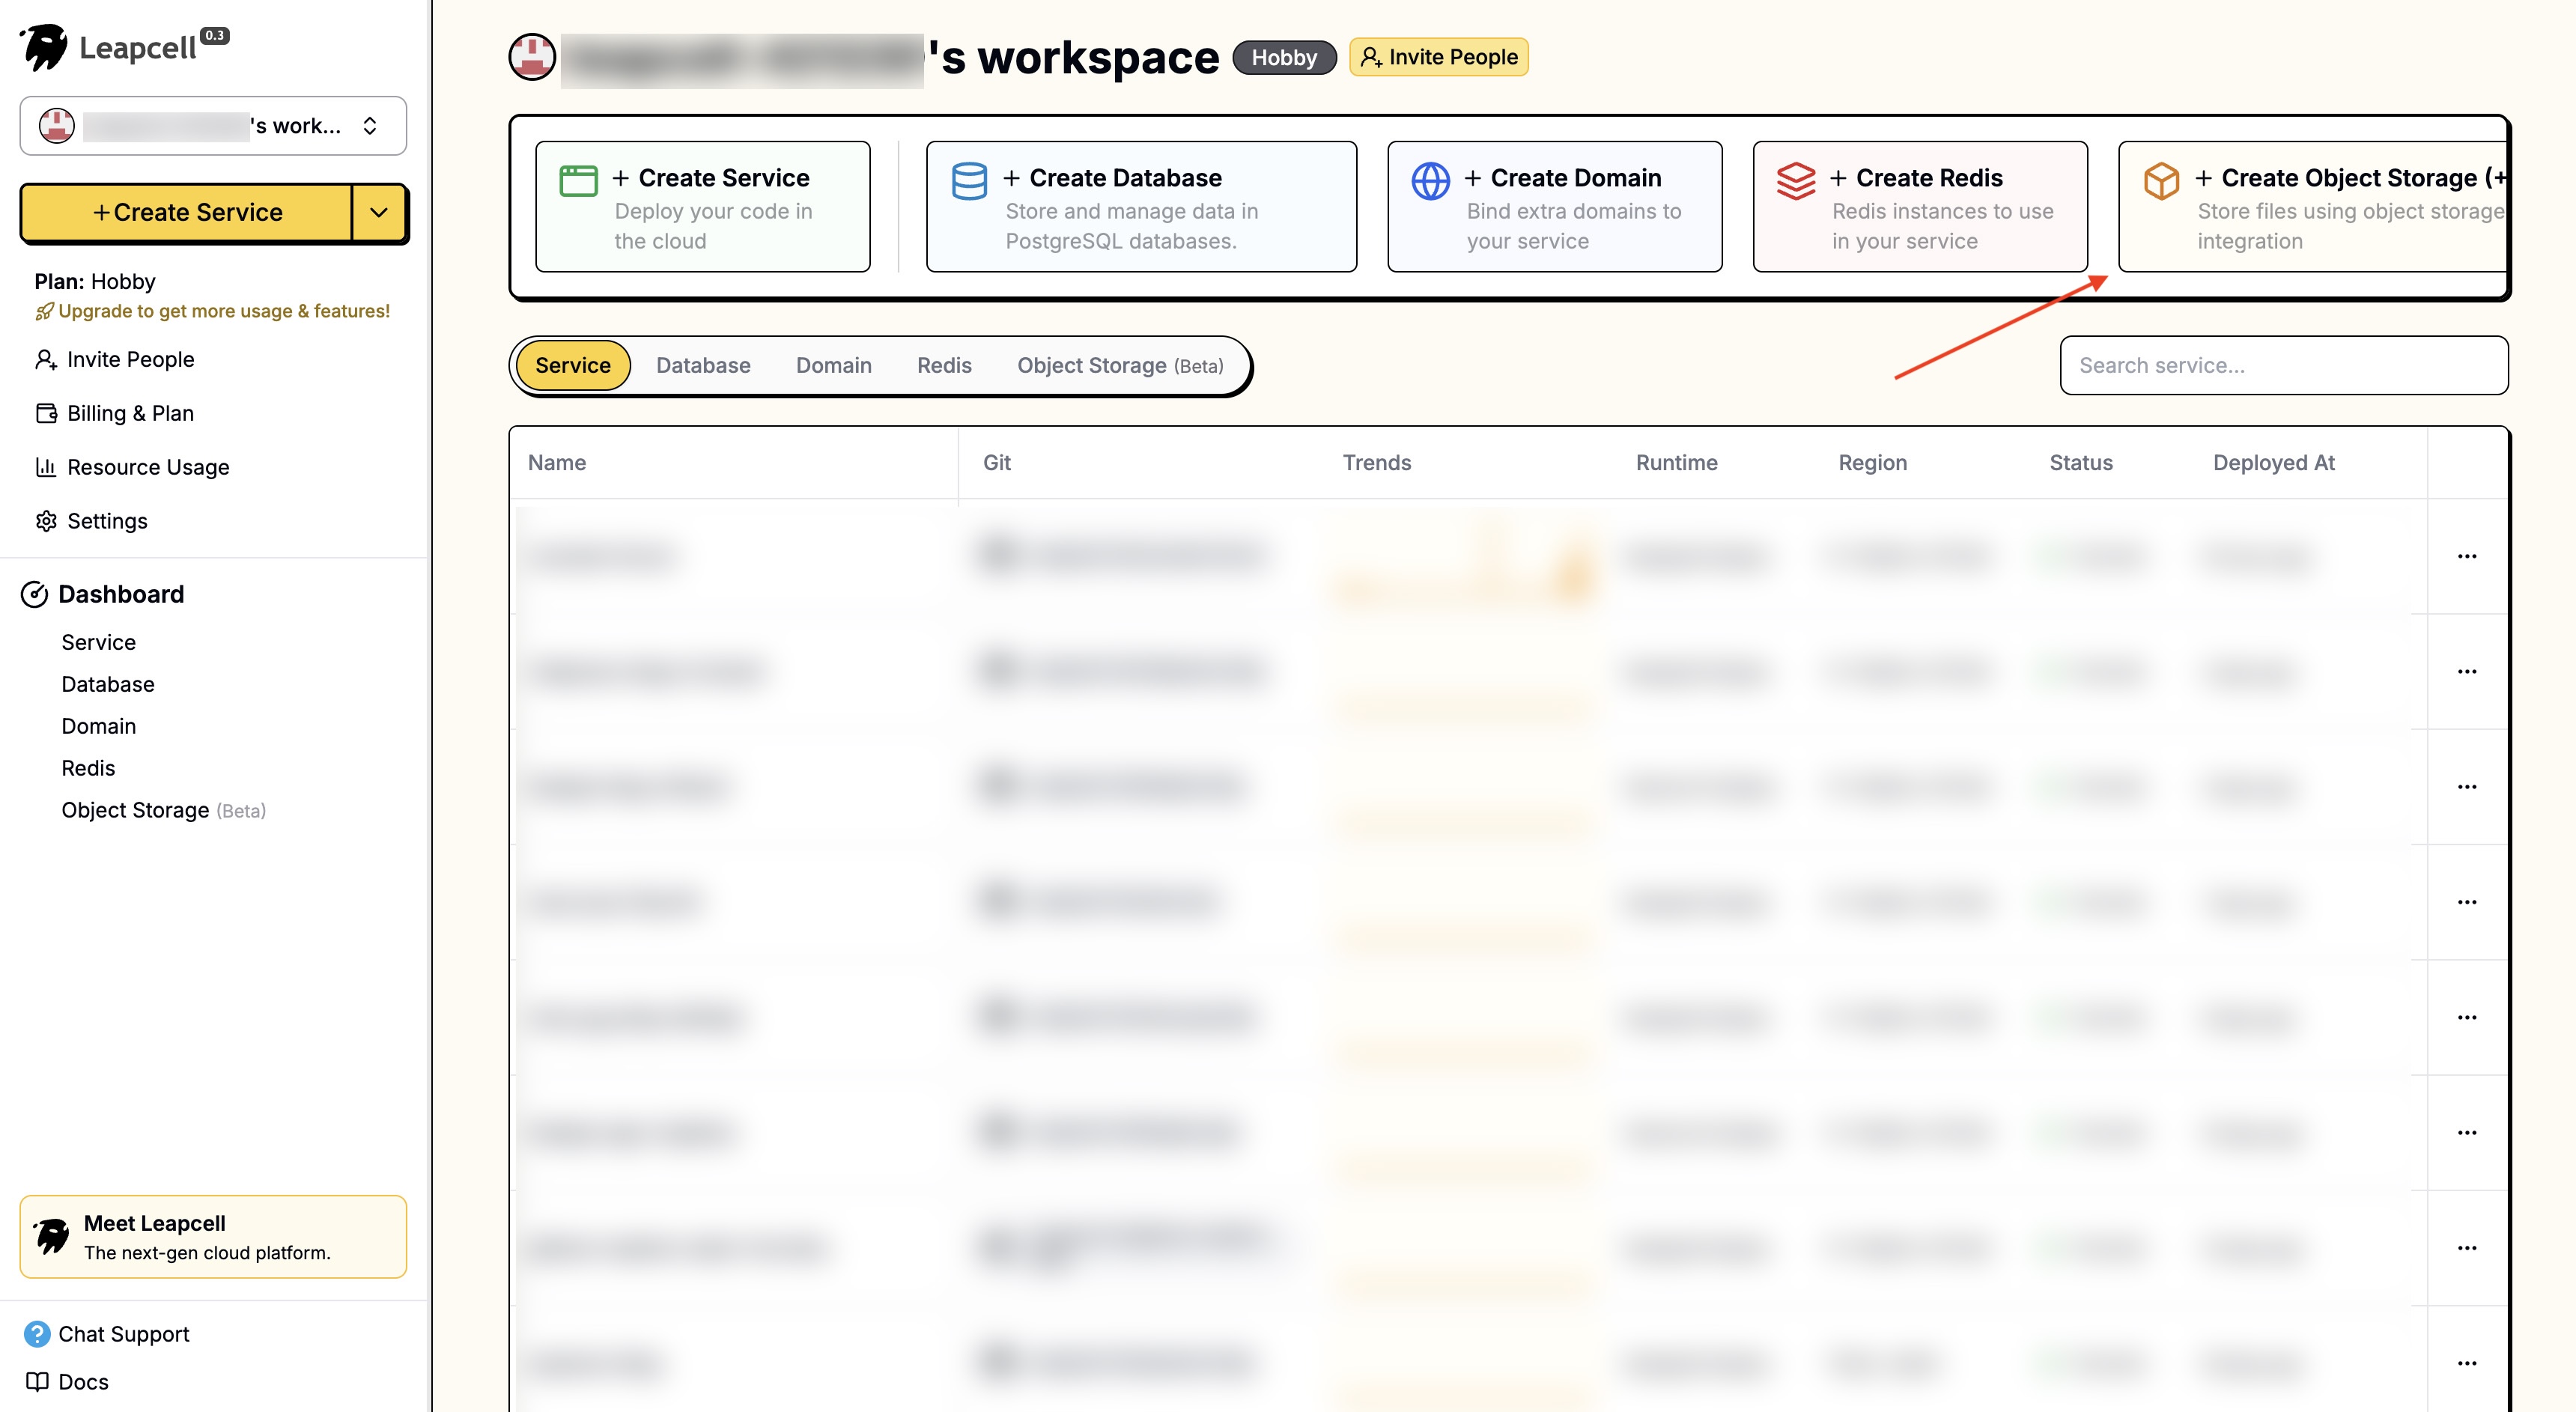
Leapcellのメインインターフェイスにログインし、「オブジェクトストレージの作成」をクリックします。
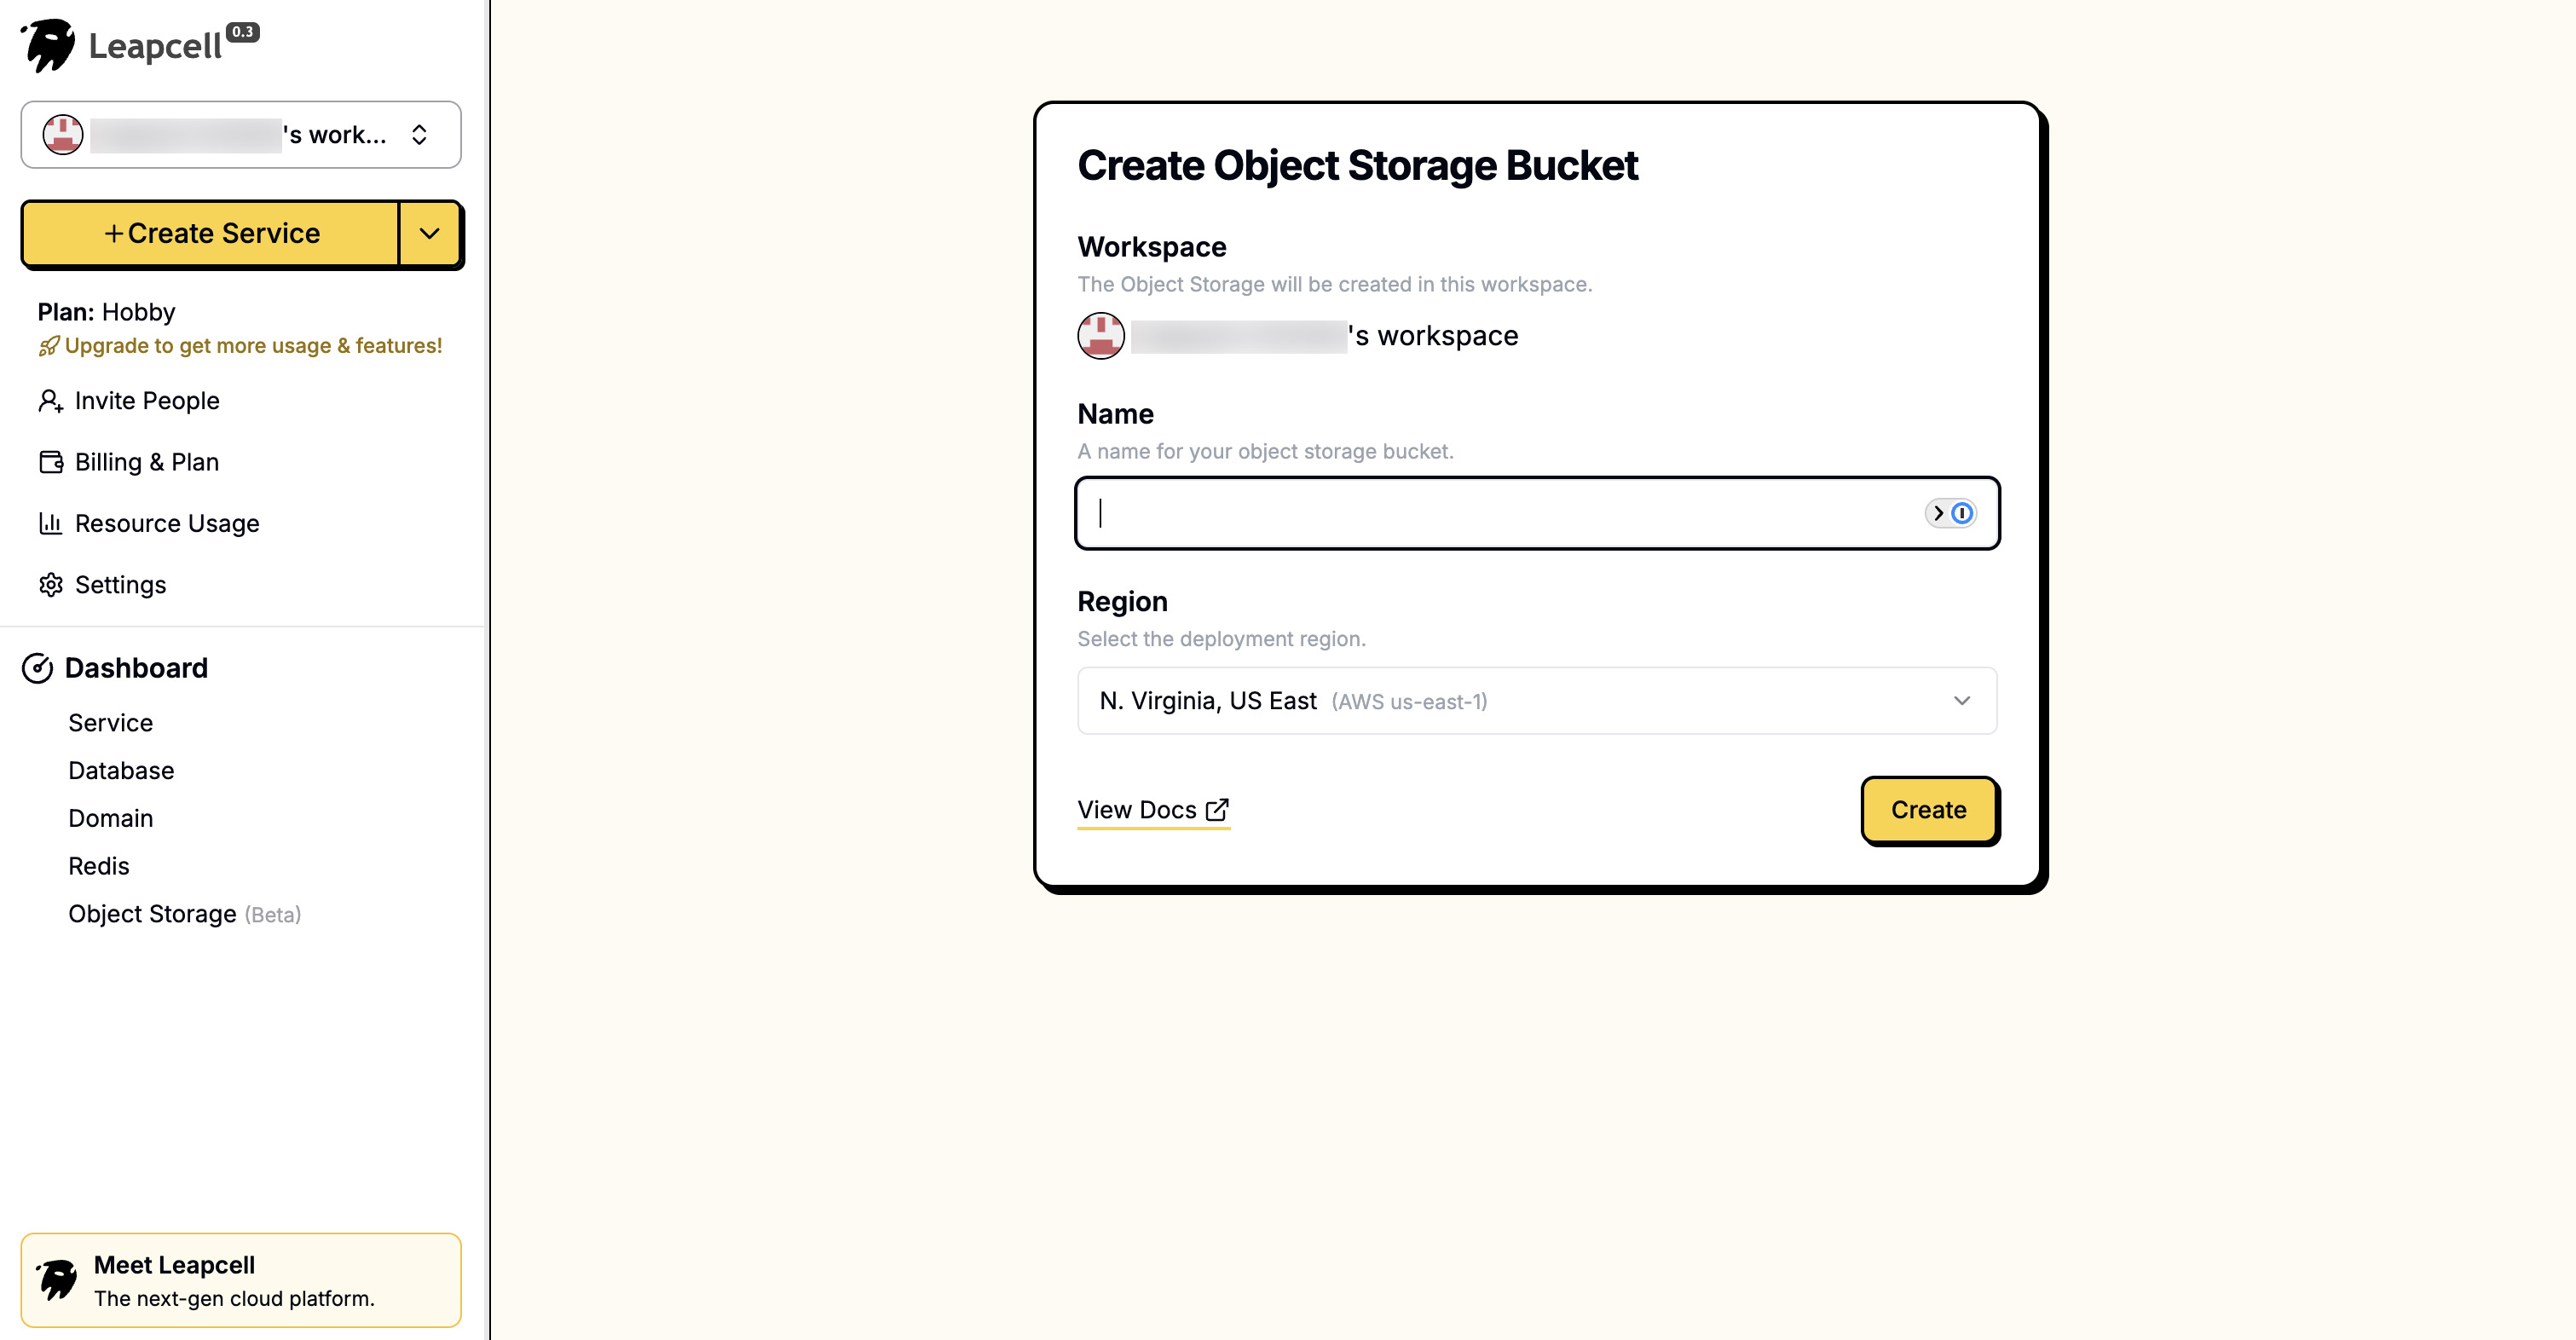
名前を入力するだけでオブジェクトストレージを作成できます。
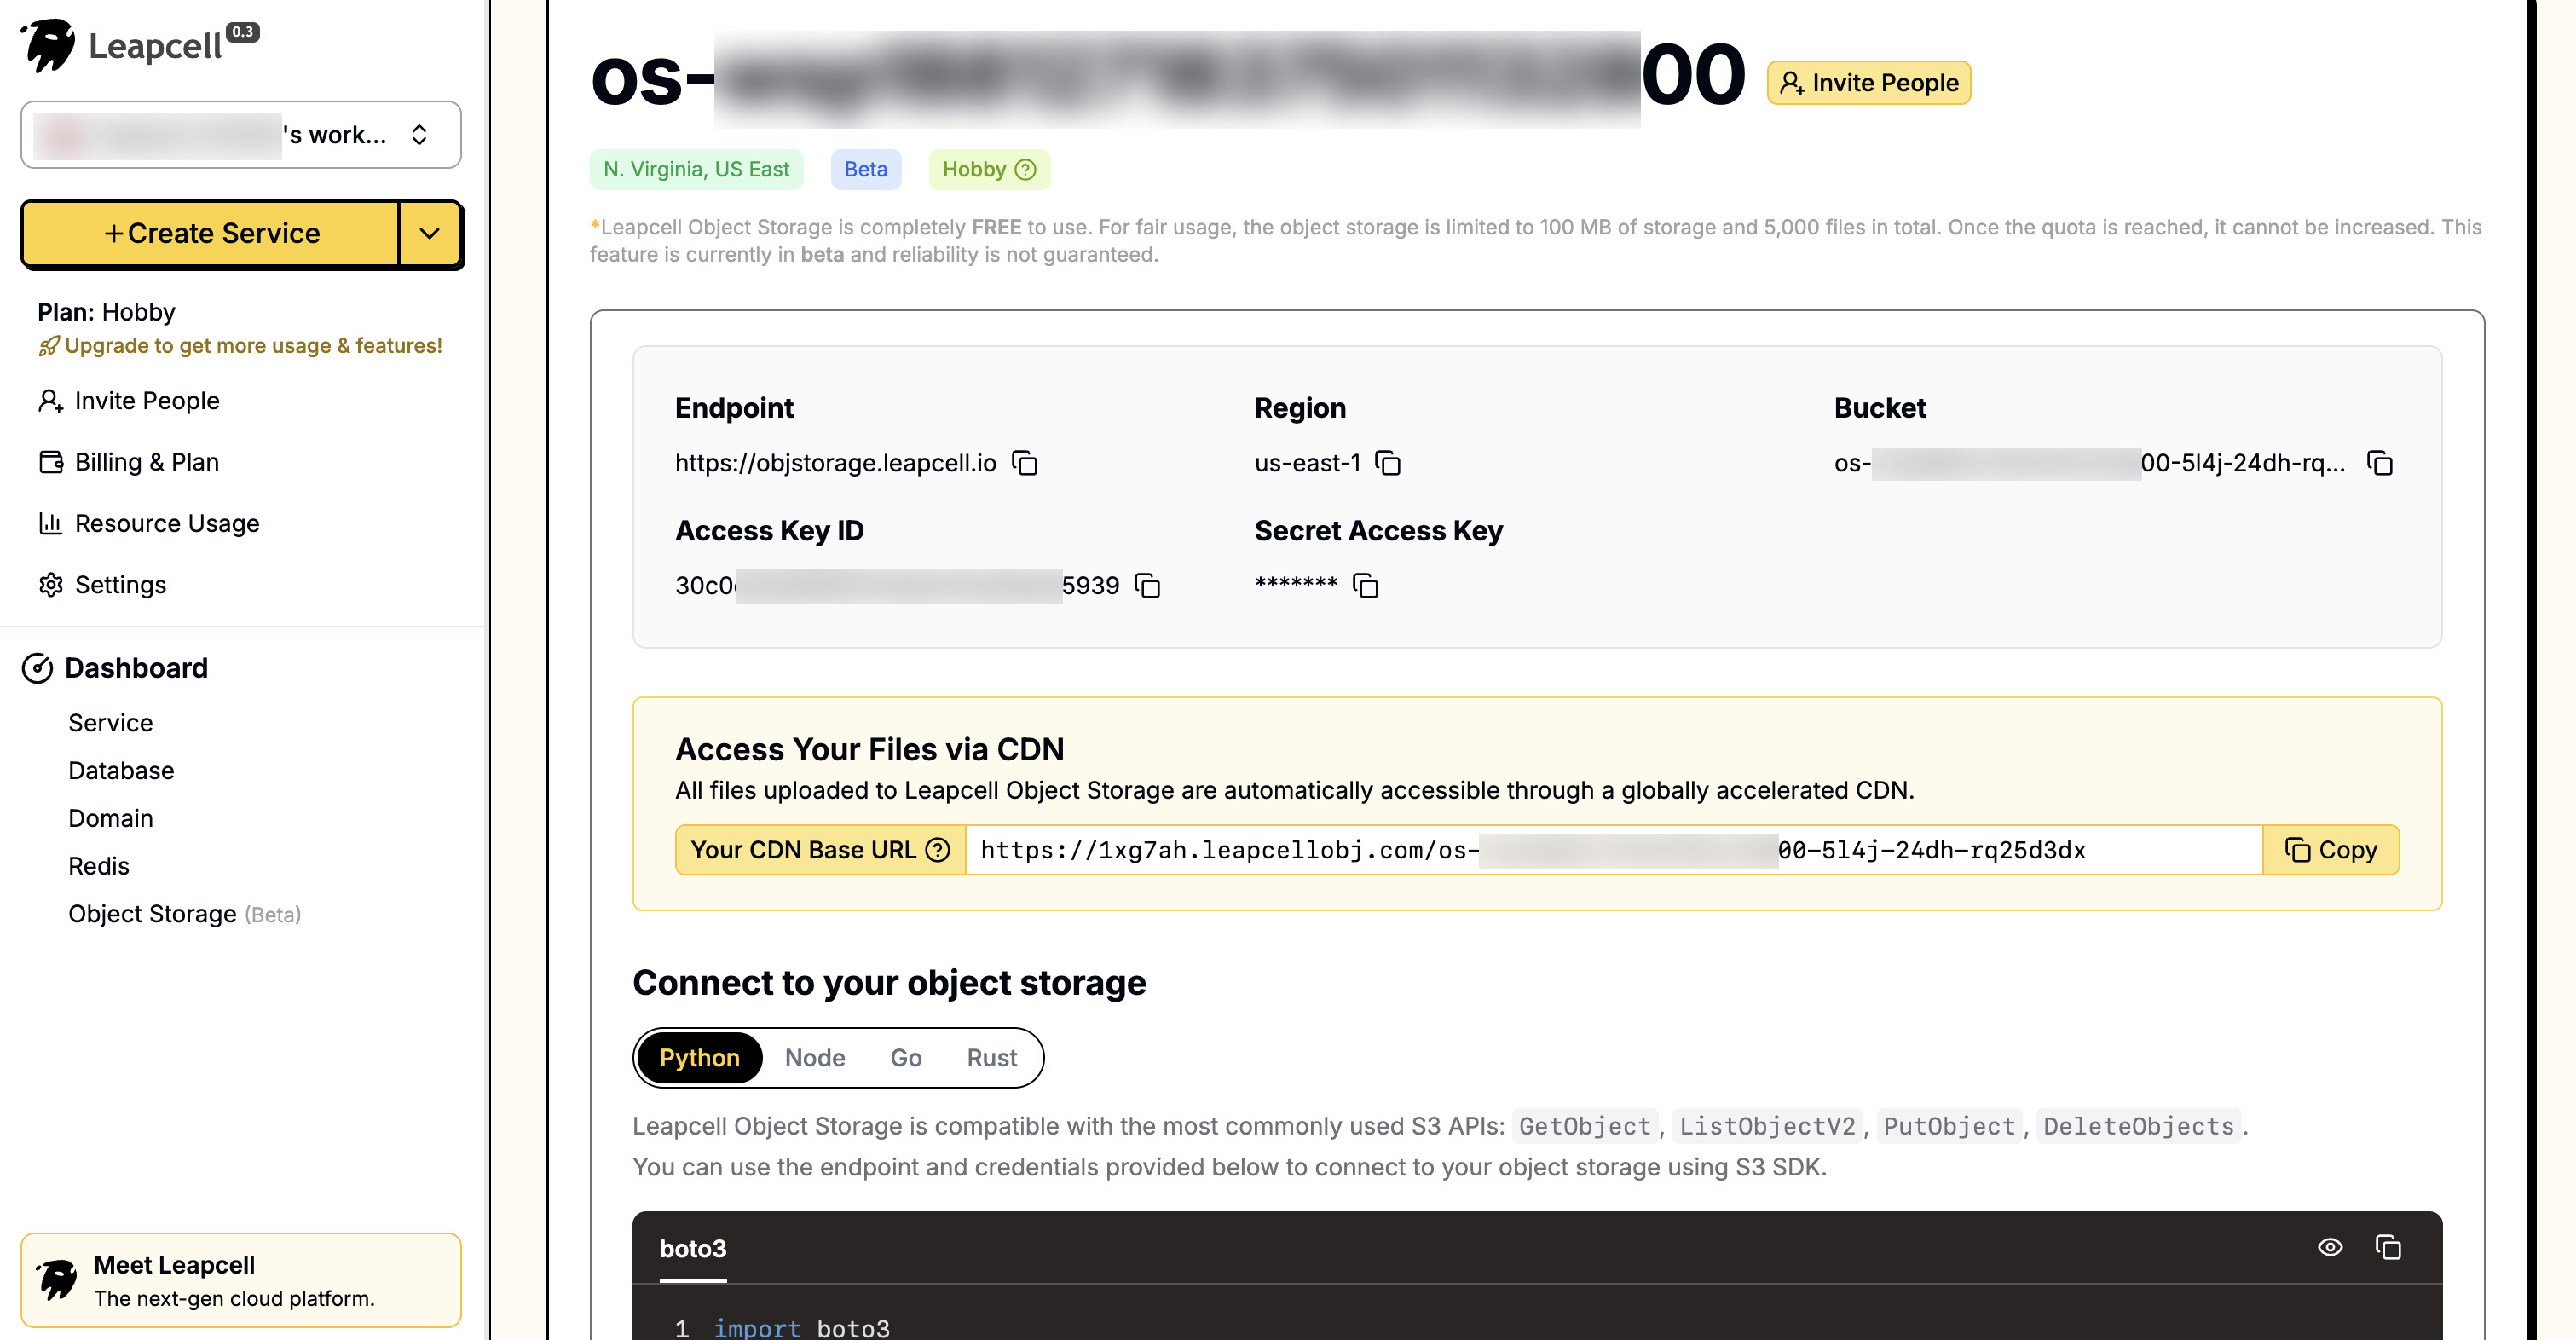
オブジェクトストレージの詳細ページで、Endpoint、Access Key ID、Secret Access Keyなどの接続パラメータを確認できます。これらは後でバックエンド設定で使用します。
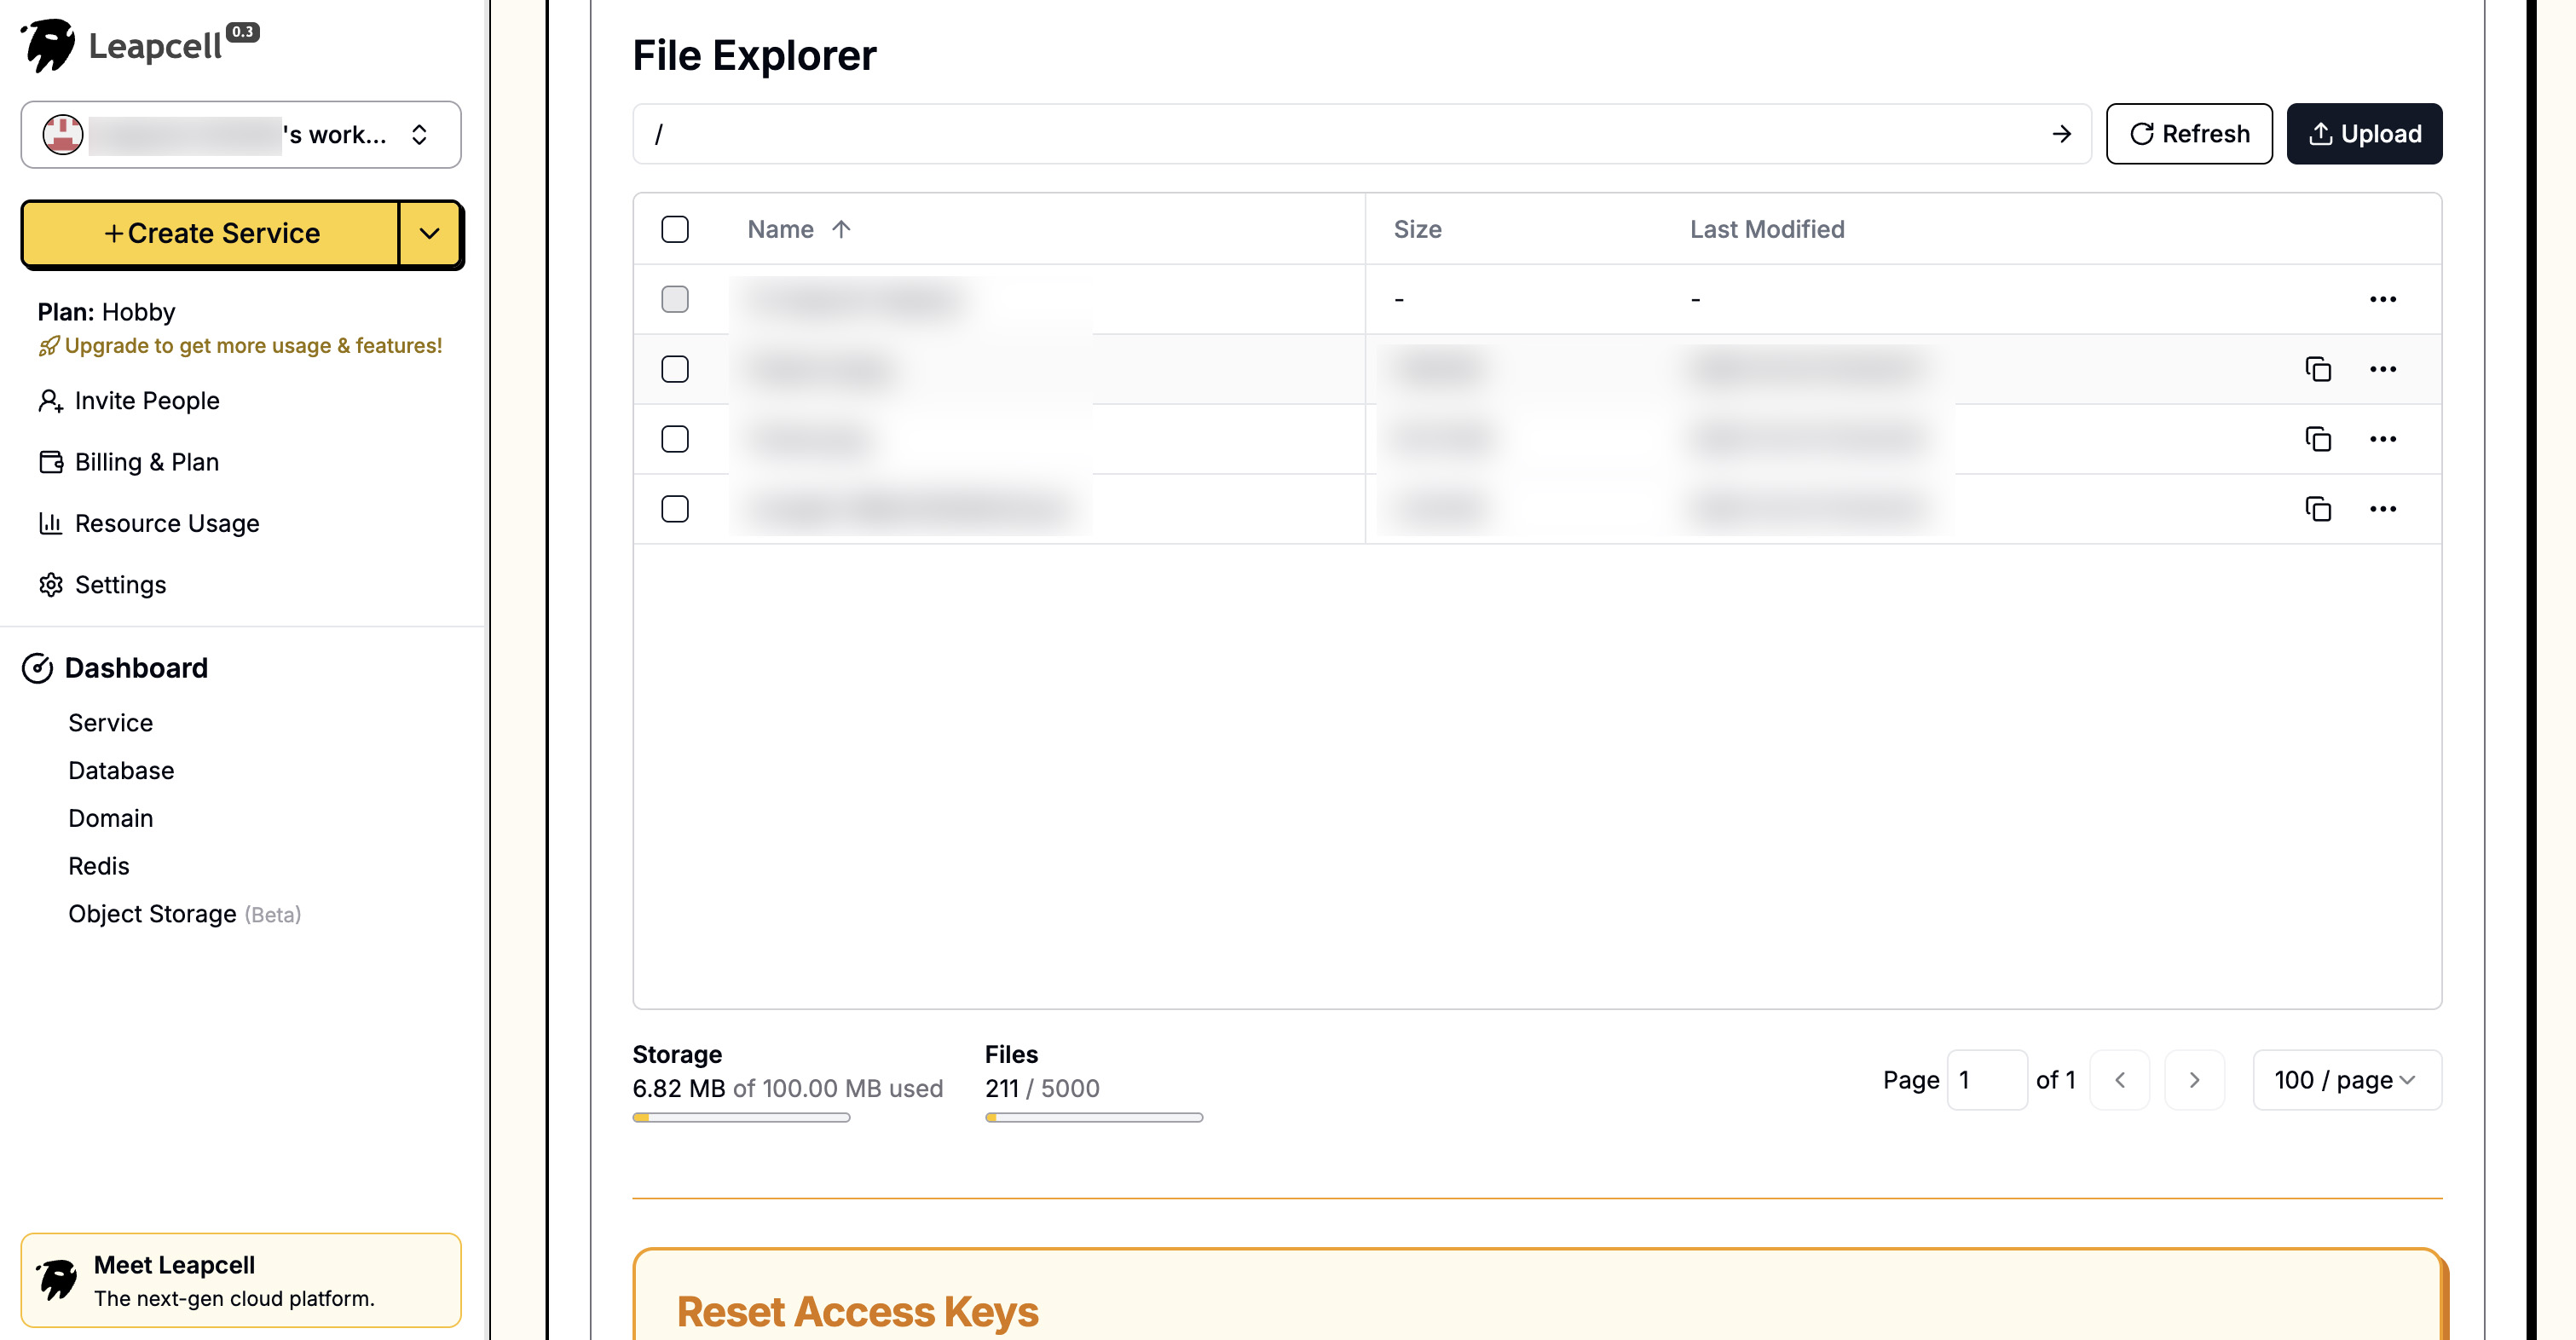
インターフェイスには、ブラウザから直接ファイルをアップロードおよび管理するための非常に便利なUIも用意されています。
ステップ2:バックエンドでの画像アップロードAPIの実装
次に、ファイルアップロードを処理するNest.jsバックエンドを構築しましょう。
依存関係のインストール
S3互換オブジェクトストレージサービスにファイルをアップロードするには、aws-sdk(新しいバージョンは@aws-sdk/client-s3)が必要です。さらに、Nest.jsの組み込みMulterを使用してmultipart/form-dataリクエストを処理します。
npm install @aws-sdk/client-s3
npm install -D @types/multer
アップロードモジュールの作成
ファイルアップロード機能用の新しいモジュールを作成します。
nest generate module uploads
nest generate controller uploads
nest generate service uploads
uploads.service.tsを記述
このサービスは、S3との通信のコアロジックを担当します。
// src/uploads/uploads.service.ts
import { Injectable } from '@nestjs/common';
import { S3Client, PutObjectCommand } from '@aws-sdk/client-s3';
import crypto from 'crypto';

const S3_ENDPOINT = 'https://objstorage.leapcell.io';
const S3_ACCESS_KEY_ID = 'YOUR_ACCESS_KEY_ID';
const S3_SECRET_ACCESS_KEY = 'YOUR_SECRET_ACCESS_KEY';
const S3_BUCKET_NAME = 'my-nest-blog-images';
const S3_PUBLIC_URL = 'https://example.leapcellobj.com/my-nest-blog-images';

@Injectable()
export class UploadsService {
  private readonly s3: S3Client;

  constructor() {
    this.s3 = new S3Client({
      endpoint: S3_ENDPOINT,
      region: 'us-east-1', // For S3 compatible storage, region is often a formality
      credentials: {
        accessKeyId: S3_ACCESS_KEY_ID,
        secretAccessKey: S3_SECRET_ACCESS_KEY,
      },
    });
  }

  async uploadFile(file: Express.Multer.File): Promise<string> {
    const uniqueFileName = `${crypto.randomUUID()}-${file.originalname}`;

    const command = new PutObjectCommand({
      Bucket: S3_BUCKET_NAME,
      Key: uniqueFileName,
      Body: file.buffer,
      ContentType: file.mimetype,
      ACL: 'public-read', // Set the file to be publicly readable
    });

    try {
      await this.s3.send(command);
      // Return the public URL of the file
      return `${S3_PUBLIC_URL}/${uniqueFileName}`;
    } catch (error) {
      console.error('Error uploading to S3:', error);
      throw new Error('File upload failed.');
    }
  }
}
実装を簡素化するために、S3接続パラメータはコードに直接記述されています。
実際のプロジェクトでは、環境変数から読み取ることが推奨されます。これには@nestjs/configモジュールを使用できます。
uploads.controller.tsを記述
このコントローラーはAPIルートを定義し、FileInterceptorを使用してアップロードされたファイルを受け取ります。
// src/uploads/uploads.controller.ts
import { Controller, Post, UploadedFile, UseGuards, UseInterceptors } from '@nestjs/common';
import { FileInterceptor } from '@nestjs/platform-express';
import { UploadsService } from './uploads.service';
import { AuthenticatedGuard } from '../auth/authenticated.guard';

@Controller('uploads')
export class UploadsController {
  constructor(private readonly uploadsService: UploadsService) {}

  @UseGuards(AuthenticatedGuard) // Only logged-in users can upload
  @Post('image')
  @UseInterceptors(FileInterceptor('file')) // 'file' is the name of the file field in the form
  async uploadImage(@UploadedFile() file: Express.Multer.File) {
    const url = await this.uploadsService.uploadFile(file);
    return { url };
  }
}
最後に、app.module.tsにUploadsModuleをインポートして、アプリケーションがこの新しいモジュールを認識できるようにします。
ステップ3:FilePicker APIを使用したフロントエンド統合
バックエンドの準備ができたので、フロントエンドページnew-post.ejsを変更してアップロード機能を追加しましょう。
アップロードを処理するには、最新のFilePicker APIと従来の<input type="file">の2つの方法があります。
従来のメソッド:<input type="file">は互換性に優れており、すべてのブラウザでサポートされています。ただし、APIはやや時代遅れで直感的ではなく、ユーザーエクスペリエンスが悪いです。
最新のメソッド:File System Access APIは使いやすく、より強力で、より良いユーザーエクスペリエンスを提供できます。ただし、従来のメソッドほどの互換性はありません。また、セキュアなコンテキスト(HTTPS)で実行する必要があります。
私たちのブログは最新のプロジェクトであることを考慮して、FilePicker APIを使用してファイルアップロードを実装します。
new-post.ejsの更新
views/new-post.ejsで、「Upload Image」ボタンを<textarea>の隣に追加します。
<%- include('_header', { title: 'New Post' }) %> <form action="/posts" method="POST" class="post-form"> <div class="form-group"> <label for="title">Title</label> <input type="text" id="title" name="title" required /> </div> <div class="form-group"> <label for="content">Content</label> <div class="toolbar"> <button type="button" id="upload-image-btn">Upload Image</button> </div> <textarea id="content" name="content" rows="10" required></textarea> </div> <button type="submit">Submit</button> </form> <script> document.addEventListener('DOMContentLoaded', () => { const uploadBtn = document.getElementById('upload-image-btn'); const contentTextarea = document.getElementById('content'); uploadBtn.addEventListener('click', async () => { try { const [fileHandle] = await window.showOpenFilePicker({ types: [ { description: 'Images', accept: { 'image/*': ['.png', '.jpeg', '.jpg', '.gif', '.webp'] }, }, ], }); const file = await fileHandle.getFile(); uploadFile(file); } catch (error) { // An AbortError is thrown when the user cancels file selection, we ignore it if (error.name !== 'AbortError') { console.error('FilePicker Error:', error); } } }); function uploadFile(file) { if (!file) return; const formData = new FormData(); formData.append('file', file); // Display a simple loading indicator uploadBtn.disabled = true; uploadBtn.innerText = 'Uploading...'; fetch('/uploads/image', { method: 'POST', body: formData, // Note: Do not manually set the Content-Type header when using FormData }) .then((response) => response.json()) .then((data) => { if (data.url) { // Insert the returned image URL into the textarea const markdownImage = ``; insertAtCursor(contentTextarea, markdownImage); } else { alert('Upload failed. Please try again.'); } }) .catch((error) => { console.error('Upload Error:', error); alert('An error occurred during upload.'); }) .finally(() => { uploadBtn.disabled = false; uploadBtn.innerText = 'Upload Image'; }); } // Helper function to insert text at the cursor position function insertAtCursor(myField, myValue) { if (myField.selectionStart || myField.selectionStart === 0) { var startPos = myField.selectionStart; var endPos = myField.selectionEnd; myField.value = myField.value.substring(0, startPos) + myValue + myField.value.substring(endPos, myField.value.length); myField.selectionStart = startPos + myValue.length; myField.selectionEnd = startPos + myValue.length; } else { myField.value += myValue; } } }); </script> <%- include('_footer') %>
ステップ4:画像を含む記事のレンダリング
記事のMarkdownリンクを挿入することに成功しましたが、まだテキスト文字列としてレンダリングされます。これは、記事詳細ページpost.ejsでMarkdown形式をHTMLに変換する必要があるためです。
Markdown解析ライブラリのインストール
解析を実行するためにmarkedライブラリを使用します。
npm install marked
コントローラーでのMarkdown解析
src/posts/posts.controller.tsのfindOneメソッドを変更します。投稿データをテンプレートに渡す前に、markedを使用してコンテンツを解析します。
// src/posts/posts.controller.ts
import { Controller, Get, Render, Param, Request } from '@nestjs/common';
import { PostsService } from './posts.service';
import { CommentsService } from '../comments/comments.service';
import { marked } from 'marked'; // import marked

@Controller('posts')
export class PostsController {
  constructor(private readonly postsService: PostsService, private readonly commentsService: CommentsService) {}

  // ... other methods

  @Get(':id')
  @Render('post')
  async post(@Param('id') id: string, @Request() req) {
    const post = await this.postsService.findOne(id);
    const comments = await this.commentsService.findByPostId(id);

    // Parse Markdown content
    if (post) {
      post.content = marked.parse(post.content) as string;
    }

    return { post, user: req.session.user, comments };
  }
}
post.ejsビューの更新
最後に、views/post.ejsを変更して、解析されたHTMLが正しくレンダリングされるようにします。
たとえば、以前は改行を処理するために<%- post.content.replace(/\n/g, '<br />') %>を使用していました。コンテンツはすでにHTMLなので、直接出力できます。
<%- include('_header', { title: post.title }) %> <article class="post-detail"> <h1><%= post.title %></h1> <small><%= new Date(post.createdAt).toLocaleDateString() %></small> <div class="post-content"><%- post.content %></div> </article> <a href="/" class="back-link">← Back to Home</a> <%- include('_footer') %>
<%-を使用していることに注意してください。<br />ではなく。前者はHTMLを直接出力しますが、後者はエスケープします。
実行とテスト
アプリケーションを再起動します。
npm run start:dev
ブラウザを開いて、次のアドレスに移動します: http://localhost:3000/
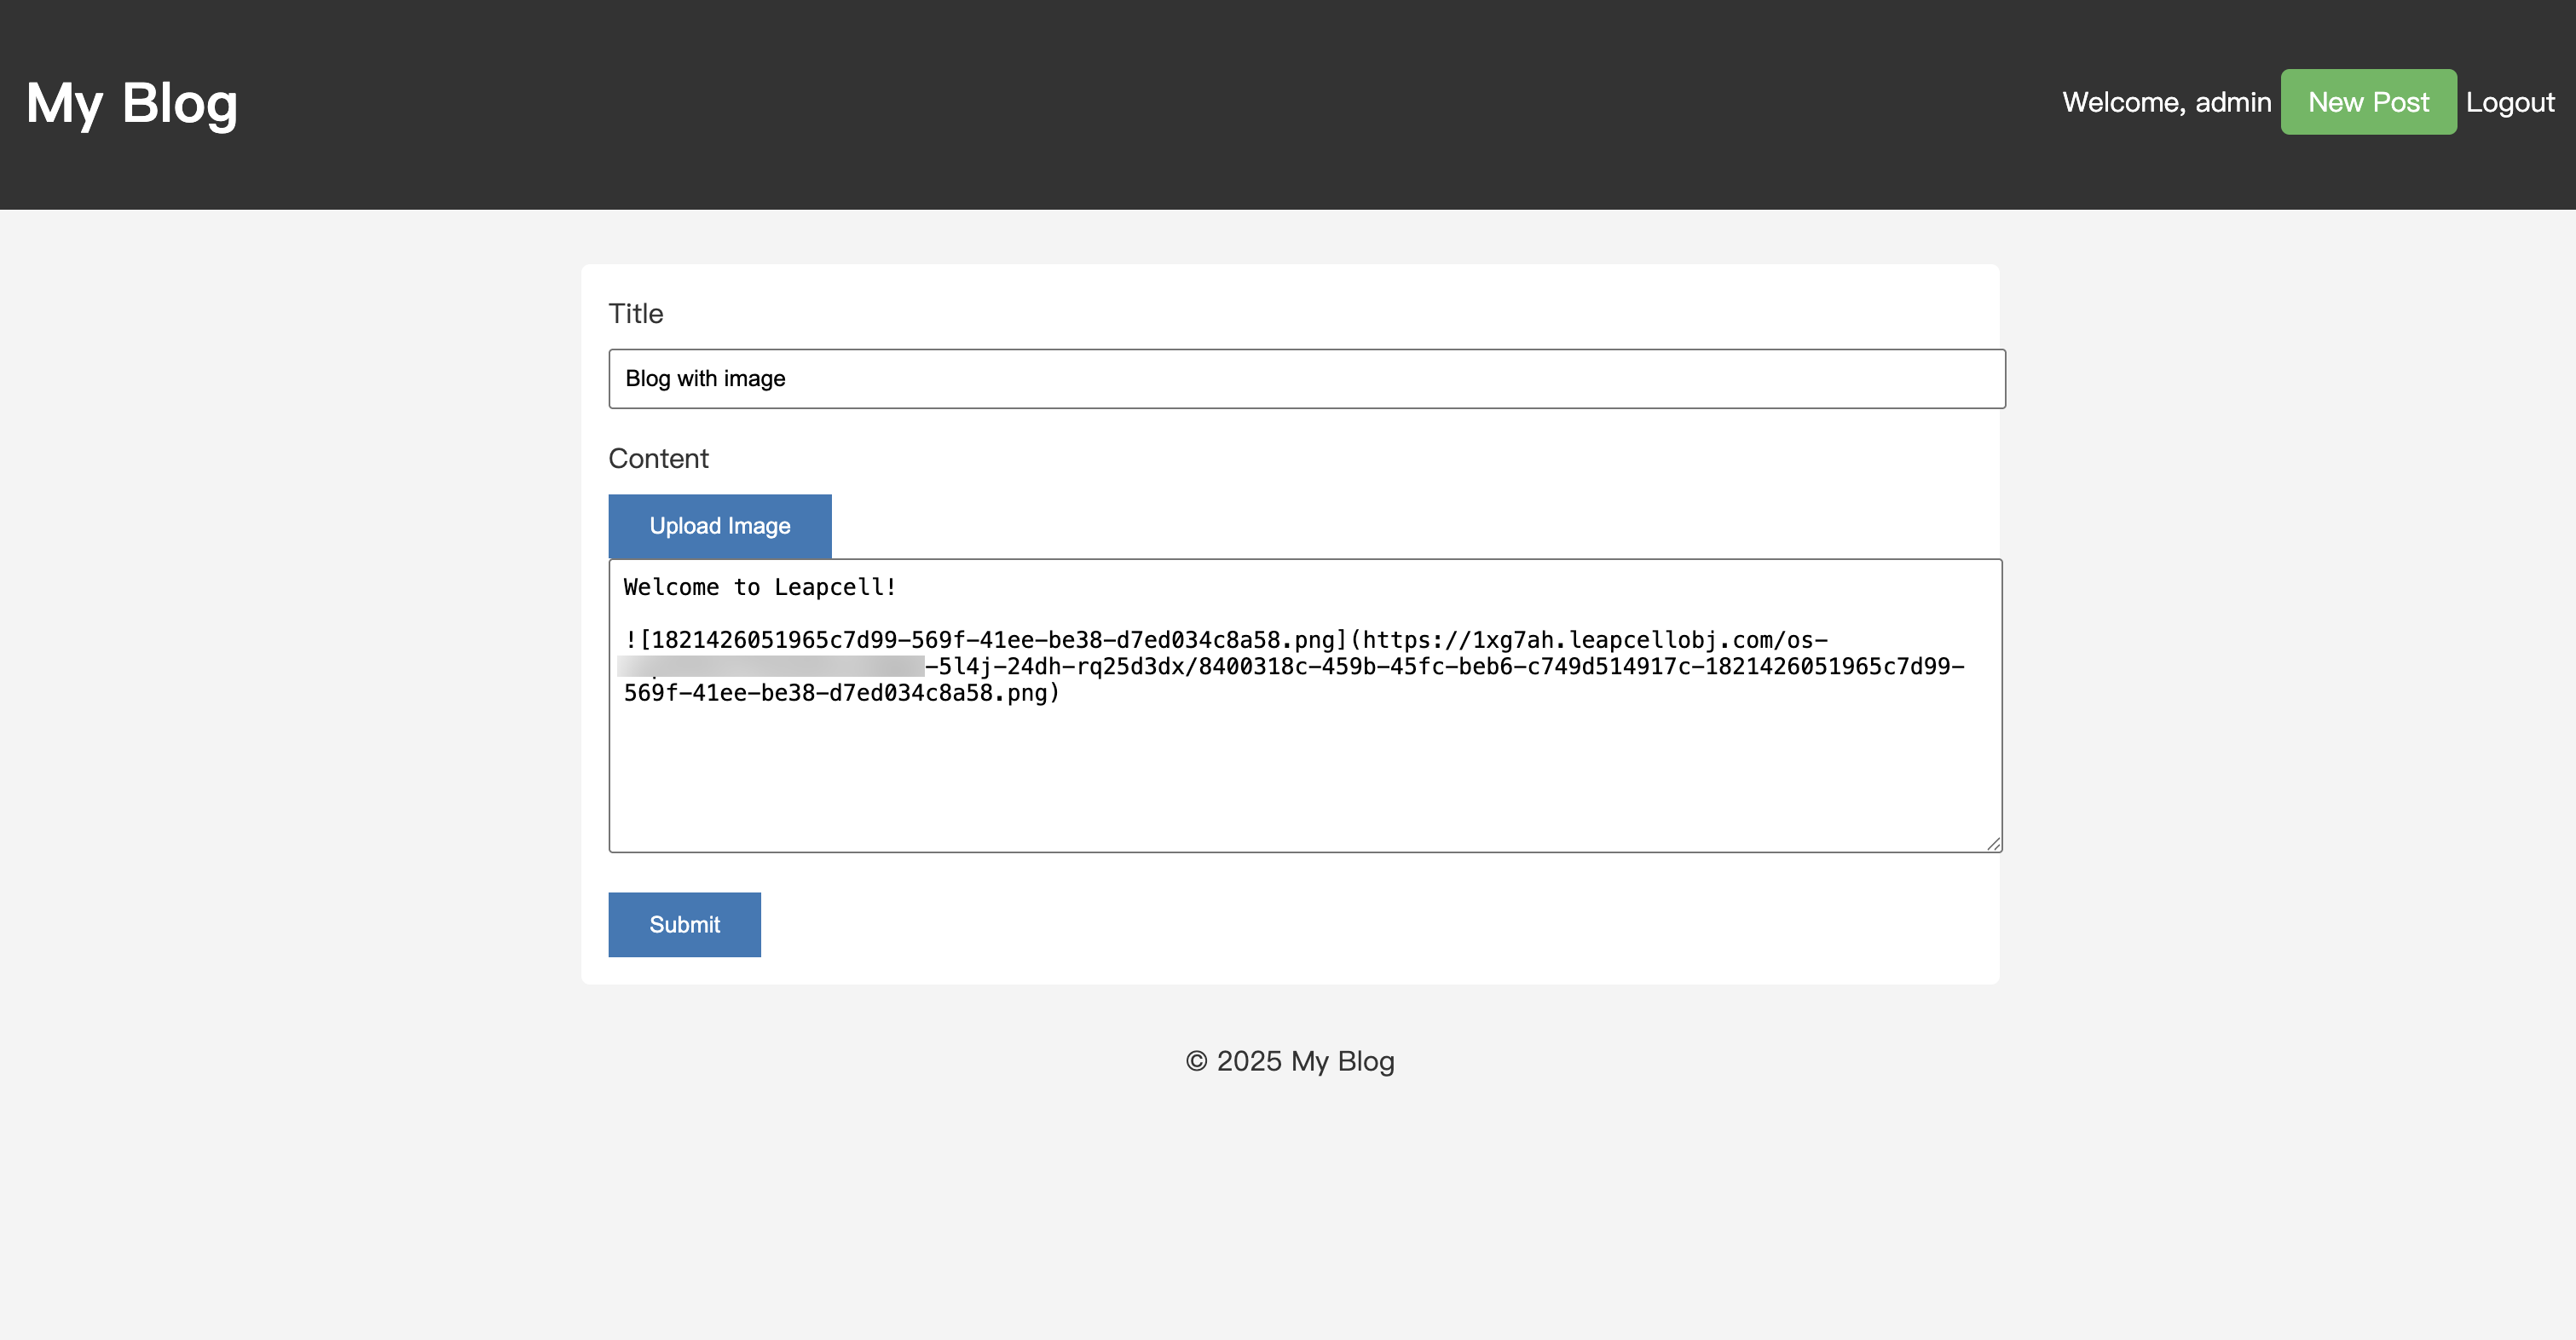
「新規投稿」ページに移動すると、「画像のアップロード」ボタンが表示されます。それをクリックすると、ファイルをアップロードできます。
画像を選択します。アップロードが完了すると、画像のMarkdownリンクが自動的にテキストボックスに挿入されます。
記事を公開して、記事の詳細ページに移動します。画像が正常にレンダリングされていることがわかります。さらに、記事コンテンツはMarkdown構文をサポートするようになりました!
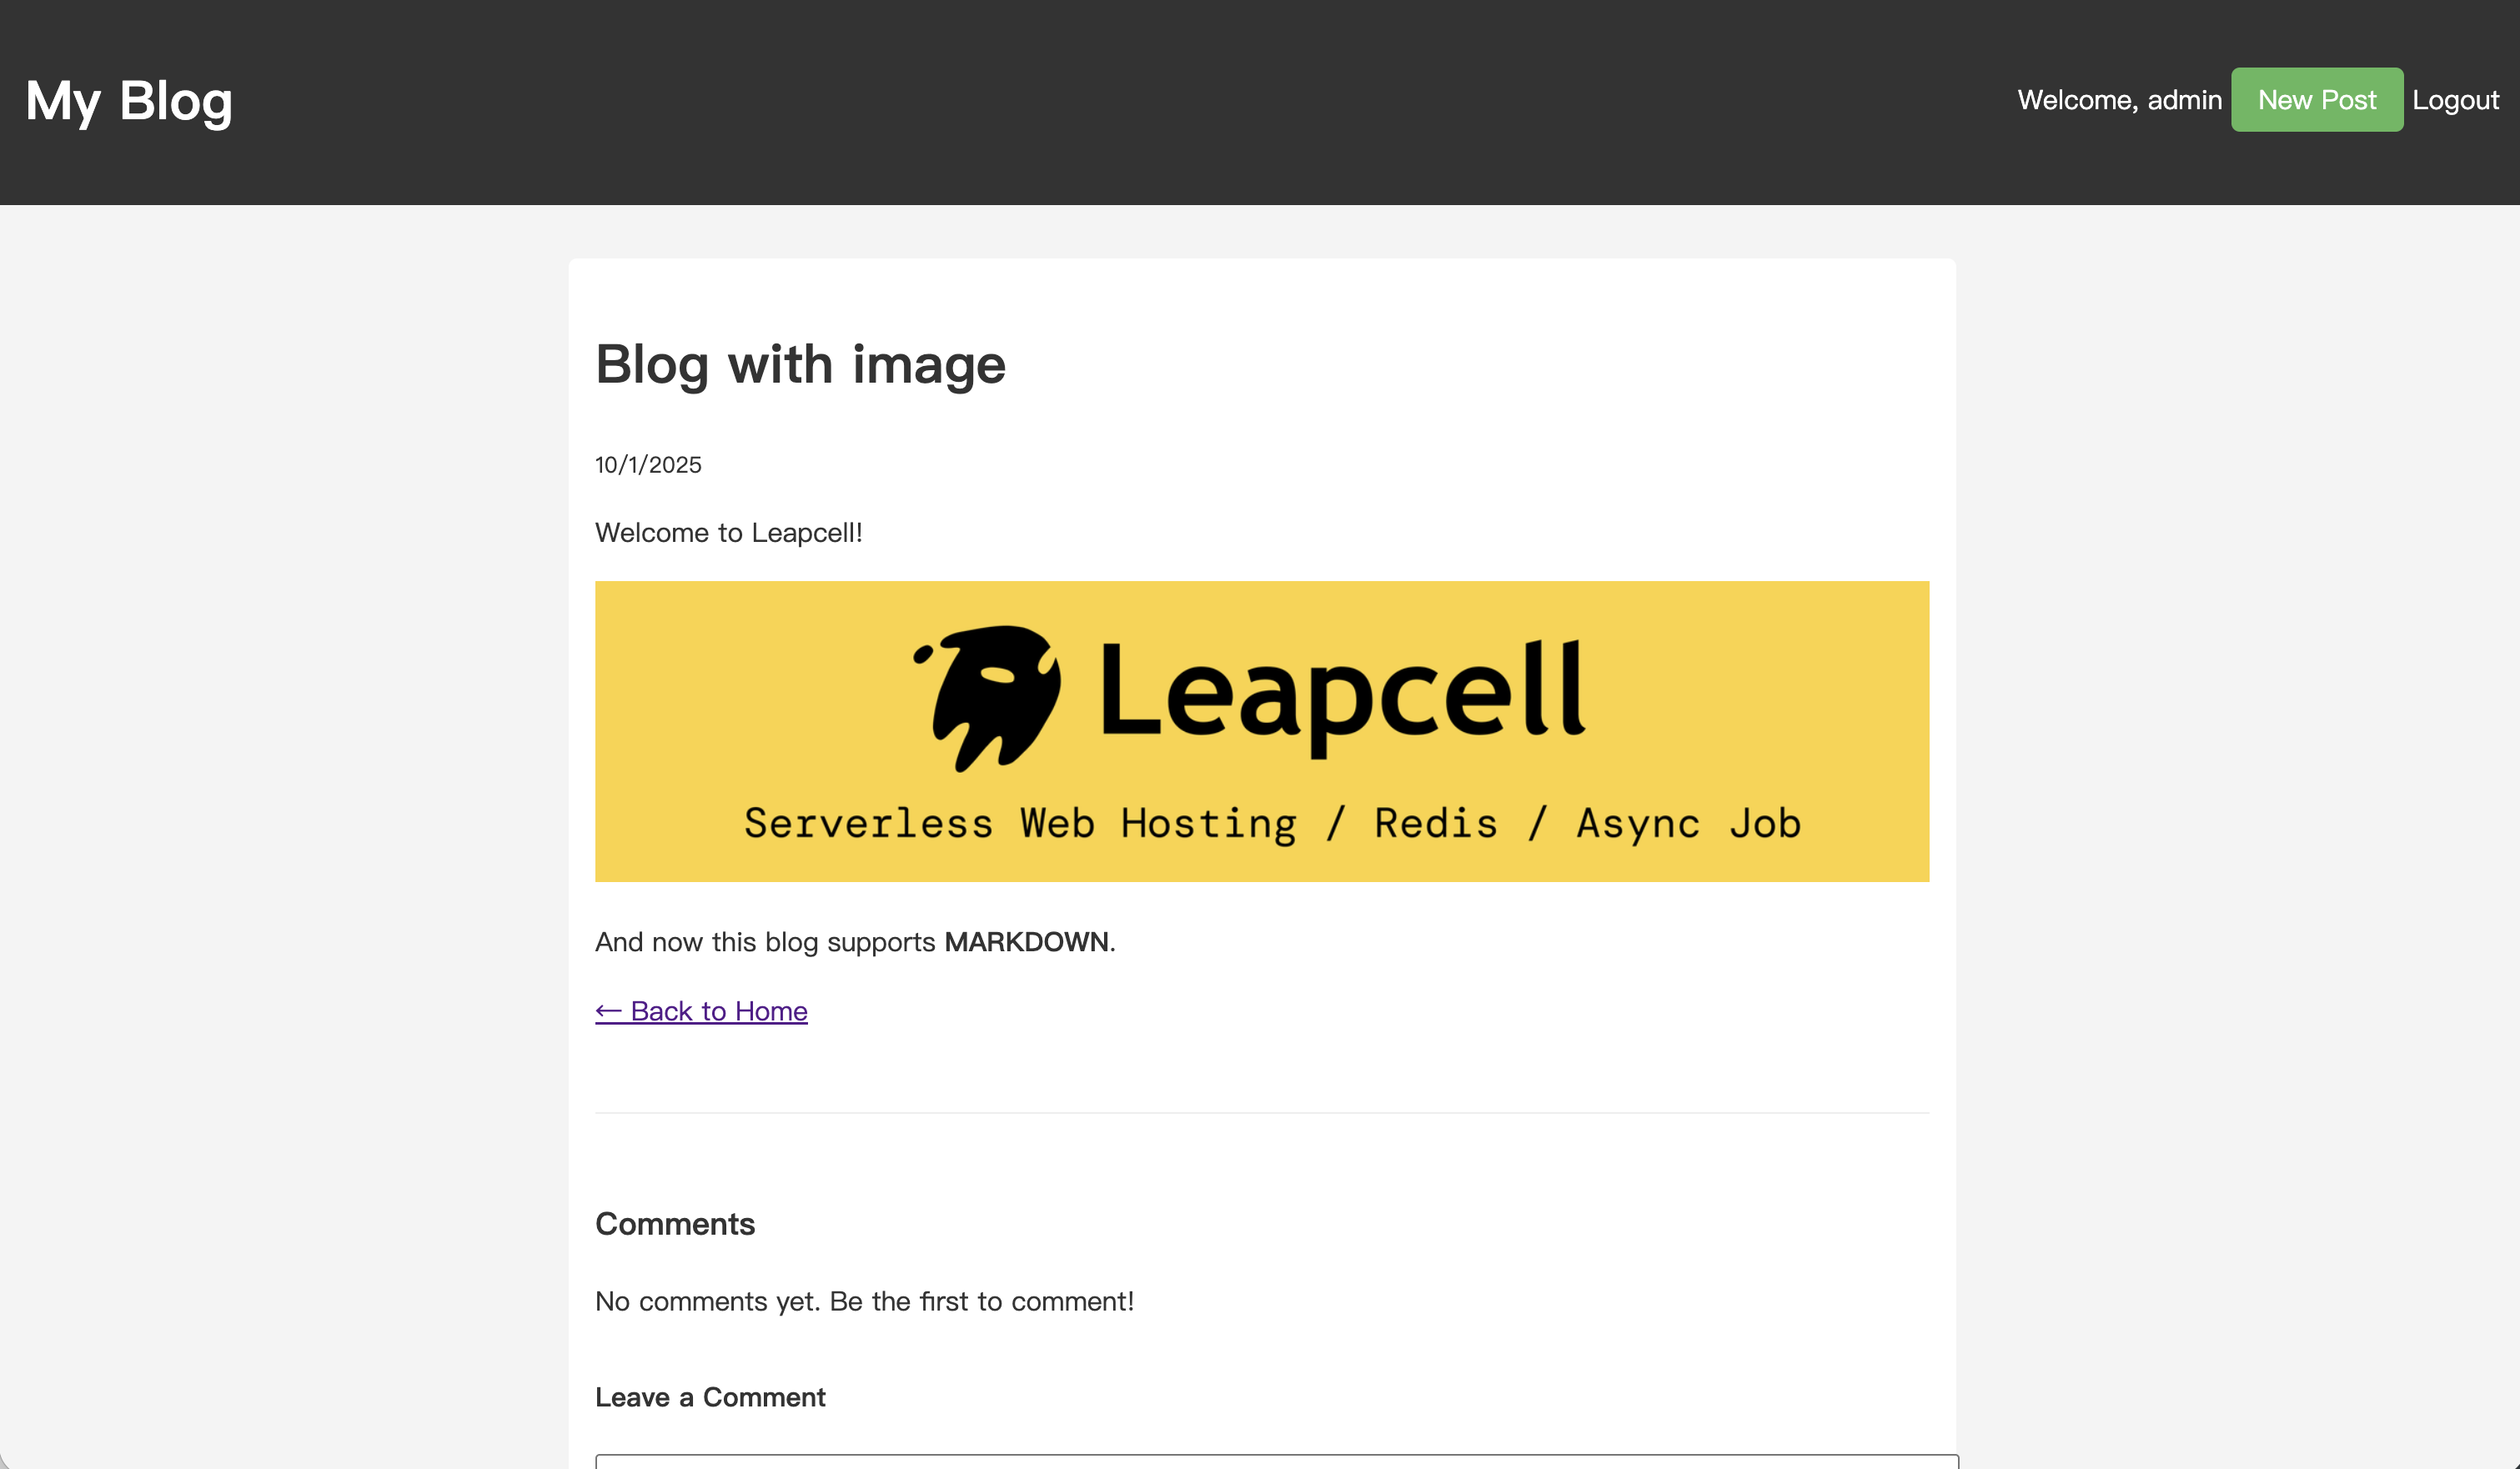
これで、ブログは画像アップロード(およびMarkdown)をサポートするようになりました。これからは、ブログの投稿は間違いなくはるかにエキサイティングになるでしょう。
過去のチュートリアル: