FastAPIで独自のフォーラムを構築する:ステップ9 - 画像のアップロード
Ethan Miller
Product Engineer · Leapcell

前回の記事では、PostgreSQLの組み込み全文検索機能を使用して、フォーラムで投稿を検索できるようにしました。
次に、投稿への画像アップロードサポートを追加することで、サイトの機能をさらに強化していきます。
画像アップロードのプロセスは次のとおりです。
- ユーザーが画像ファイルを選択して送信します。
- FastAPIがデータを受信した後、S3のような専用オブジェクトストレージサービスに画像ファイルを転送します。
なぜサーバーに直接保存しないのか?
これは便利ですが、いくつかの問題があります。
- 画像の永続ストレージを維持する必要があります。これは、アプリケーションをデプロイするたびに画像ファイルが失われないようにすることを意味します。
- サーバーから画像を配信すると、サーバーの高価な帯域幅とコンピューティングリソースが消費されます。オブジェクトストレージでこれを処理するとサーバーのコンピューティングリソースは使用されず、帯域幅ははるかに安価です。
そのため、S3のような外部オブジェクトストレージサービスを使用する必要があります。
ステップ1:S3ストレージバケットの準備
S3互換のストレージサービスが必要です。以下から選択できます。
- Leapcell。Leapcellは、Webサイトの構築、データベースのデプロイを可能にするオールインワンのバックエンドサービスを提供するプラットフォームであり、S3互換のオブジェクトストレージも含まれています。
- Amazon S3(AWS公式サービス)
- S3互換とマークされている限り、他のクラウドプロバイダー。
次に、例としてLeapcellを使用します。

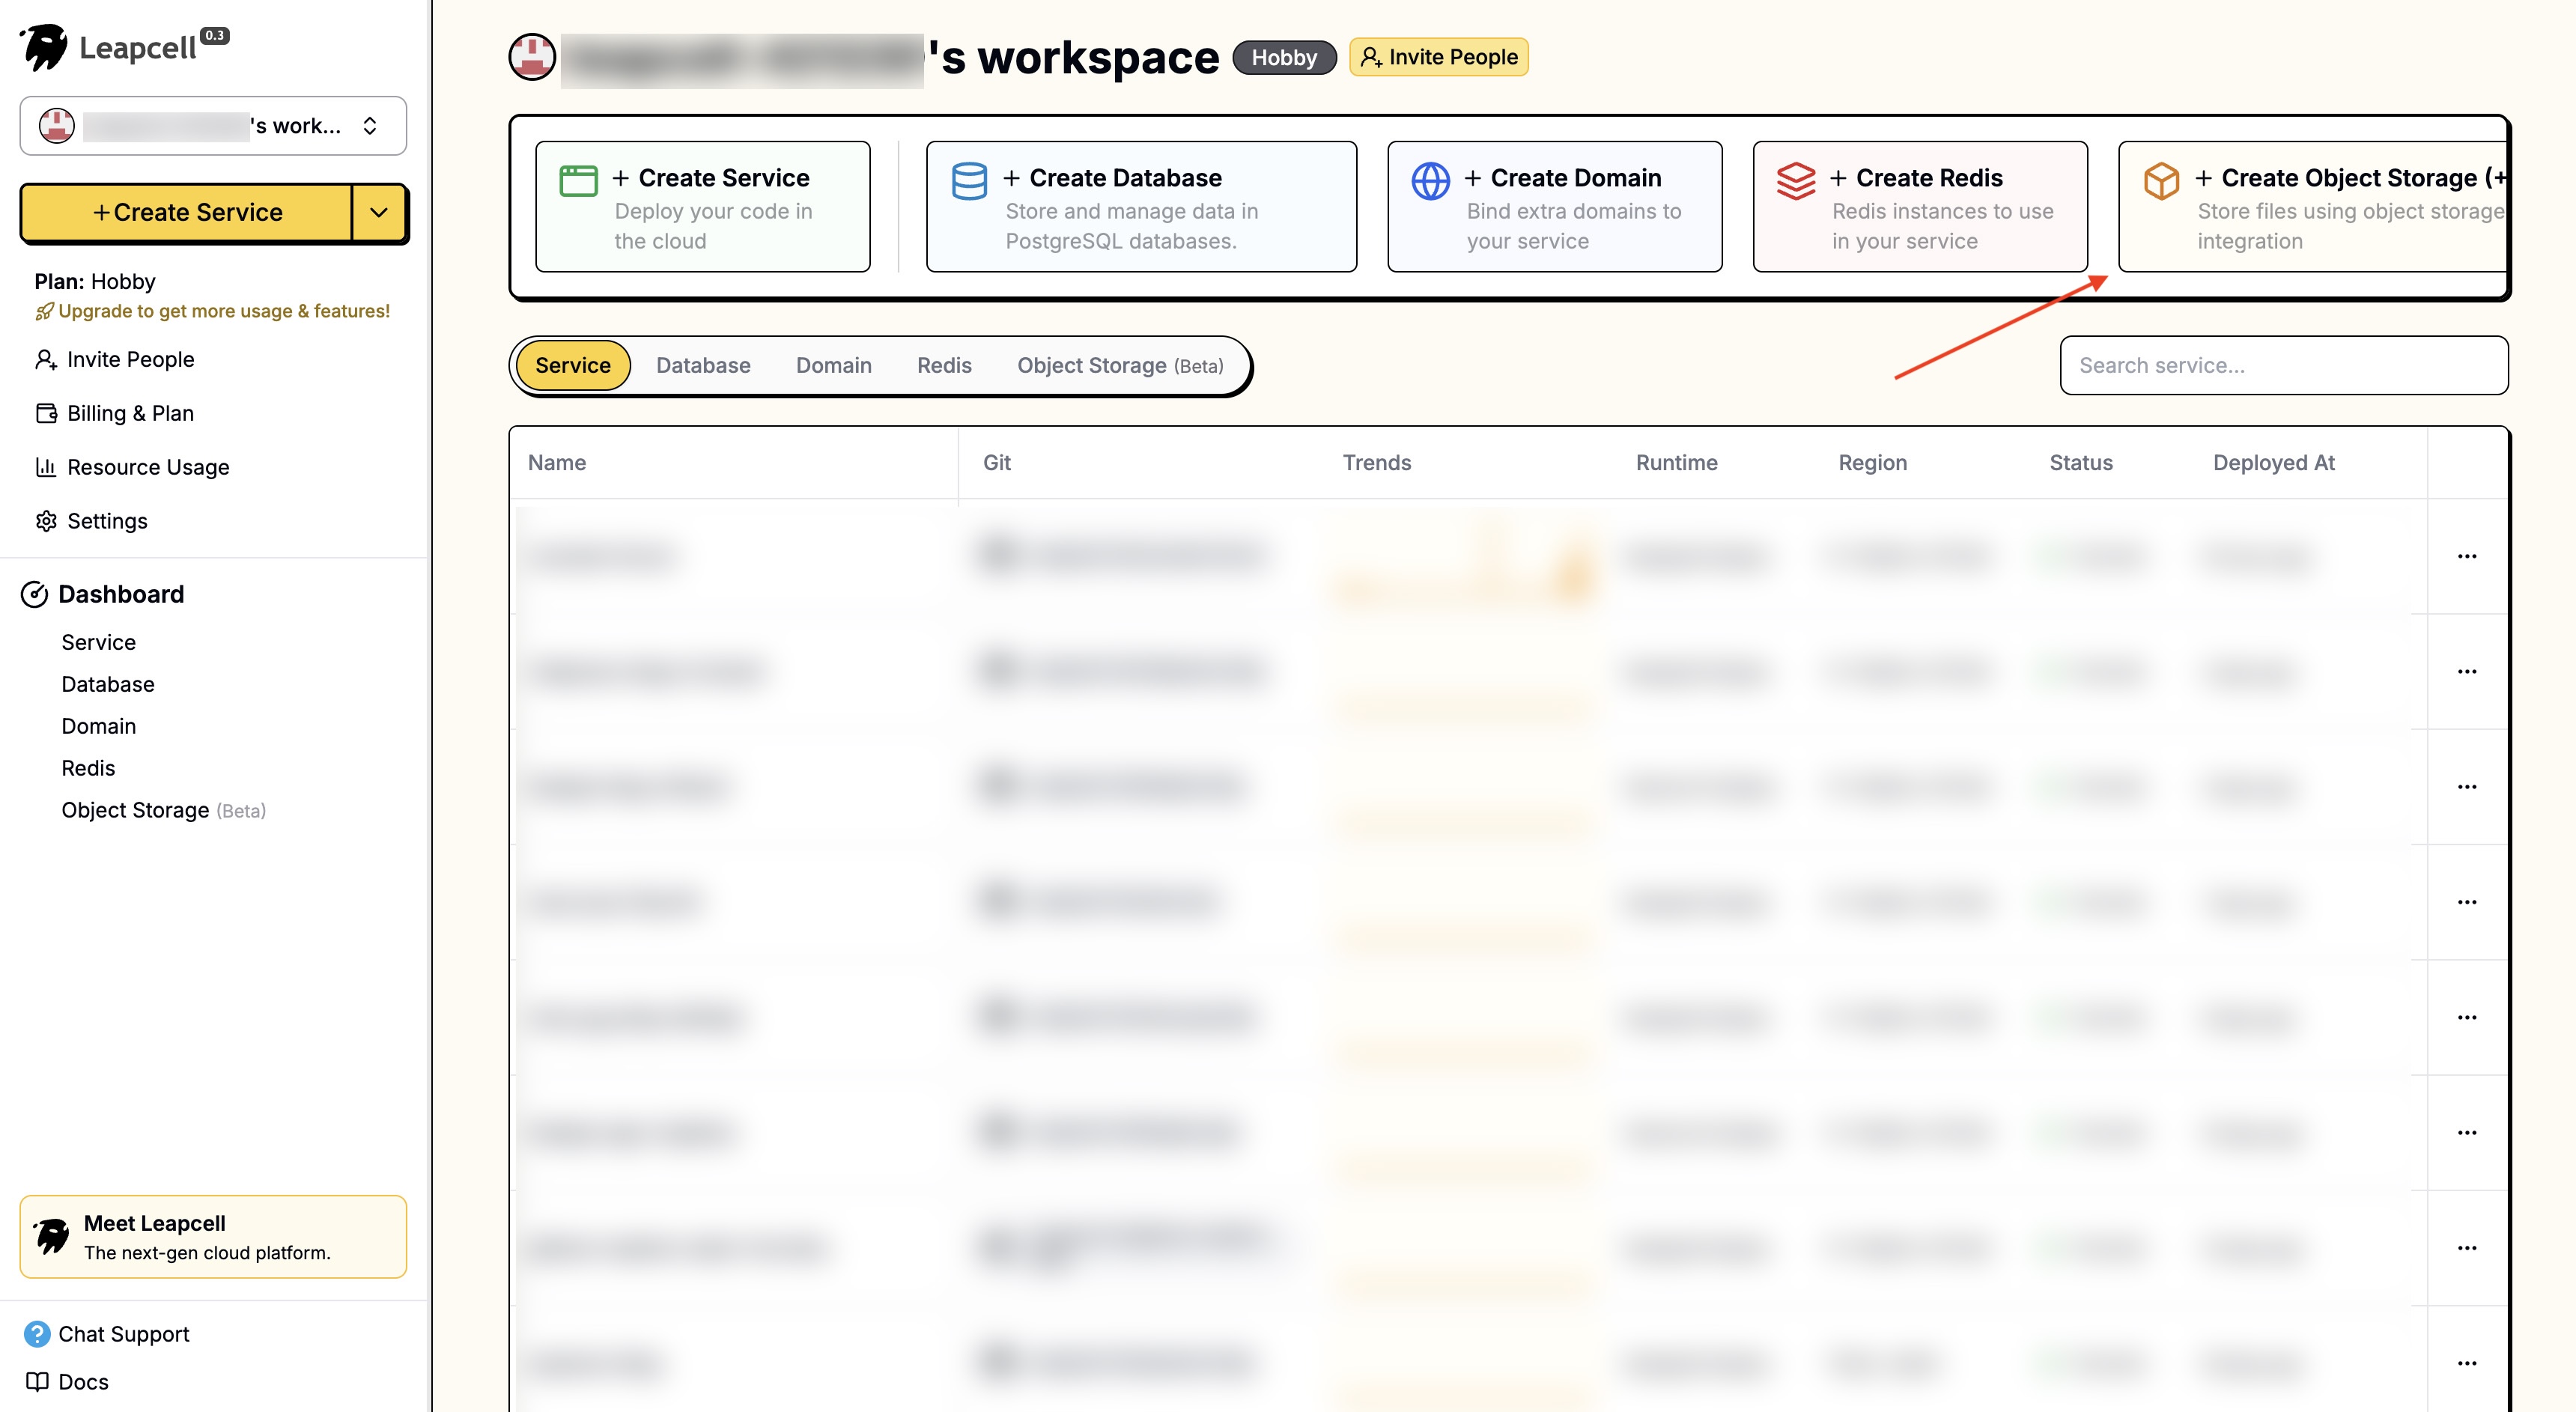
Leapcellのメインインターフェイスにログインし、「オブジェクトストレージの作成」をクリックします。
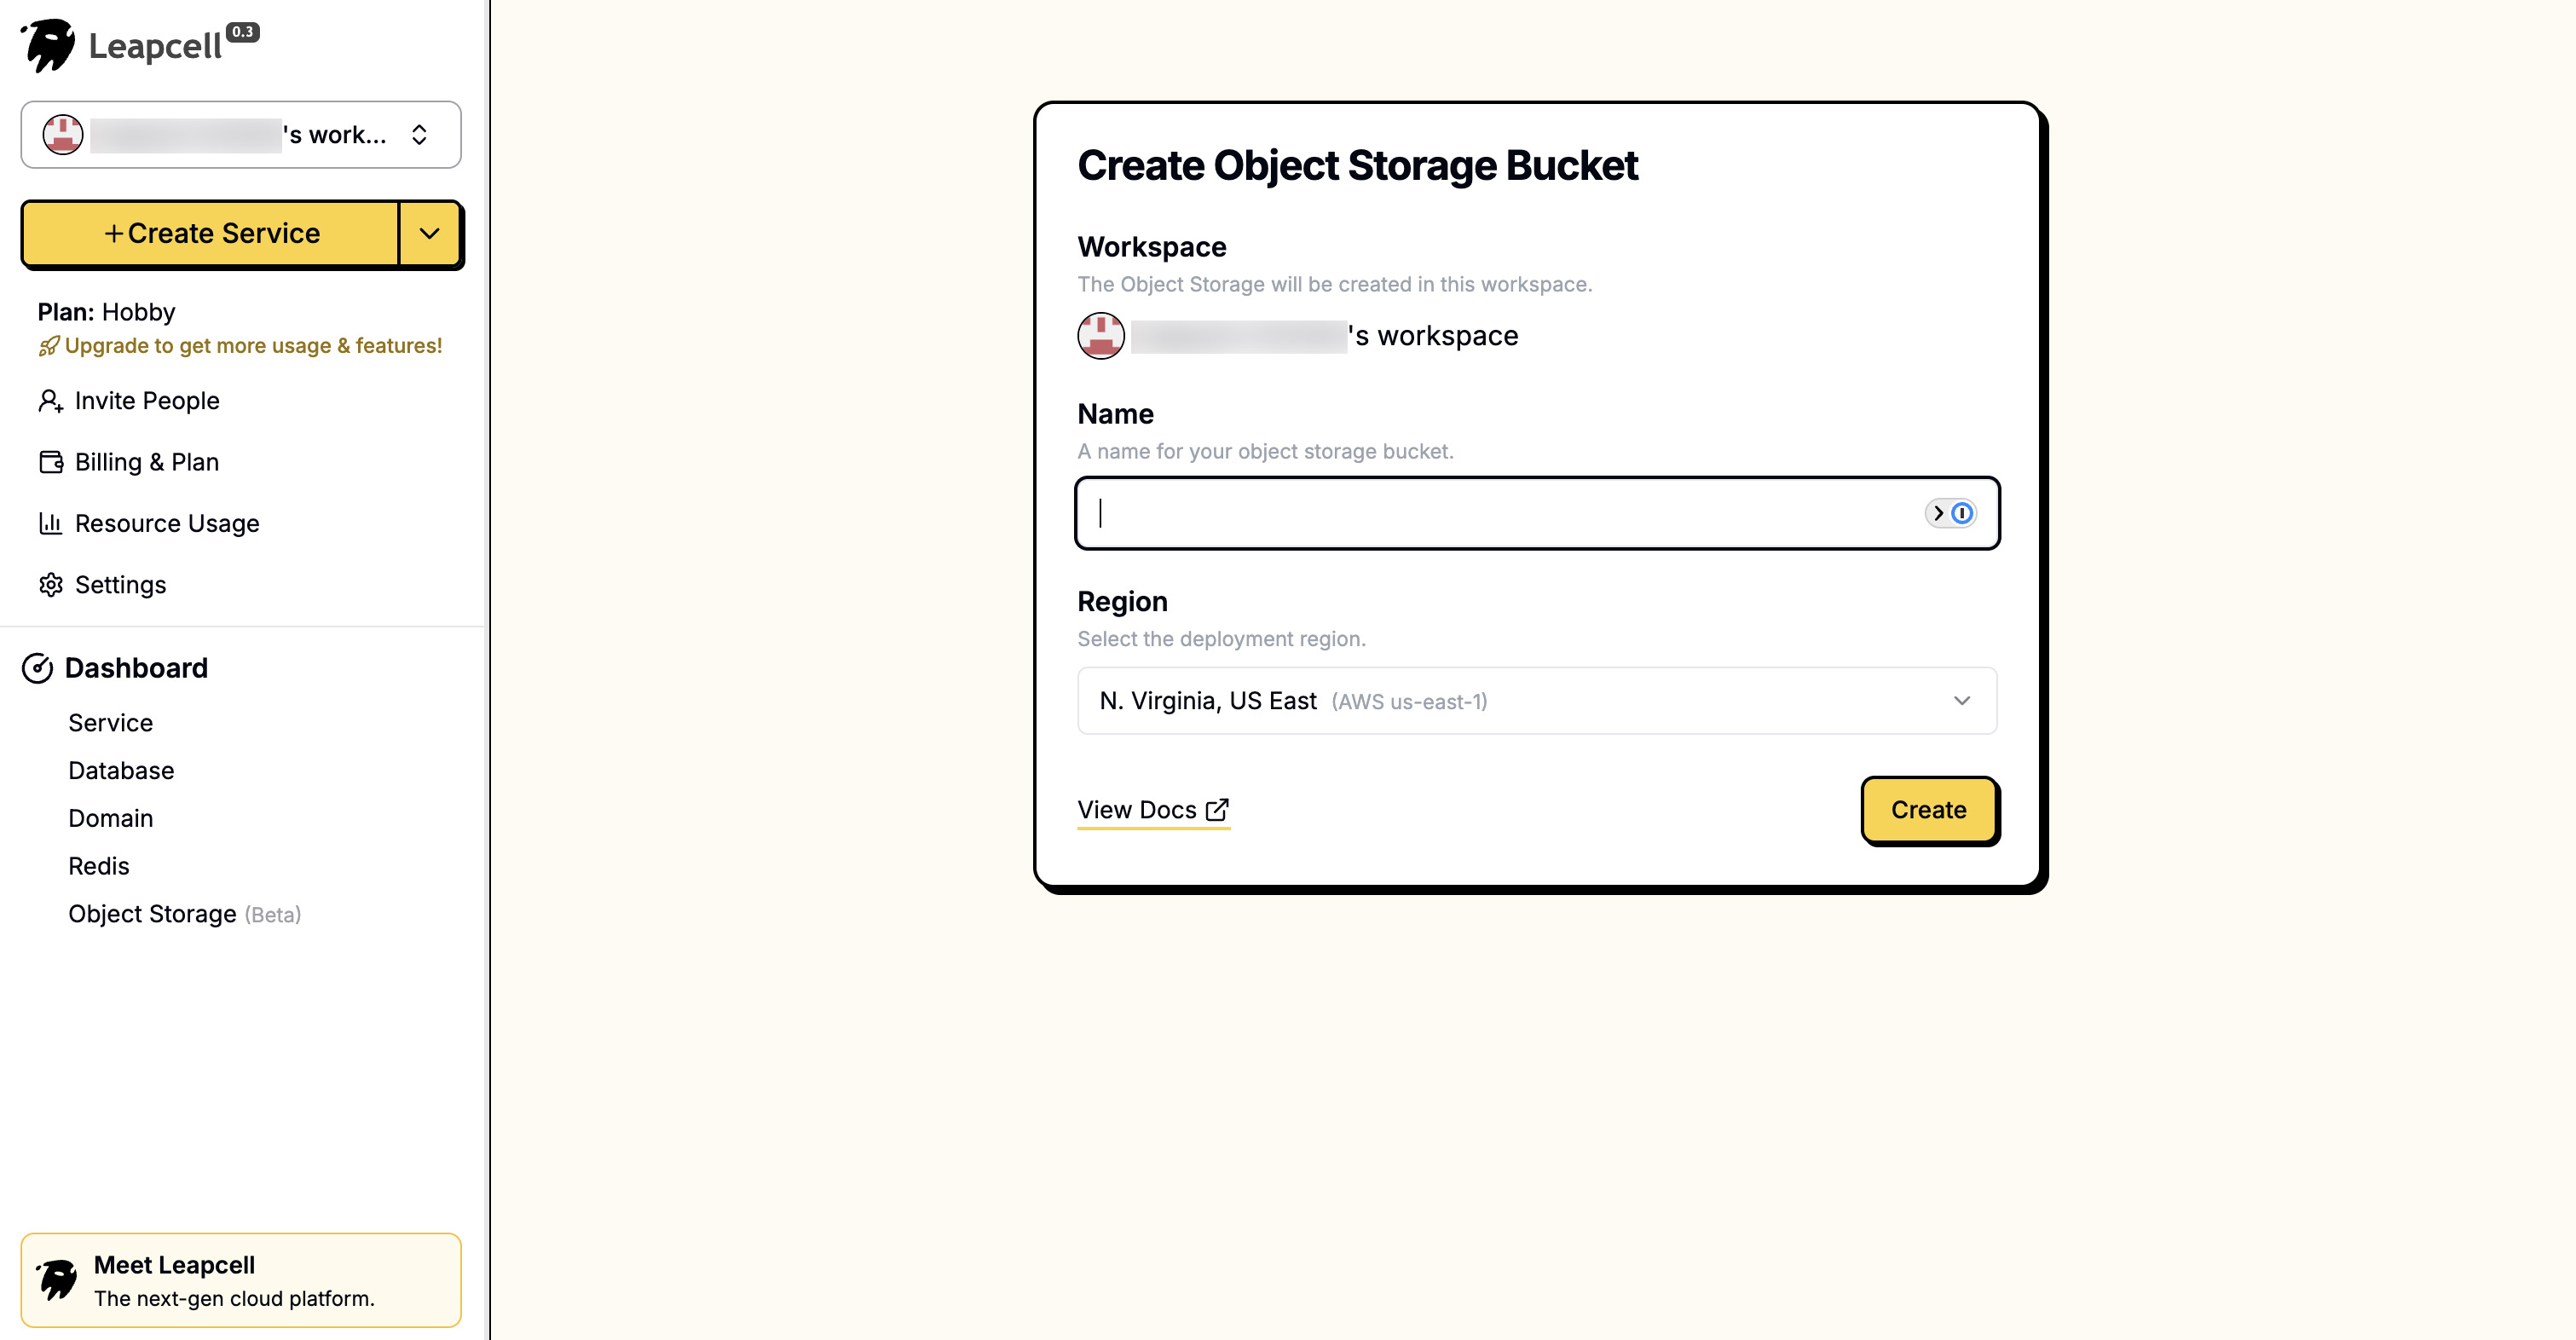
名前を入力してオブジェクトストレージを作成します。
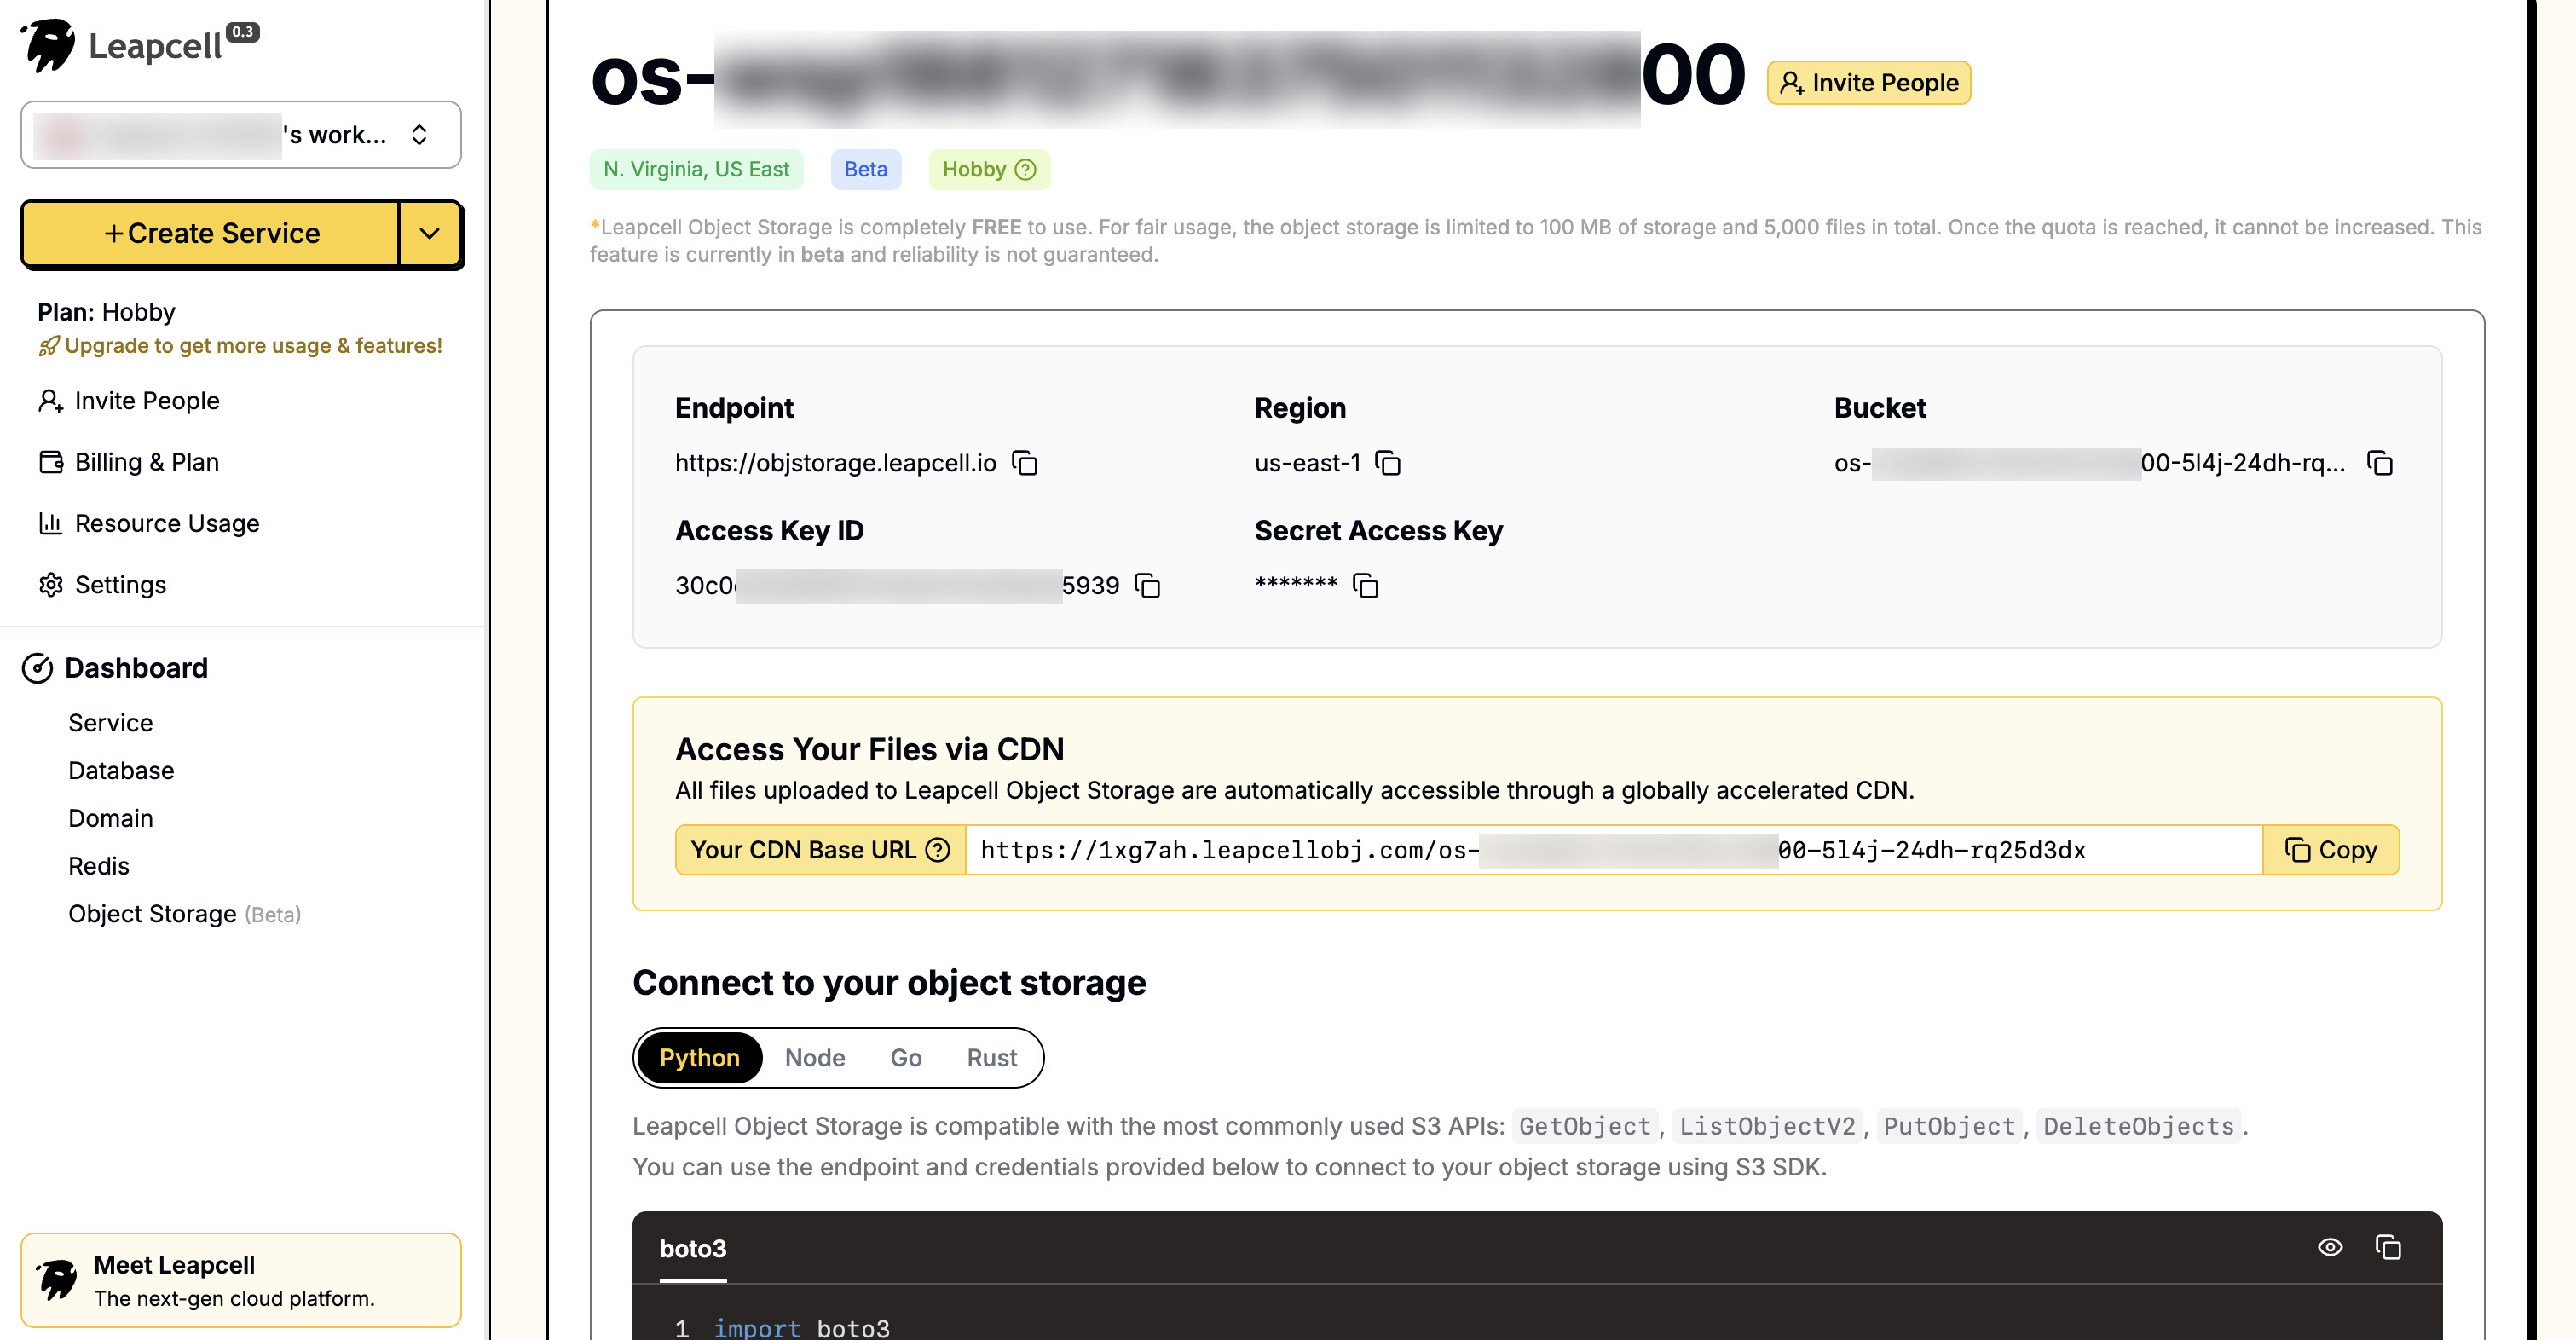
オブジェクトストレージの詳細ページで、接続に使用するパラメータであるエンドポイント、アクセスキーID、シークレットアクセスキーを確認できます。これらは後でバックエンド構成で使用します。
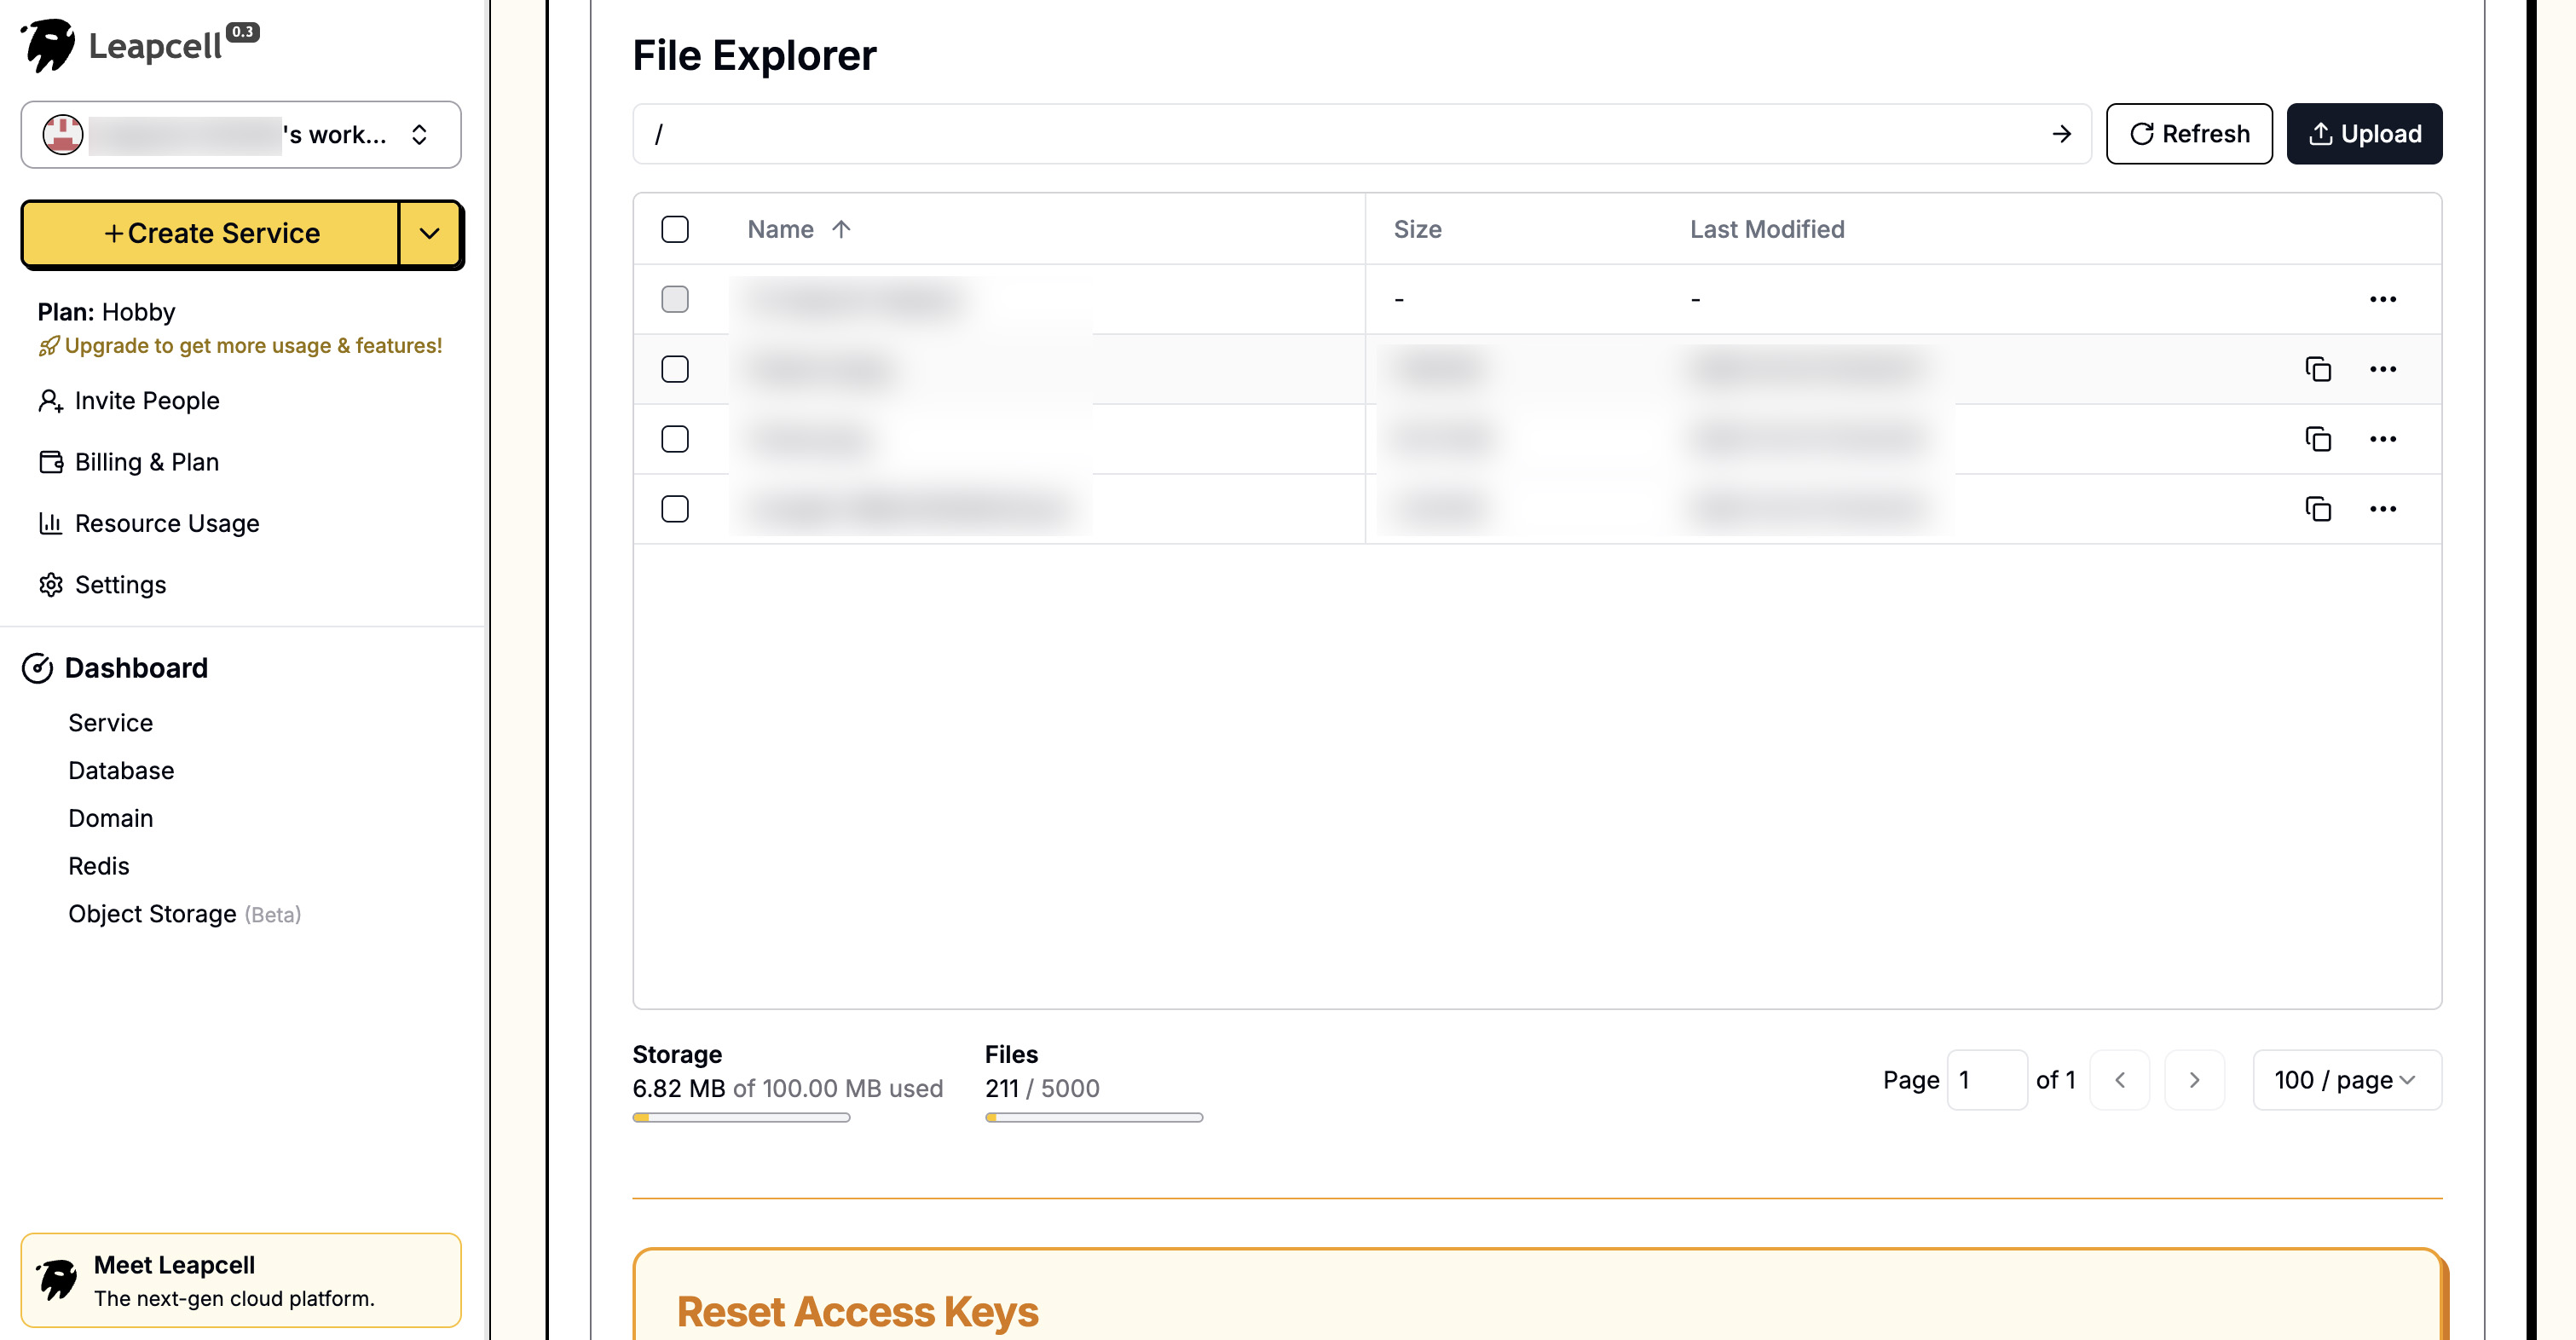
インターフェイスは非常に便利なUIも提供しており、ブラウザで直接ファイルをアップロードおよび管理できます。
ステップ2:依存関係のインストール
公式AWS Python SDKであり、すべてのS3プロトコルサービスと完全互換のboto3を使用します。
pip install boto3
ステップ3:構成の追加
すべてのオブジェクトストレージ構成を一元管理するために、プロジェクトのルートディレクトリにconfig.pyを作成します。
config.py
# S3ストレージ構成
# ご自身のS3情報に置き換えてください
S3_ENDPOINT_URL = "https.objstorage.leapcell.io"
S3_ACCESS_KEY = "YOUR_ACCESS_KEY"
S3_SECRET_KEY = "YOUR_SECRET_KEY"
S3_BUCKET_NAME = "your-bucket-name"
S3_PUBLIC_URL = "https://your-bucket-name.leapcellobj.com"
ステップ4:S3アップロードユーティリティの作成
ロジックを明確にするために、ファイルアップロードを処理するためだけの新しいファイルs3_utils.pyを作成します。
s3_utils.py
import boto3
import uuid
import config

# S3クライアントの初期化
s3_client = boto3.client(
    's3',
    endpoint_url=config.S3_ENDPOINT_URL,
    aws_access_key_id=config.S3_ACCESS_KEY,
    aws_secret_access_key=config.S3_SECRET_KEY
)

def upload_file_to_s3(file_bytes: bytes, bucket_name: str, content_type: str, extension: str) -> str:
    """
    バイナリファイルストリームをS3にアップロードします
    :param file_bytes: ファイルのバイナリコンテンツ
    :param bucket_name: バケット名
    :param content_type: ファイルのMimeType
    :param extension: ファイルの拡張子
    :return: ファイルの公開URL
    """

    # 一意のファイル名を生成
    file_name = f"uploads/{uuid.uuid4()}.{extension}"

    try:
        s3_client.put_object(
            Body=file_bytes,
            Bucket=bucket_name,
            Key=file_name,
            ContentType=content_type,
        )

        # 公開URLを構築して返す
        public_url = f"{config.S3_PUBLIC_URL}/{file_name}"
        return public_url

    except Exception as e:
        print(f"S3アップロード失敗: {e}")
        return None
ステップ5:データベースモデルの更新
アップロードされた画像のURLを保存するために、postsテーブルにフィールドを追加する必要があります。
models.pyを開き、Postモデルを変更します。
models.py (Postモデルの更新)
from sqlalchemy import Column, Integer, String, ForeignKey, Boolean
# ... (他のインポート)

class Post(Base):
    __tablename__ = "posts"

    id = Column(Integer, primary_key=True, index=True)
    title = Column(String, index=True)
    content = Column(String)
    owner_id = Column(Integer, ForeignKey("users.id"))

    # --- 新しいフィールド ---
    image_url = Column(String, nullable=True)
    # -------------------

    owner = relationship("User", back_populates="posts")
    comments = relationship("Comment", back_populates="post", cascade="all, delete-orphan")
    search_vector = Column(TSVECTOR, nullable=True)
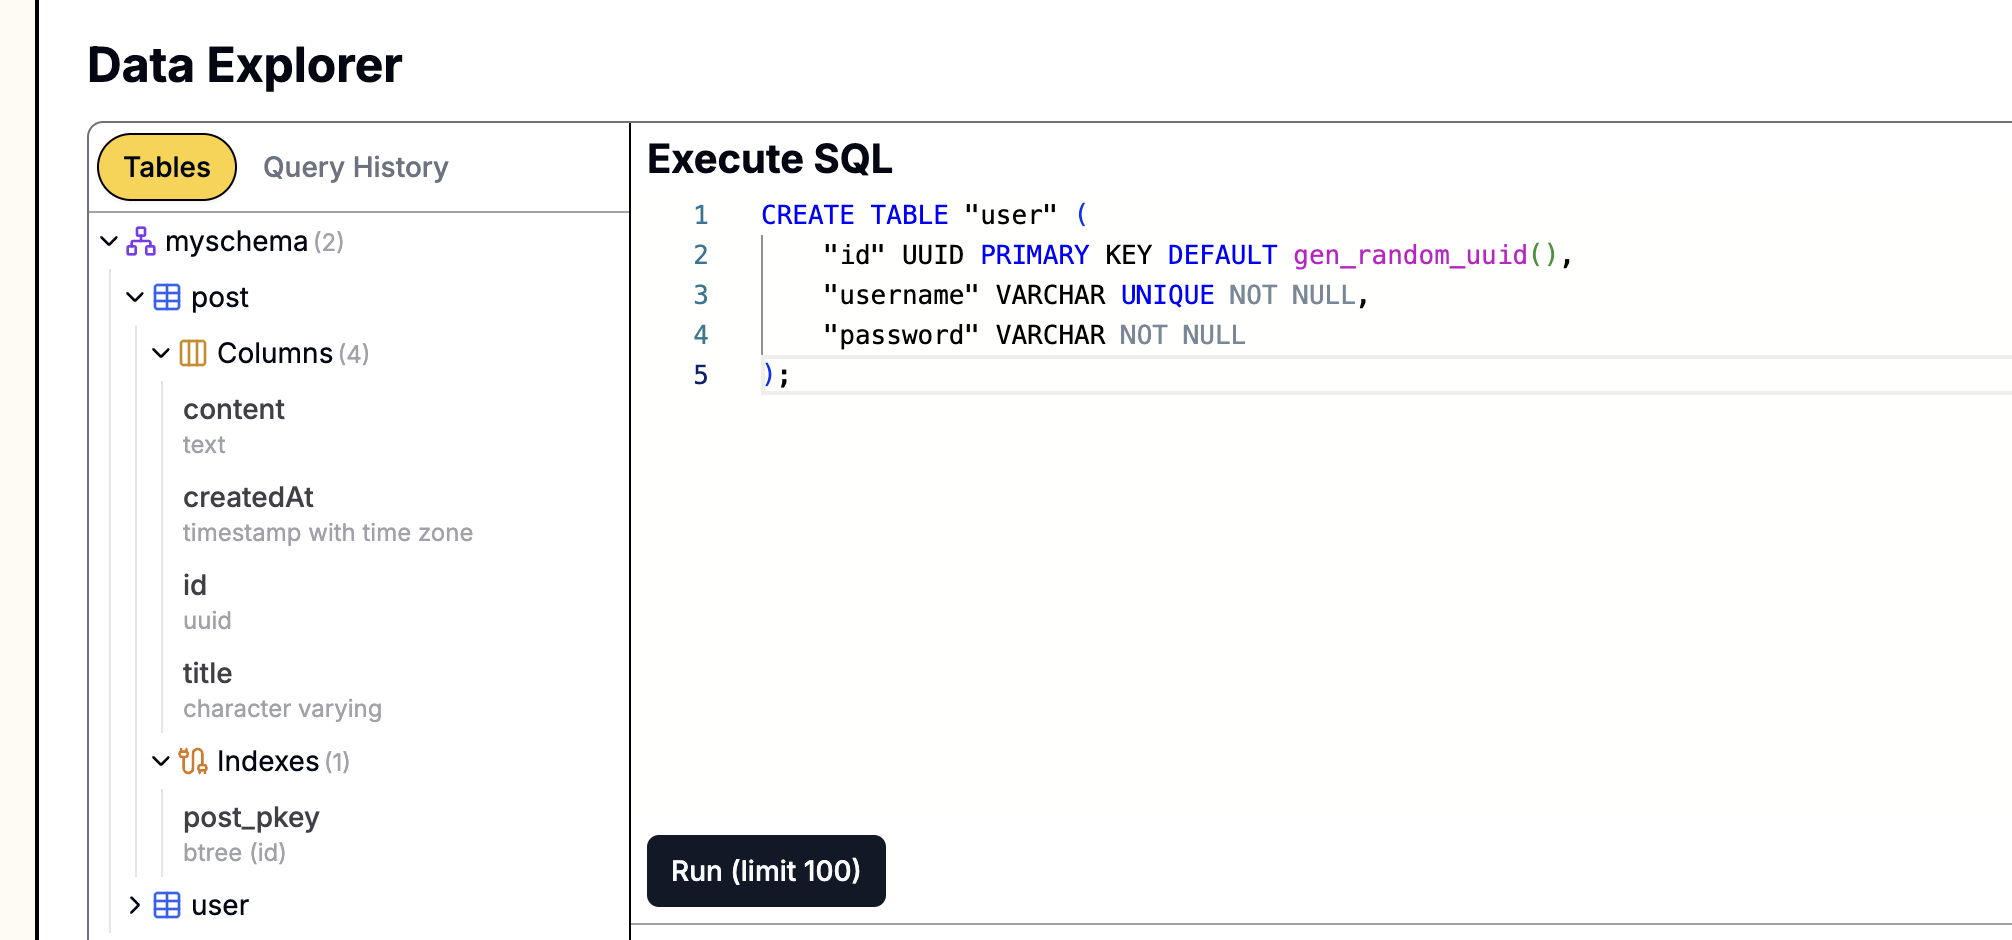
データベーステーブル構造も更新する必要があります。対応するSQLステートメントは次のとおりです。
ALTER TABLE posts ADD COLUMN image_url VARCHAR(512);
Leapcellを使用してデータベースが作成された場合、
これらのSQLステートメントは、Webベースの操作パネルで直接実行できます。
ステップ6:バックエンドルートのリファクタリング
次に、main.pyのcreate_postルートを変更して、ファイルアップロードを受け付けるようにしましょう。
main.py (create_postルートの更新)
# ... (以前のインポート) ...
from fastapi import File, UploadFile
import s3_utils  # 作成したユーティリティをインポート
import config    # 構成をインポート
import asyncio   # asyncioをインポート

# ... (app, templates, 依存関係などは変更なし) ...

@app.post("/api/posts")
async def create_post(
    title: str = Form(...),
    content: str = Form(...),
    image: Optional[UploadFile] = File(None),  # 1. 画像ファイルを受け入れる
    db: AsyncSession = Depends(get_db),
    current_user: Optional[models.User] = Depends(get_current_user)
):
    if not current_user:
        return RedirectResponse(url="/login", status_code=status.HTTP_302_FOUND)

    if current_user.is_banned:
        raise HTTPException(status_code=403, detail="You are banned and cannot create posts.")

    image_url = None

    # 2. 画像アップロードを処理する
    if image and image.filename:
        # ファイルタイプを確認
        if image.content_type not in ["image/jpeg", "image/png", "image/gif"]:
            raise HTTPException(status_code=400, detail="Invalid file type. Only JPEG, PNG, GIF are allowed.")

        # ファイルコンテンツを読み込む
        file_bytes = await image.read()

        # ファイル拡張子を取得
        extension = image.filename.split('.')[-1]

        # 3. asyncio.to_threadを使用して、ブロッキングS3アップロードをバックグラウンドスレッドで実行する
        # Boto3 (s3_client.put_object) はブロッキングI/O操作です
        # :
        image_url = await asyncio.to_thread(
            s3_utils.upload_file_to_s3,
            file_bytes,
            config.S3_BUCKET_NAME,
            image.content_type,
            extension
        )

        if not image_url:
            raise HTTPException(status_code=500, detail="Image upload failed.")

    # 4. image_urlを含むPostオブジェクトを作成する
    new_post = models.Post(
        title=title,
        content=content,
        owner_id=current_user.id,
        image_url=image_url  # URLを保存
    )

    db.add(new_post)
    await db.commit()
    await db.refresh(new_post)
    return RedirectResponse(url="/posts", status_code=status.HTTP_303_SEE_OTHER)

# ... (他のすべてのルートは変更なし) ...
主な変更点は次のとおりです。
create_postパラメータにimage: Optional[UploadFile] = File(None)が含まれるようになりました。imageパラメータのコンテンツ(await image.read())を読み込み、s3_utils.upload_file_to_s3を呼び出して画像をオブジェクトストレージにアップロードします。- 最後に、
models.Postオブジェクトを作成するときに、前のステップから返されたimage_urlをデータベースに保存します。
ステップ7:フロントエンドテンプレートの更新
最後に、ファイルアップロードフィールドを追加し、画像を表示するためにフロントエンドページを更新する必要があります。
templates/posts.html (更新)
... (headとstyleは変更なし) ...
<body>
    <header>
        ... (ヘッダーコンテンツは変更なし) ...
    </header>
    <form action="/search" method="GET" style="display: flex;">
        ... (検索フォームは変更なし) ...
    </form>

    {% if current_user and not current_user.is_banned %}
    <h2>Create New Post</h2>
    <form action="/api/posts" method="post" enctype="multipart/form-data">
        <input type="text" name="title" placeholder="Post Title" required /><br />
        <textarea name="content" rows="4" placeholder="Post Content" required></textarea><br />

        <label for="image">Upload Image (Optional, JPE/PNG/GIF):</label>
        <input type="file" name="image" id="image" accept="image/jpeg,image/png,image/gif" />
        <br /><br />

        <button type="submit">Post</button>
    </form>
    {% elif current_user and current_user.is_banned %}
        ... (禁止メッセージ) ...
    {% else %}
        ... (ログインプロンプト) ...
    {% endif %}

    <hr />
    <h2>Post List</h2>

    {% for post in posts %}
    <div class="post-item">
        <a href="/posts/{{ post.id }}"><h3>{{ post.title }}</h3></a>

        {% if post.image_url %}
        <img src="{{ post.image_url }}" alt="{{ post.title }}" style="max-width: 400px; height: auto; margin-bottom: 10px;" />
        {% endif %}

        <p>{{ post.content }}</p>
        <small>Author: {{ post.owner.username if post.owner else 'Unknown' }}</small>

        {% if current_user and post.owner_id == current_user.id %}
            ... (編集リンク) ...
        {% endif %}
    </div>
    {% endfor %}
</body>
</html>
templates/post_detail.html (更新)
... (headとstyleは変更なし) ...
<body>
    <div class="post-container">
        <h1>{{ post.title }}</h1>

        {% if post.image_url %}
        <img src="{{ post.image_url }}" alt="{{ post.title }}" style="max-width: 600px; height: auto; margin-bottom: 10px;" />
        {% endif %}

        <p>{{ post.content }}</p>
        <small>Author: {{ post.owner.username }}</small>
    </div>

    ... (コメントフォームとコメントセクションは変更なし) ...
</body>
</html>
実行と検証
uvicornサーバーを再起動します。
uvicorn main:app --reload
http://127.0.0.1:8000にアクセスします。
「Create New Post」フォームにファイル選択ボタンが表示されます。
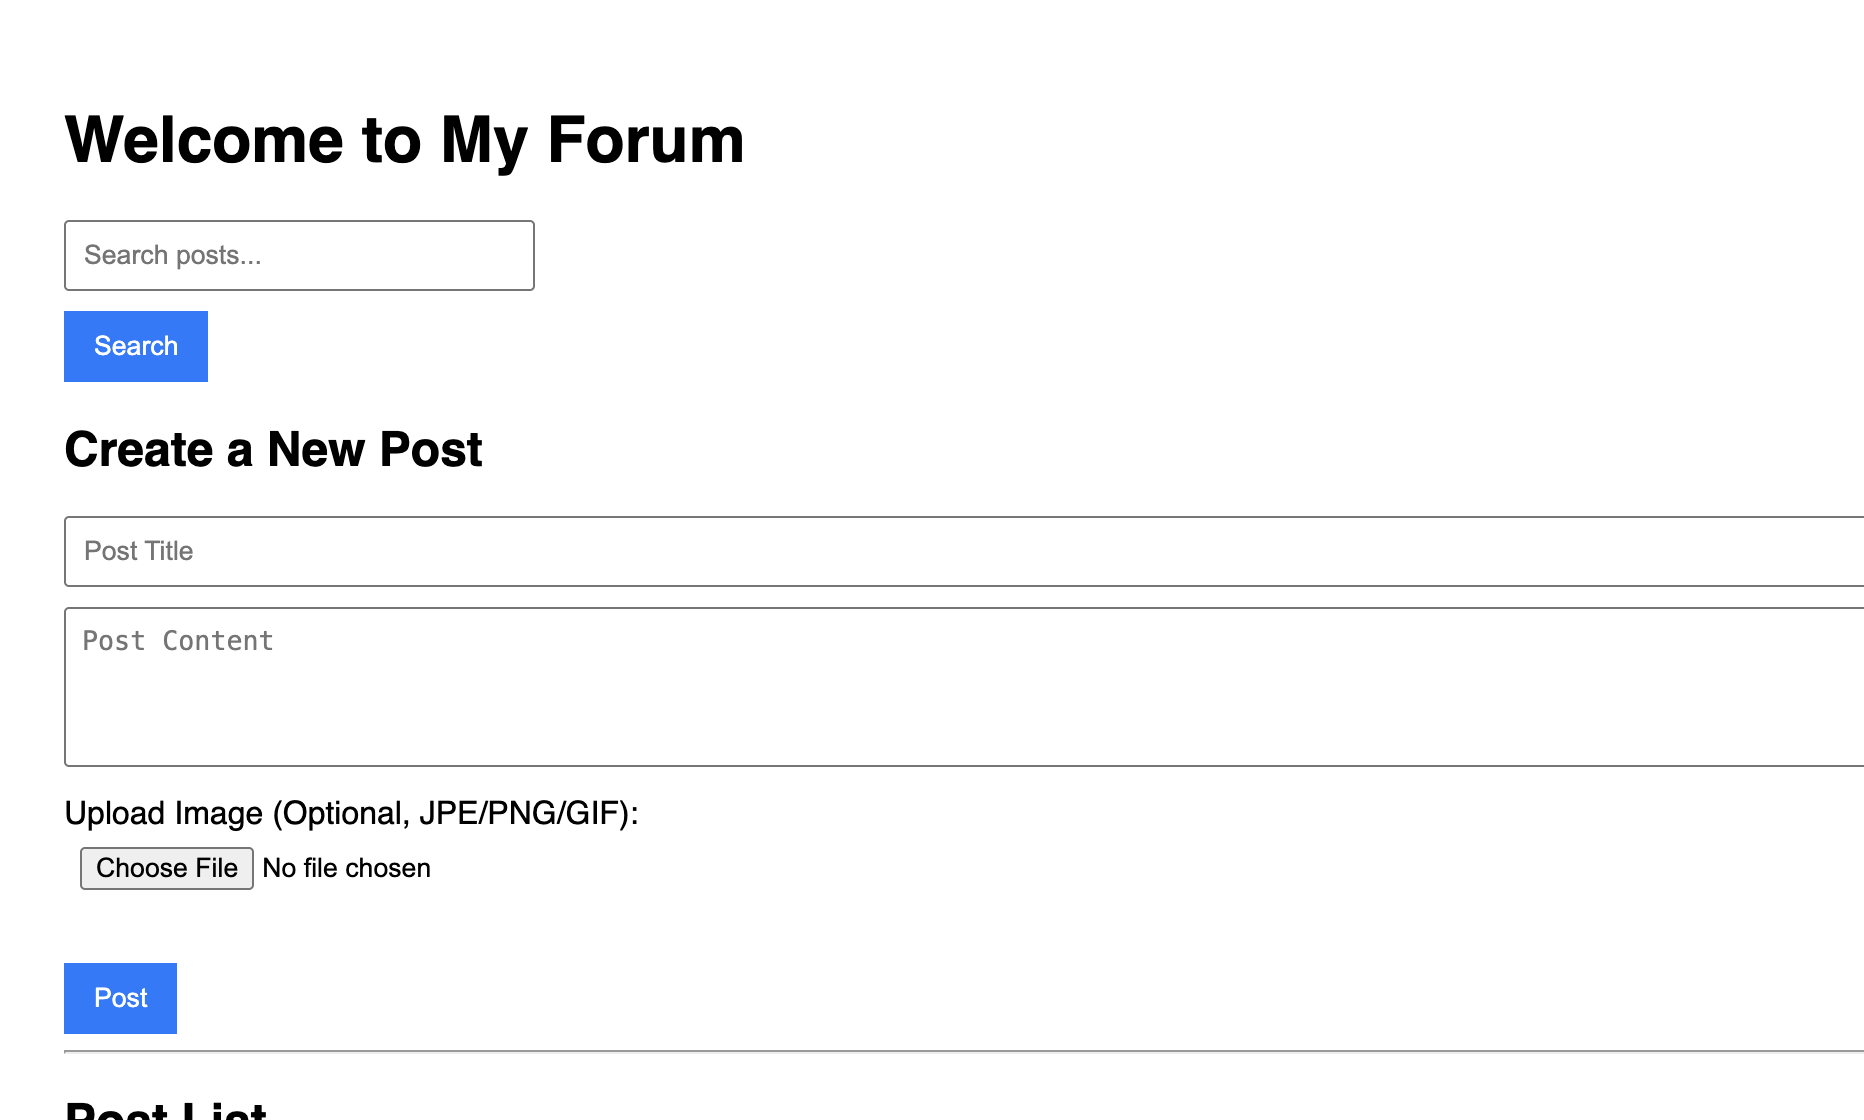
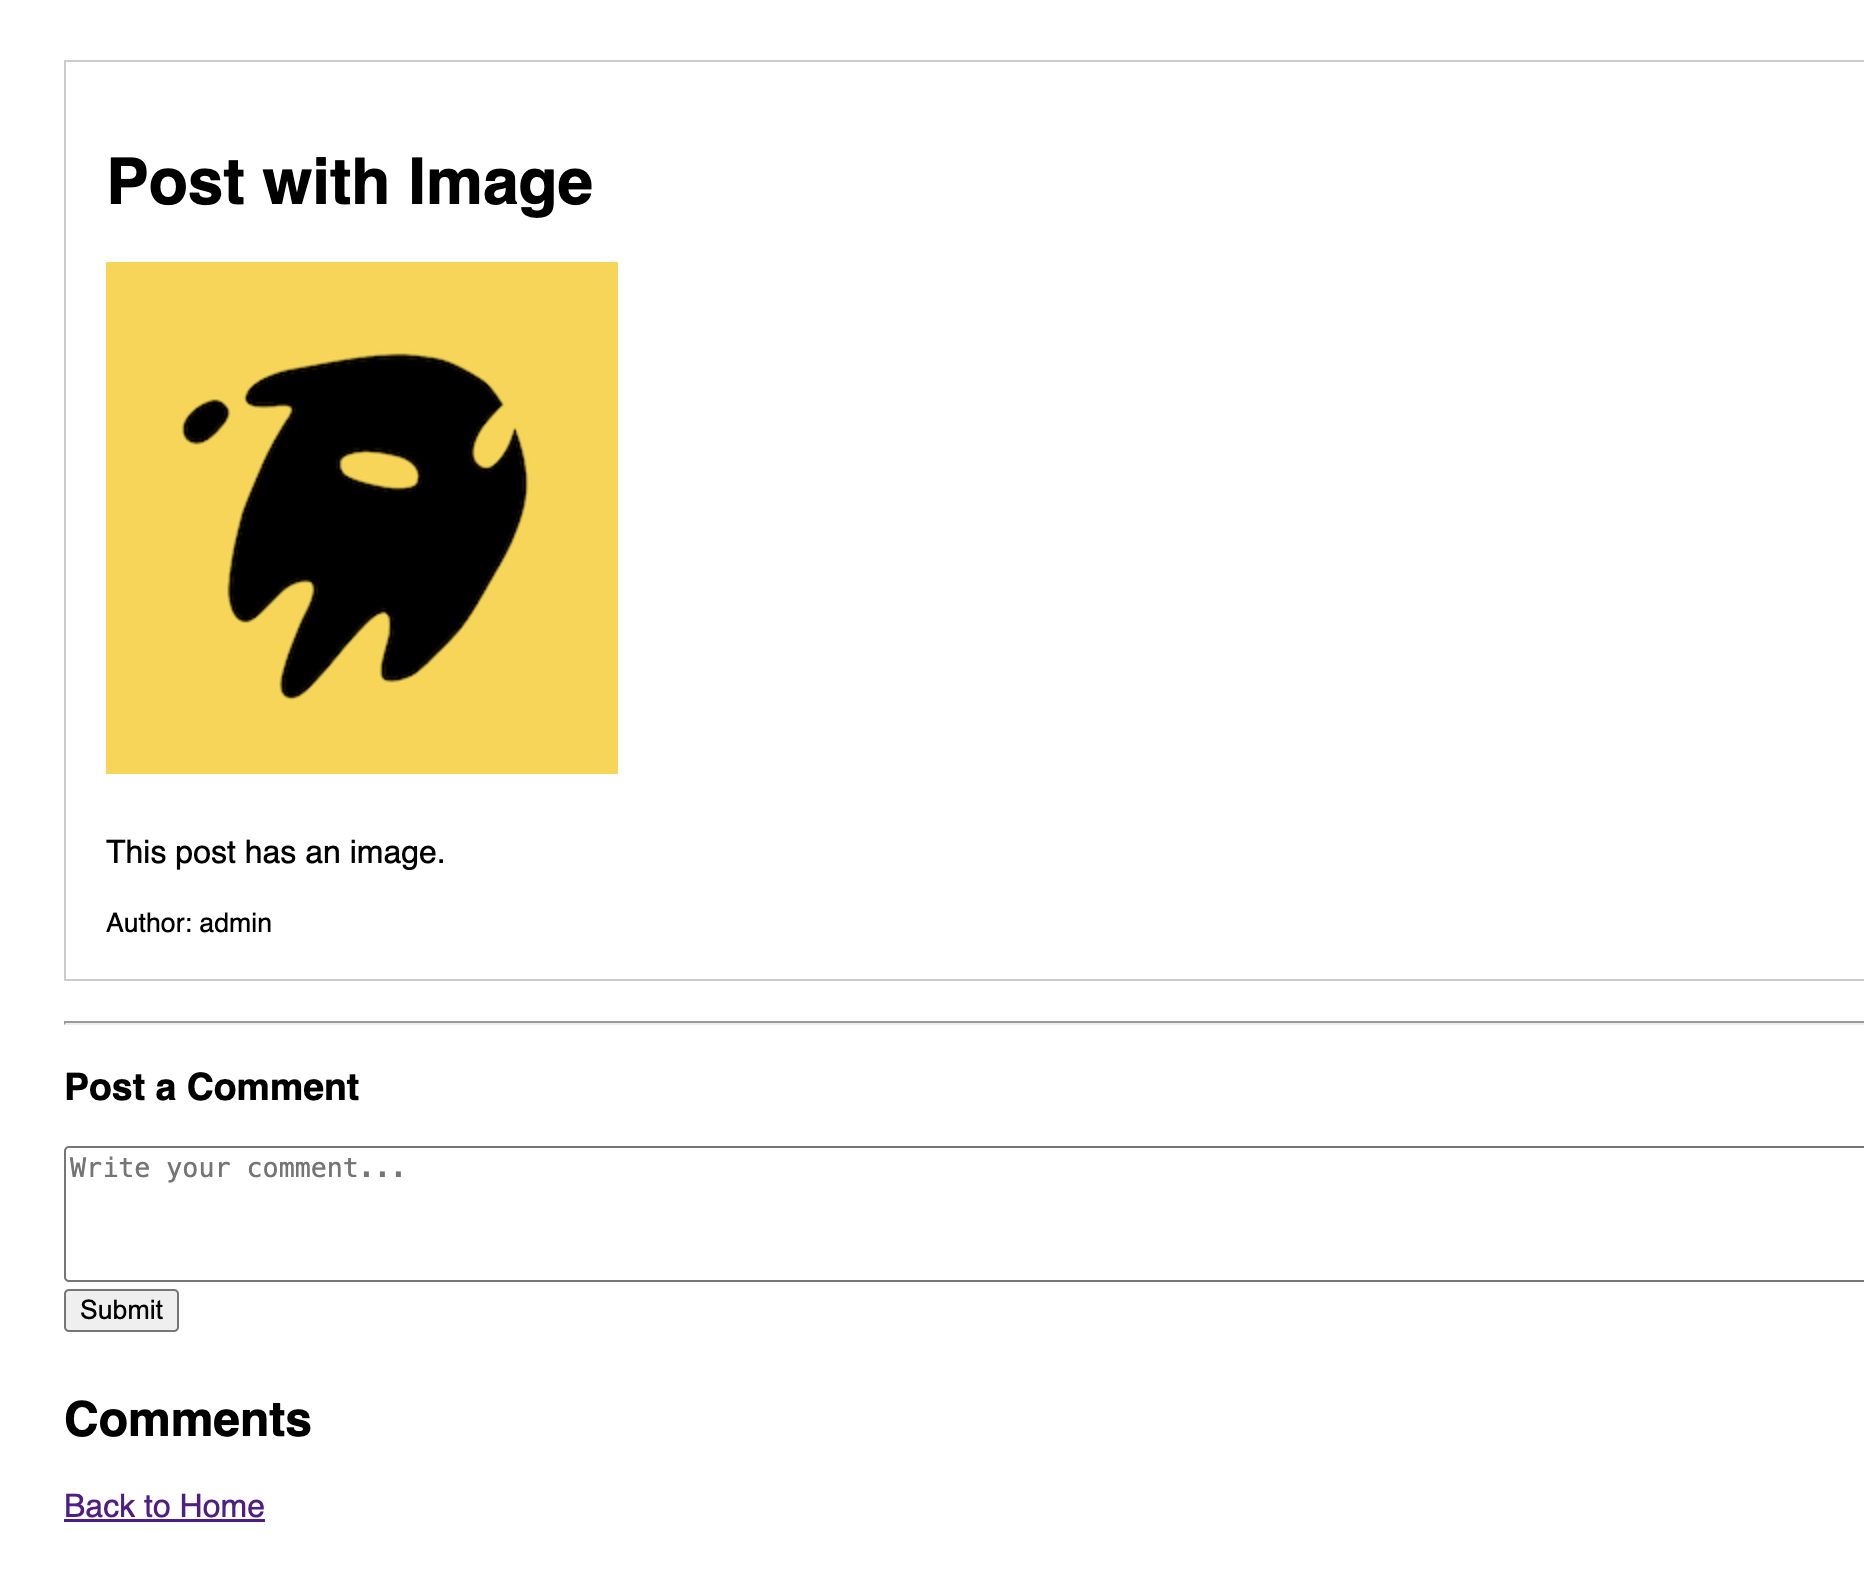
新しい投稿を作成し、画像を追加してみてください。送信後、投稿した画像が表示されます。
結論
オブジェクトストレージを使用して、フォーラムに画像アップロード機能を追加することに成功しました。
現在、すべての投稿が同じページに集中しています。フォーラムのコンテンツが増えるにつれて、これは非常に乱雑になります。
次の記事では、フォーラムに**カテゴリ(サブフォーラム)**を追加し、投稿をさまざまなトピックで整理できるようにすることで、フォーラムをより構造化されたものにします。