How to Organize a Large-Scale Rust Project Effectively
Wenhao Wang
Dev Intern · Leapcell
Rust Project Structure
Many learners find themselves confused when studying Rust, wondering whether their project file structure is correct and standard. In this article, we will explore how a large Rust project organizes its code, starting from the most basic main.rs and lib.rs.
Crate
- A crate is Rust’s fundamental compilation unit. Each crate is an independent compilation target and can be either a library (lib crate) or an executable (binary crate).
- A crate has a root file: for a library crate, it is
src/lib.rs; for a binary crate, it issrc/main.rs.
Package
However, a basic Rust project cannot consist of just these two files.
A package is a collection of one or more crates. It contains Cargo.toml and Cargo.lock files, which define the package’s metadata and dependencies.
In an actual project, a crate only contains code and modules, whereas the Cargo.toml and Cargo.lock files are part of the package, responsible for managing and building the entire package.
For example, if we use cargo new sdk to create a library, the resulting structure will look like this:
Example File Structure
// Library crate
sdk/
├── Cargo.toml
├── Cargo.lock
└── src
    └── lib.rs

or

// Binary crate
sdk/
├── Cargo.toml
├── Cargo.lock
└── src
    └── main.rs
TOML File
The TOML file is used to manage dependencies and version information, for example:
[package]
name = "sdk"
version = "0.1.0"
edition = "2021"

# See more keys and their definitions at https://doc.rust-lang.org/cargo/reference/manifest.html

[dependencies]
Adding a commonly used package for simplifying error handling: thiserror. You can use the command cargo add thiserror:
[package]
name = "sdk"
version = "0.1.0"
edition = "2021"

# See more keys and their definitions at https://doc.rust-lang.org/cargo/reference/manifest.html

[dependencies]
thiserror = "1.0.61"
Test Code and Performance Tests
At this point, we are already writing a complete project. However, an essential part of any project is testing, including unit tests and performance tests. So where should these test files be placed? Let's continue using our sdk project as an example.
According to community and official standards, test and benchmark files should be placed in tests and benches directories at the same level as src, as shown below:
sdk/
  ├── Cargo.toml
  ├── src/
  │   └── lib.rs
  ├── tests/
  │   ├── some-integration-tests.rs
  │   └── multi-file-test/
  │       ├── main.rs
  │       └── test_module.rs
  └── benches/
      ├── large-input.rs
      └── multi-file-bench/
          ├── main.rs
          └── bench_module.rs
When initially writing the project, unit tests can be placed directly below the relevant code files, so there is no need to create the multi-file-test directory and files. However, as development progresses and test code starts occupying significant space, it is recommended to move them to the tests folder to keep the main code clean.
tests/contains functional test code, primarily for verifying feature implementation.benches/contains performance test code, primarily for measuring performance (e.g., service API performance tests).
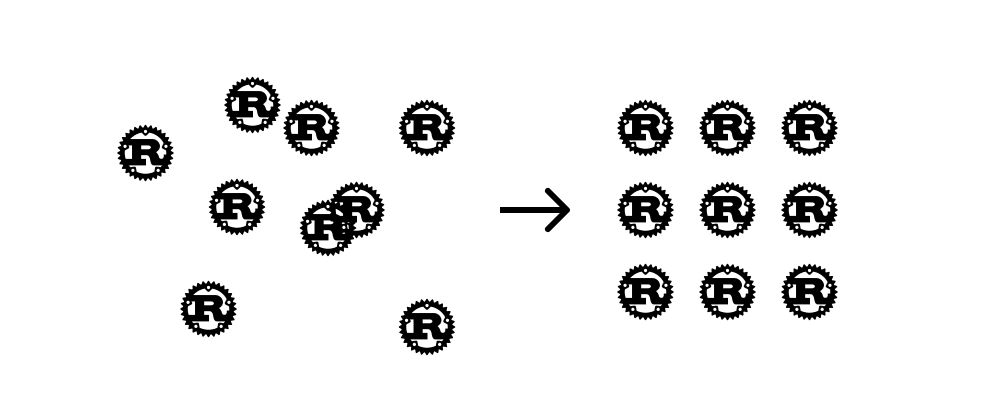
Workspace
What if a large project consists of multiple Rust projects? For example, let's say the sdk crate is maintained by one developer, and we also need to build a CLI project and a server project based on it. Should we split the code into three separate projects? That might make things messy. Is there a unified way to manage them? Yes, with Workspaces.
In Rust, a workspace is a way to organize and manage multiple packages within a single project. Workspaces provide tools and mechanisms that simplify dependency management, building, and testing across multiple related packages.
Benefits of Using a Workspace
- Organize multiple packages: Workspaces allow grouping multiple packages, which can include library crates, CLI tools, or other types of packages.
- Shared dependencies: All packages in a workspace share a single
Cargo.lockfile, ensuring consistent dependency versions and avoiding conflicts. - Simplified build process: Running
cargo buildorcargo testin the root workspace directory will recursively build and test all workspace packages. - Consistency: The shared
Cargo.lockfile and unified build commands ensure that all packages remain consistent and well-coordinated.
Workspace Structure
Suppose we want to place sdk, cli, and server inside the same workspace. The directory structure would look like this:
A typical workspace consists of a top-level directory containing a root Cargo.toml file and multiple sub-packages, each with its own Cargo.toml file and source directory.
my_workspace /
├── Cargo.lock
├── Cargo.toml
├── crates/
│   ├── sdk/
│   │   ├── Cargo.toml
│   │   ├── src/
│   │   │   └── lib.rs
│   │   └──── tests/
│   │       ├── some-integration-tests.rs
│   │       └── multi-file-test/
│   │           ├── main.rs
│   │           └── test_module.rs
│   ├── cli/
│   │   ├── Cargo.toml
│   │   ├── src/
│   │   │   └── main.rs
│   │   ├── bin/
│   │   │   ├── named-executable.rs
│   │   │   ├── another-executable.rs
│   │   │   └── multi-file-executable/
│   │   │       ├── main.rs
│   │   │       └── some_module.rs
│   │   └──── tests/
│   │       ├── some-integration-tests.rs
│   │       └── multi-file-test/
│   │           ├── main.rs
│   │           └── test_module.rs
│   └── server/
│       ├── Cargo.toml
│       ├── src/
│       │   └── main.rs
│       ├── bin/
│       │   ├── named-executable.rs
│       │   ├── another-executable.rs
│       │   └── multi-file-executable/
│       │       ├── main.rs
│       │       └── some_module.rs
│       ├── tests/
│       │   ├── some-integration-tests.rs
│       │   └── multi-file-test/
│       │       ├── main.rs
│       │       └── test_module.rs
│       └── benches/
│           ├── large-input.rs
│           └── multi-file-bench/
│               ├── main.rs
│               └── bench_module.rs
Workspace TOML File
Specify the resolver, resolver = "2", to use Cargo’s second-generation resolver, which is more efficient.
[workspace]
resolver = "2"
Define workspace package information:
[workspace.package]
name = "my-workspace"
version = "0.1.0"
edition = "2021"
Add workspace members:
[workspace]
members = [
    "crates/sdk",
    "crates/cli",
    "crates/server",
]
Specify dependencies shared across workspace members:
[workspace.dependencies]
thiserror = "1.0.61"
You might wonder: “But I already defined this in sdk’s Cargo.toml. Why define it again in the workspace?”
This is because the workspace allows centralizing dependency management. If both cli and server also need thiserror, should we define thiserror = "1.0.61" separately in each of their Cargo.toml files? We could, but this leads to potential issues: if different versions are used across projects, compilation might be slower, and the compiled binaries might contain redundant copies of thiserror.
To optimize compilation time and binary size, we set a unified dependency version in the workspace:
# In the workspace `Cargo.toml`
[workspace.dependencies]
thiserror = "1.0.61"
# In the `cli` and `server` packages
[dependencies]
thiserror.workspace = true
Cross-Package Dependencies
To allow cli and server to use methods from sdk, we need to declare dependencies in the workspace:
[workspace.dependencies]
sdk = { path = "crates/sdk" }
cli = { path = "crates/cli" }
server = { path = "crates/server" }
Then, in the package-specific Cargo.toml files:
[dependencies]
sdk.workspace = true
thiserror.workspace = true
This ensures all projects in the workspace can reference sdk without duplicate dependency versions.
We are Leapcell, your top choice for hosting Rust projects.

Leapcell is the Next-Gen Serverless Platform for Web Hosting, Async Tasks, and Redis:
Multi-Language Support
- Develop with Node.js, Python, Go, or Rust.
Deploy unlimited projects for free
- pay only for usage — no requests, no charges.
Unbeatable Cost Efficiency
- Pay-as-you-go with no idle charges.
- Example: $25 supports 6.94M requests at a 60ms average response time.
Streamlined Developer Experience
- Intuitive UI for effortless setup.
- Fully automated CI/CD pipelines and GitOps integration.
- Real-time metrics and logging for actionable insights.
Effortless Scalability and High Performance
- Auto-scaling to handle high concurrency with ease.
- Zero operational overhead — just focus on building.
Explore more in the Documentation!

Follow us on X: @LeapcellHQ